Step 2 Ð Install Piping
Shut off all power to the unit, then lock out and safety- tag all disconnects before proceeding with installation.
Remove refrigerant charge from circuits using an ap- proved refrigerant recovery device before proceeding with installation.
NOTE: The units have 2 circuits. Perform all of the follow- ing piping installation procedures on both A and B circuits.
REMOVE MINIMUM LOAD PORT PLUGS AND IN- STALL FITTINGS Ð Plugs must be removed from these ports and replaced with Swagelok ®ttings. Note that plugs were
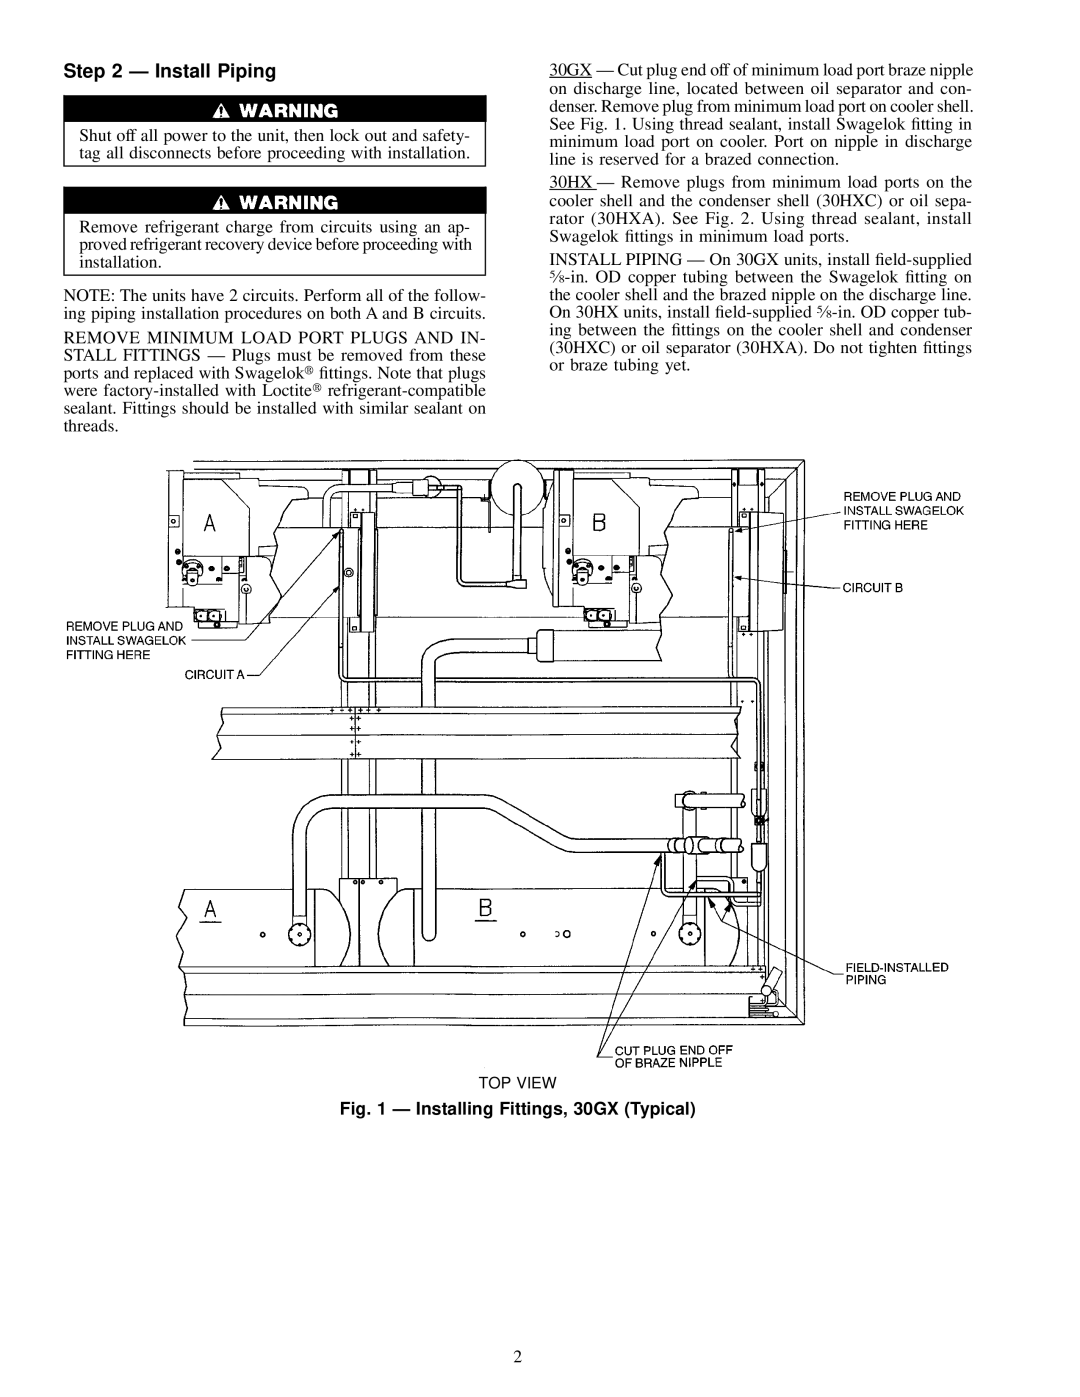
30GX Ð Cut plug end off of minimum load port braze nipple on discharge line, located between oil separator and con- denser. Remove plug from minimum load port on cooler shell. See Fig. 1. Using thread sealant, install Swagelok ®tting in minimum load port on cooler. Port on nipple in discharge line is reserved for a brazed connection.
30HX Ð Remove plugs from minimum load ports on the cooler shell and the condenser shell (30HXC) or oil sepa- rator (30HXA). See Fig. 2. Using thread sealant, install Swagelok ®ttings in minimum load ports.
INSTALL PIPING Ð On 30GX units, install
TOP VIEW
Fig. 1 Ð Installing Fittings, 30GX (Typical)
2