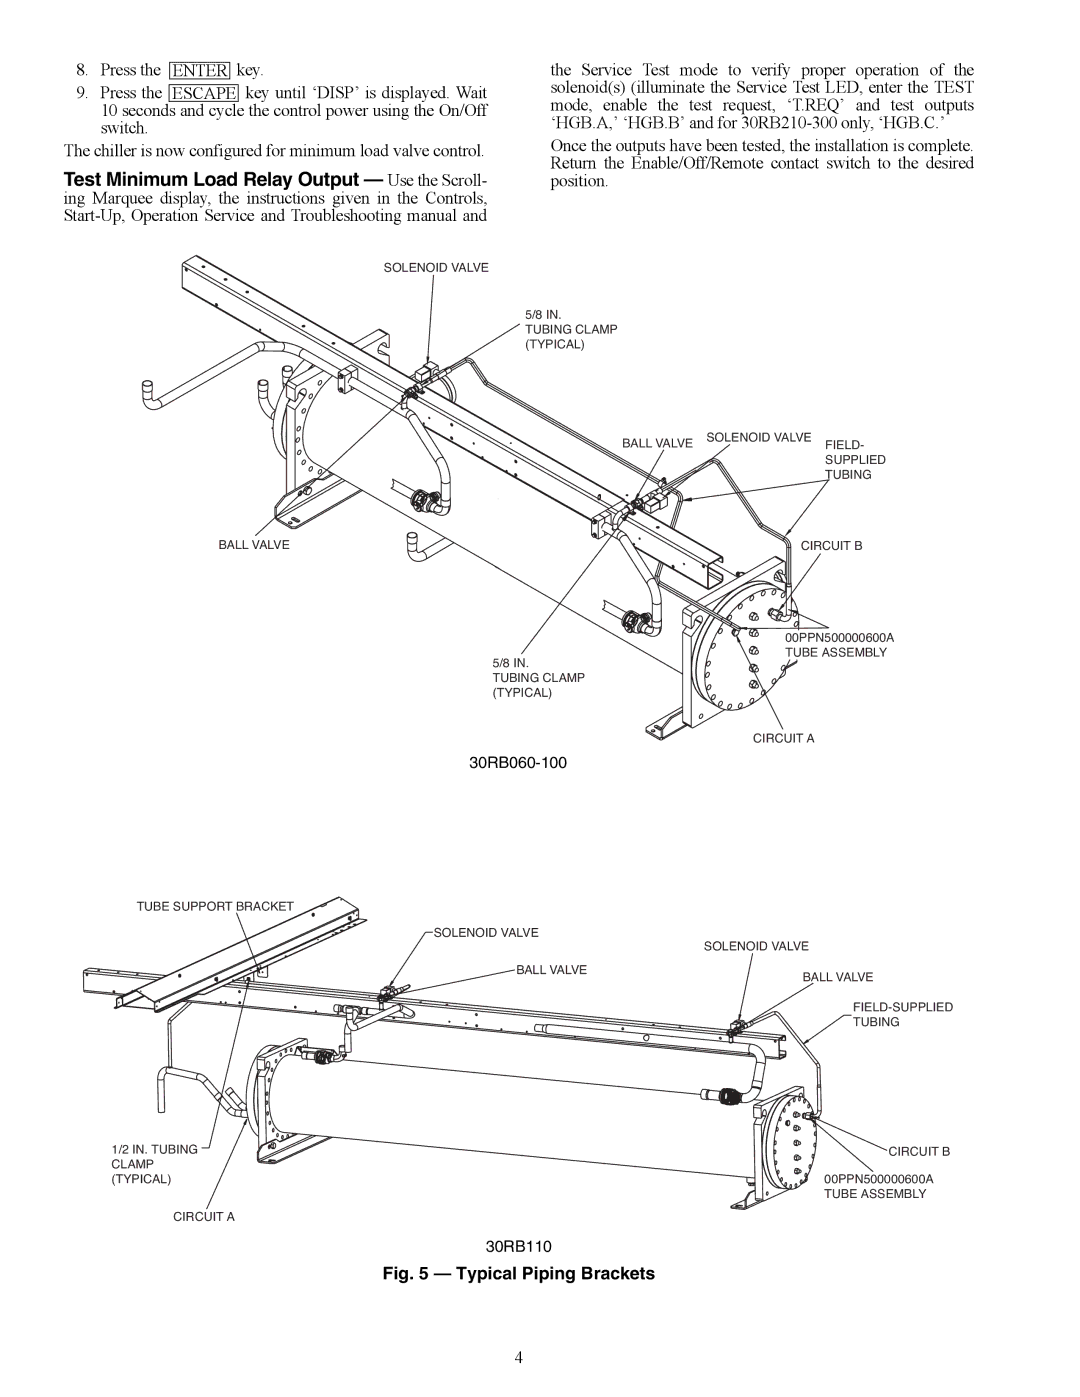
30RB060-390 specifications
The Carrier 30RB060-390 is a highly efficient rooftop air conditioning unit designed for commercial applications. This model is part of Carrier's comprehensive range of packaged rooftop units, recognized for their reliability, energy efficiency, and advanced technology features. Specifically engineered to meet diverse indoor air quality needs, the 30RB series provides an ideal solution for businesses seeking comfort cooling and heating in a single package.One of the standout features of the 30RB060-390 is its energy efficiency. The unit is designed with an energy-efficient compressor and advanced heat exchange technology, often achieving high Seasonal Energy Efficiency Ratio (SEER) ratings. This means that businesses can benefit from lower energy bills while contributing to environmental sustainability. The unit can be configured to run on various electrical power sources, making it adaptable to different installation requirements.
The unit is equipped with a sophisticated microprocessor-based control system, allowing for precise temperature control and operation scheduling. This feature enhances user control, enabling adjustments to be made based on specific environmental needs. Additionally, the unit can be seamlessly integrated with advanced building management systems, which can optimize energy use and improve overall operational efficiency.
The Carrier 30RB060-390 also prioritizes durability and ease of maintenance. The unit's construction incorporates robust materials that withstand harsh weather conditions, ensuring long-term performance. Maintenance access is streamlined, with components strategically designed for easy serviceability, reducing downtime and service costs.
Another key characteristic of the 30RB series is its quiet operation. Engineered with sound-dampening technology and precise motor design, this unit minimizes noise levels, making it ideal for settings where a comfortable and distraction-free atmosphere is crucial, such as offices, schools, and hospitals.
In summary, the Carrier 30RB060-390 embodies a harmonious blend of efficiency, technology, and reliability. With features tailored for commercial use and considerations made for environmental impact, it stands out as a leading choice for rooftop air conditioning solutions. Investing in the 30RB060-390 ensures that businesses can enjoy optimal comfort while maintaining control over energy consumption and operational costs.

