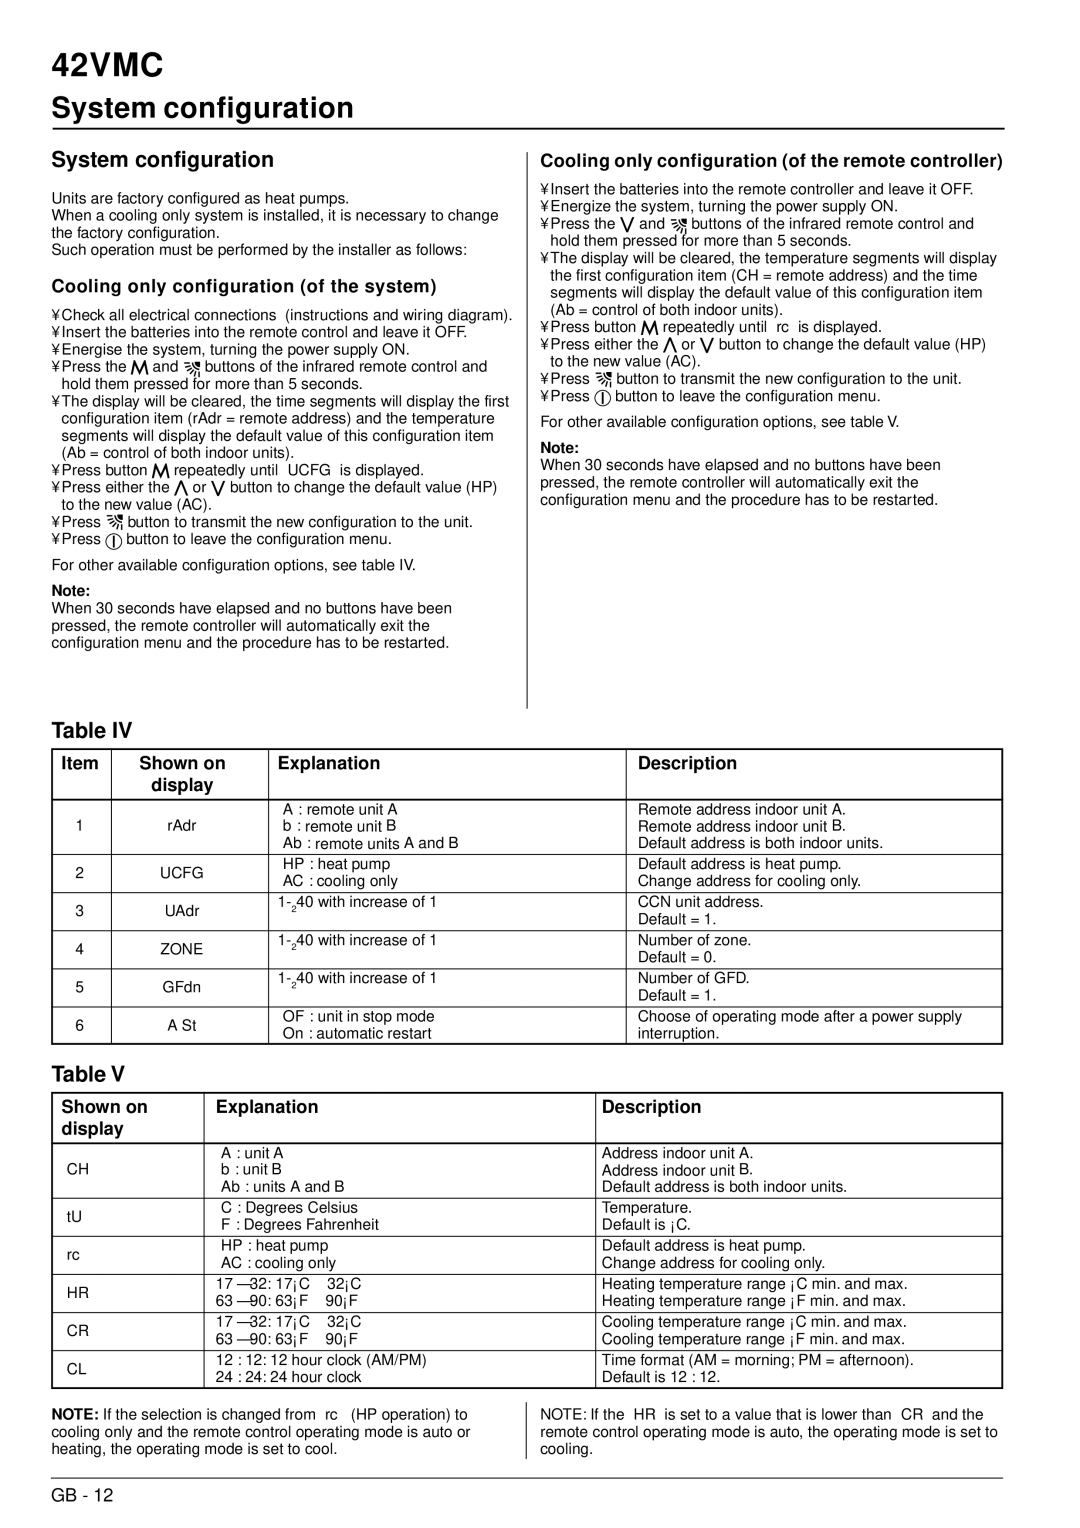
42VMC
System configuration
System configuration
Units are factory configured as heat pumps.
When a cooling only system is installed, it is necessary to change the factory configuration.
Such operation must be performed by the installer as follows:
Cooling only configuration (of the system)
•Check all electrical connections (instructions and wiring diagram).
•Insert the batteries into the remote control and leave it OFF.
•Energise the system, turning the power supply ON.
• Press the ![]() and
and ![]() buttons of the infrared remote control and hold them pressed for more than 5 seconds.
buttons of the infrared remote control and hold them pressed for more than 5 seconds.
•The display will be cleared, the time segments will display the first configuration item (rAdr = remote address) and the temperature segments will display the default value of this configuration item (Ab = control of both indoor units).
•Press button ![]() repeatedly until “UCFG” is displayed.
repeatedly until “UCFG” is displayed.
•Press either the ![]() or
or ![]() button to change the default value (HP) to the new value (AC).
button to change the default value (HP) to the new value (AC).
•Press ![]() button to transmit the new configuration to the unit.
button to transmit the new configuration to the unit.
•Press ![]() button to leave the configuration menu.
button to leave the configuration menu.
For other available configuration options, see table IV.
Note:
When 30 seconds have elapsed and no buttons have been pressed, the remote controller will automatically exit the configuration menu and the procedure has to be restarted.
Cooling only configuration (of the remote controller)
•Insert the batteries into the remote controller and leave it OFF.
•Energize the system, turning the power supply ON.
• Press the ![]() and
and ![]() buttons of the infrared remote control and hold them pressed for more than 5 seconds.
buttons of the infrared remote control and hold them pressed for more than 5 seconds.
•The display will be cleared, the temperature segments will display the first configuration item (CH = remote address) and the time segments will display the default value of this configuration item (Ab = control of both indoor units).
•Press button ![]() repeatedly until “rc” is displayed.
repeatedly until “rc” is displayed.
•Press either the ![]() or
or ![]() button to change the default value (HP) to the new value (AC).
button to change the default value (HP) to the new value (AC).
•Press ![]() button to transmit the new configuration to the unit.
button to transmit the new configuration to the unit.
•Press ![]() button to leave the configuration menu.
button to leave the configuration menu.
For other available configuration options, see table V.
Note:
When 30 seconds have elapsed and no buttons have been pressed, the remote controller will automatically exit the configuration menu and the procedure has to be restarted.
Table IV
Item | Shown on | Explanation | Description | |
| display |
|
| |
|
|
|
| |
|
| “A”: remote unit A | Remote address indoor unit A. | |
1 | “rAdr” | “b”: remote unit B | Remote address indoor unit B. | |
|
| “Ab”: remote units A and B | Default address is both indoor units. | |
2 | “UCFG” | “HP”: heat pump | Default address is heat pump. | |
“AC”: cooling only | Change address for cooling only. | |||
|
| |||
|
|
|
| |
3 | “UAdr” | CCN unit address. | ||
| Default = 1. | |||
|
|
| ||
4 | “ZONE” | Number of zone. | ||
| Default = 0. | |||
|
|
| ||
5 | “GFdn” | Number of GFD. | ||
| Default = 1. | |||
|
|
| ||
6 | “A St” | “OF”: unit in stop mode | Choose of operating mode after a power supply | |
“On”: automatic restart | interruption. | |||
|
|
Table V
Shown on | Explanation | Description | ||
display |
|
|
| |
|
|
| ||
| “A”: unit A | Address indoor unit A. | ||
“CH” | “b”: unit B | Address indoor unit B. | ||
| “Ab”: units A and B | Default address is both indoor units. | ||
“tU” | “C”: Degrees Celsius | Temperature. | ||
“F”: Degrees Fahrenheit | Default is °C. | |||
| ||||
“rc” | “HP”: heat pump | Default address is heat pump. | ||
“AC”: cooling only | Change address for cooling only. | |||
| ||||
“HR” | 17 | – 32: 17°C ÷ 32°C | Heating temperature range °C min. and max. | |
63 | – 90: 63°F ÷ 90°F | Heating temperature range °F min. and max. | ||
| ||||
“CR” | 17 | – 32: 17°C ÷ 32°C | Cooling temperature range °C min. and max. | |
63 | – 90: 63°F ÷ 90°F | Cooling temperature range °F min. and max. | ||
| ||||
“CL” | 12 | : 12: 12 hour clock (AM/PM) | Time format (AM = morning; PM = afternoon). | |
24 | : 24: 24 hour clock | Default is 12 : 12. | ||
| ||||
NOTE: If the selection is changed from “rc” (HP operation) to cooling only and the remote control operating mode is auto or heating, the operating mode is set to cool.
NOTE: If the “HR” is set to a value that is lower than “CR” and the remote control operating mode is auto, the operating mode is set to cooling.
GB - 12
