Page 6 of 12 | Installation and Operating Instructions |
OPTION SETTINGS
Enter/Exit Program Mode
Turn unit on with POWER input.
Enter the program mode by pressing and holding OUT/DIM, S1 and S2 for 3 seconds.
The unit will beep 3 times and the backlighting will begin flashing to indicate that the unit is in program mode. It will continue to flash until program mode is exited by pressing and holding OUT/DIM for 3 seconds, saving the
NOTE: Press and hold the left directional indicator button for 3 seconds to reset to factory default.
Program Mode Sections
OFF 12
S1 |
| S2 |
|
|
|
| YELP | PHSR CARSON | |
| WAIL | CYCLE |
|
3 | STBY | RADIO |
|
|
| ||
| HORN | MANUAL | PA VOL |
| OUT/DIM | ||
|
|
| |
Elite Force
S3 |
| S4 |
| S5 |
| S6 |
|
|
|
|
|
|
|
WARNING: WEAR HEARING PROT ECTION REF . OSHA 1910. 95
Press | Lever Display | Programming | |
OUT/DIM |
|
|
|
0↓ | + | + | |
1↓ | or | or | Lever / |
2↓ | blinking | Option Set 1 | |
3↓ | blinking | Option Set 2 | |
4↓ | blinking | Option Set 3 | |
5 | + | blinking | Second Tone Control |
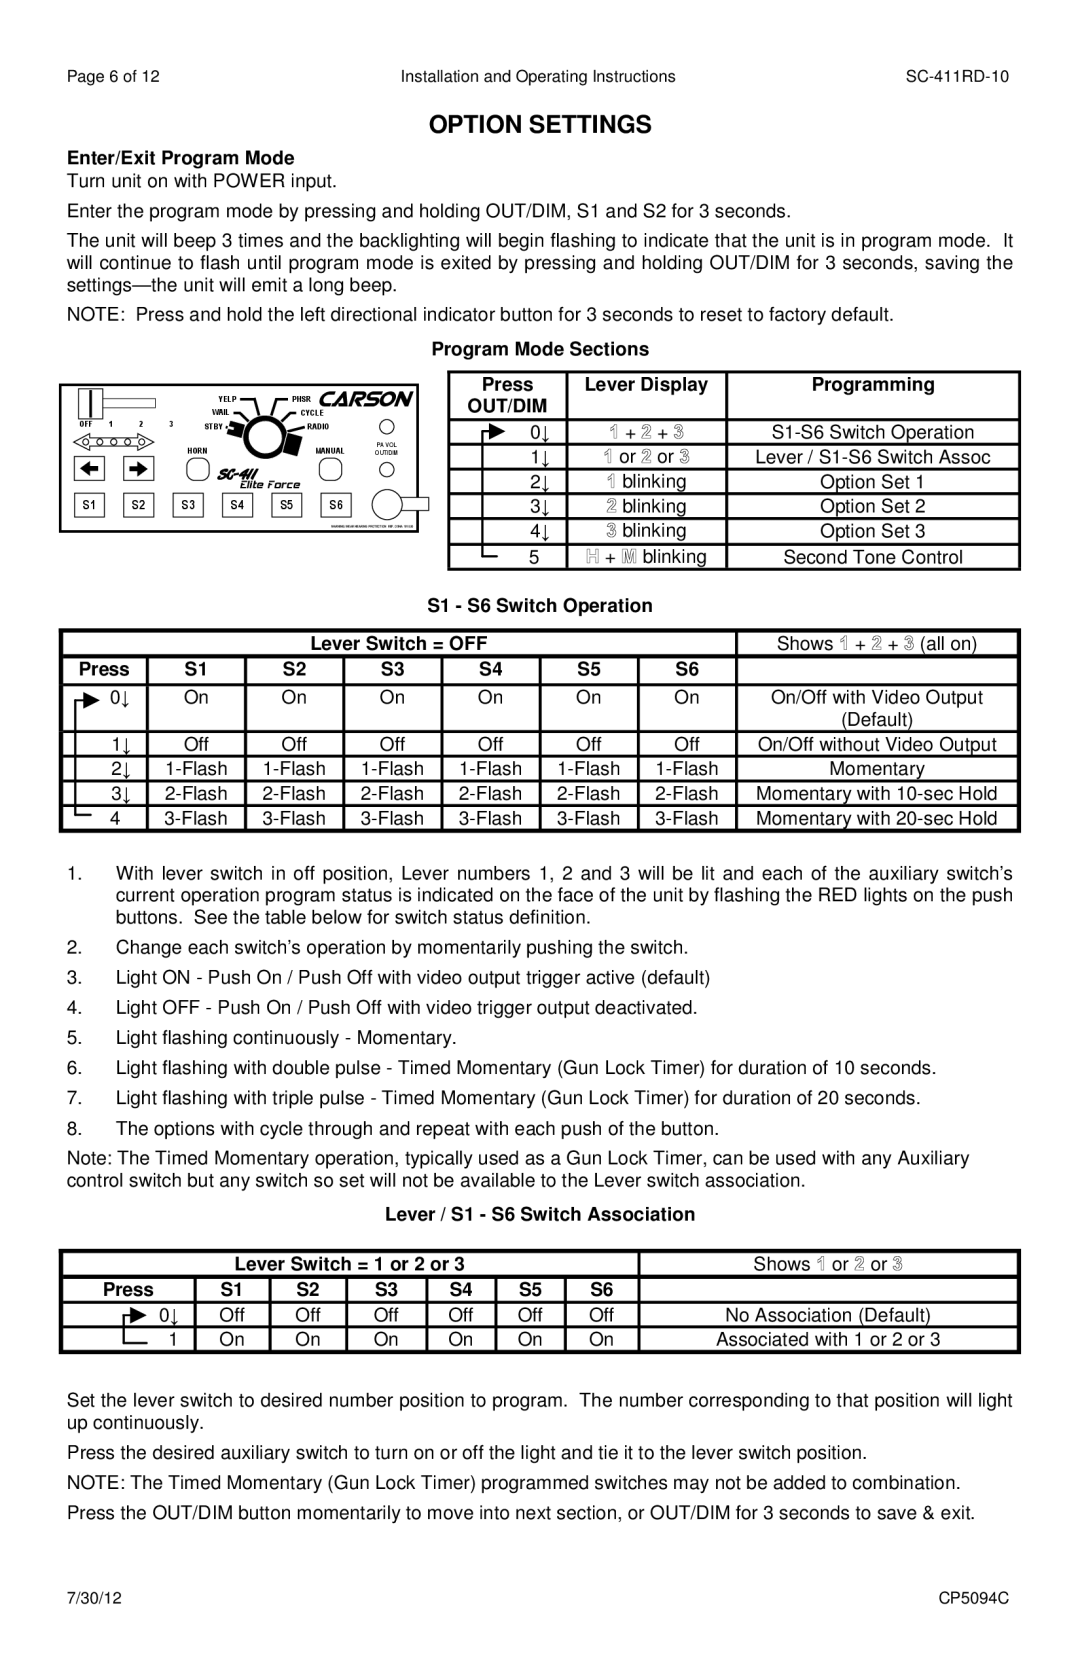
S1 - S6 Switch Operation
|
|
|
| Lever Switch = OFF |
|
| Shows + + (all on) | ||
| Press | S1 | S2 | S3 | S4 | S5 | S6 |
| |
|
|
|
|
|
|
|
|
|
|
|
| 0↓ | On | On | On | On | On | On | On/Off with Video Output |
|
|
|
|
|
|
|
|
| (Default) |
|
| 1↓ | Off | Off | Off | Off | Off | Off | On/Off without Video Output |
|
| 2↓ | Momentary | ||||||
|
| 3↓ | Momentary with | ||||||
|
| 4 | Momentary with | ||||||
|
| ||||||||
1.With lever switch in off position, Lever numbers 1, 2 and 3 will be lit and each of the auxiliary switch’s current operation program status is indicated on the face of the unit by flashing the RED lights on the push buttons. See the table below for switch status definition.
2.Change each switch’s operation by momentarily pushing the switch.
3.Light ON - Push On / Push Off with video output trigger active (default)
4.Light OFF - Push On / Push Off with video trigger output deactivated.
5.Light flashing continuously - Momentary.
6.Light flashing with double pulse - Timed Momentary (Gun Lock Timer) for duration of 10 seconds.
7.Light flashing with triple pulse - Timed Momentary (Gun Lock Timer) for duration of 20 seconds.
8.The options with cycle through and repeat with each push of the button.
Note: The Timed Momentary operation, typically used as a Gun Lock Timer, can be used with any Auxiliary control switch but any switch so set will not be available to the Lever switch association.
Lever / S1 - S6 Switch Association
| Lever Switch = 1 or 2 or 3 |
|
| Shows or or | |||
Press | S1 | S2 | S3 | S4 | S5 | S6 |
|
0↓ | Off | Off | Off | Off | Off | Off | No Association (Default) |
1 | On | On | On | On | On | On | Associated with 1 or 2 or 3 |
Set the lever switch to desired number position to program. The number corresponding to that position will light up continuously.
Press the desired auxiliary switch to turn on or off the light and tie it to the lever switch position.
NOTE: The Timed Momentary (Gun Lock Timer) programmed switches may not be added to combination. Press the OUT/DIM button momentarily to move into next section, or OUT/DIM for 3 seconds to save & exit.
7/30/12 | CP5094C |