Operating the Receiver
While wearing your earbuds, turn the receiver on by rotating the On/Off Volume wheel. The power on indicator will go on. (To turn the receiver off, rotate the On/Off/Volume wheel until it clicks, and the “power on” indicator will go out.)
Adjusting Ear Monitor Volume
Listen for your program source, and adjust receiver volume to a comfortable lis- tening level. The PM101 receiver is capable of providing listening levels loud enough to be heard in use with a rock band. Many bands use on stage loudness levels that with repeated exposure could pose a threat to their hearing. Therefore, it is very important that the PM101 be used at a reasonable and com- fortable listening level.
NOTE: A slight hum may be heard if the receiver is used within six feet of the transmitter. This is normal and does not affect performance.
Testing Receiver Range
Wearing your receiver and earphones, walk around the stage area (and sound board and other areas if crew members are to be equipped with receivers) and listen for audio quality. In certain areas of the room the audio may disappear or “drop out.” This is a normal occurrence whenever radio signals are transmitted inside a building. If you step away from the “drop out” zone, the audio will return. If a drop out zone is within the area of the stage or sound board(s), it is possible to eliminate the drop out zone by moving your PM100 transmitter as little as 12- 18 inches in any direction. After you move the transmitter, “range walk” the stage and other areas again to check for consistent reception.
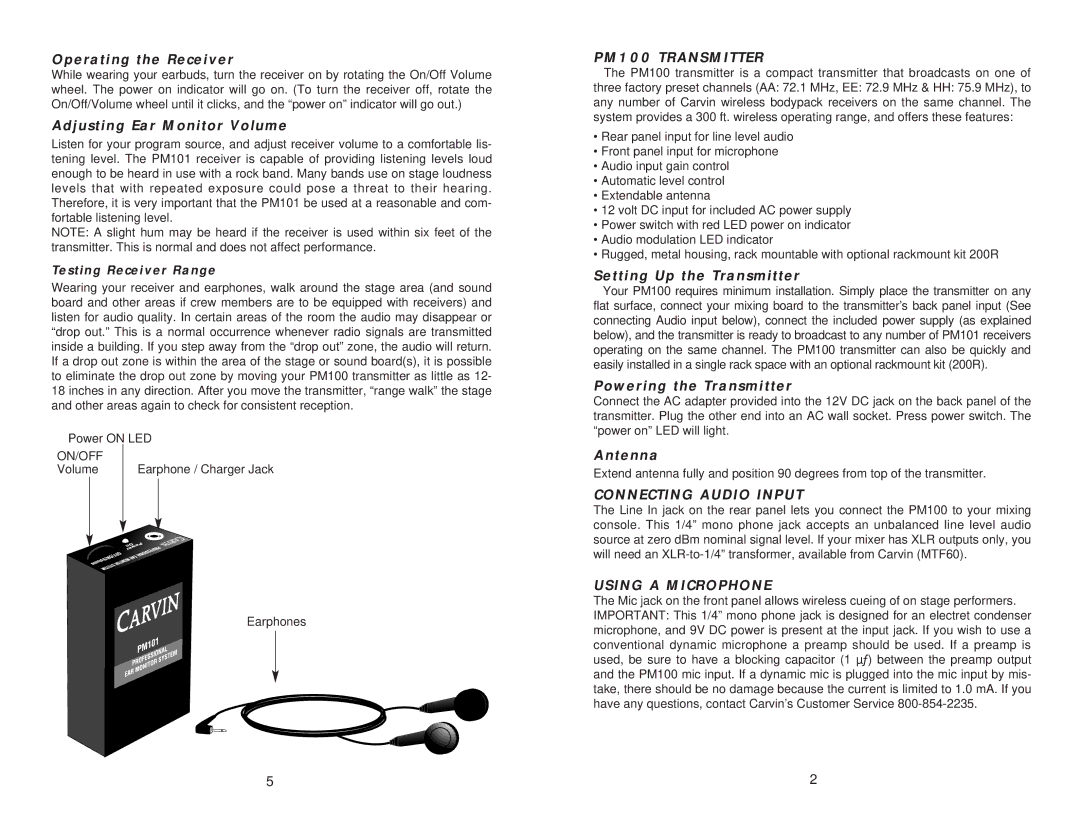
Power ON LED
ON/OFF |
|
Volume | Earphone / Charger Jack |
Earphones
PM100 TRANSMITTER
The PM100 transmitter is a compact transmitter that broadcasts on one of three factory preset channels (AA: 72.1 MHz, EE: 72.9 MHz & HH: 75.9 MHz), to any number of Carvin wireless bodypack receivers on the same channel. The system provides a 300 ft. wireless operating range, and offers these features:
•Rear panel input for line level audio
•Front panel input for microphone
•Audio input gain control
•Automatic level control
•Extendable antenna
•12 volt DC input for included AC power supply
•Power switch with red LED power on indicator
•Audio modulation LED indicator
•Rugged, metal housing, rack mountable with optional rackmount kit 200R
Setting Up the Transmitter
Your PM100 requires minimum installation. Simply place the transmitter on any flat surface, connect your mixing board to the transmitter’s back panel input (See connecting Audio input below), connect the included power supply (as explained below), and the transmitter is ready to broadcast to any number of PM101 receivers operating on the same channel. The PM100 transmitter can also be quickly and easily installed in a single rack space with an optional rackmount kit (200R).
Powering the Transmitter
Connect the AC adapter provided into the 12V DC jack on the back panel of the transmitter. Plug the other end into an AC wall socket. Press power switch. The “power on” LED will light.
Antenna
Extend antenna fully and position 90 degrees from top of the transmitter.
CONNECTING AUDIO INPUT
The Line In jack on the rear panel lets you connect the PM100 to your mixing console. This 1/4” mono phone jack accepts an unbalanced line level audio source at zero dBm nominal signal level. If your mixer has XLR outputs only, you will need an
USING A MICROPHONE
The Mic jack on the front panel allows wireless cueing of on stage performers. IMPORTANT: This 1/4” mono phone jack is designed for an electret condenser microphone, and 9V DC power is present at the input jack. If you wish to use a conventional dynamic microphone a preamp should be used. If a preamp is used, be sure to have a blocking capacitor (1 µƒ) between the preamp output and the PM100 mic input. If a dynamic mic is plugged into the mic input by mis- take, there should be no damage because the current is limited to 1.0 mA. If you have any questions, contact Carvin’s Customer Service
5 | 2 |
