
C45GxxxB specifications
The Casablanca Fan Company C45GxxxB is a striking ceiling fan that combines elegance, efficiency, and cutting-edge technology, making it an ideal choice for various room settings. Known for its stylish design and reliable performance, this model stands out in both aesthetics and functionality.A key feature of the C45GxxxB is its sleek, contemporary design that fits seamlessly into modern decor. Available in various finishes, it offers options such as classic white, sophisticated brushed nickel, and rich mahogany, allowing homeowners to choose the perfect complement to their interior design scheme. The fan’s blades are crafted from durable materials, ensuring longevity and resistance to wear over time.
This model boasts a powerful motor that delivers an impressive airflow while operating quietly, which is essential for maintaining a peaceful environment. The efficiency of the C45GxxxB is further enhanced by its emphasis on energy conservation. The fan is designed to provide optimal circulation while consuming minimal energy, making it an environmentally friendly choice for those looking to reduce their energy bills.
The Casablanca C45GxxxB is equipped with advanced features such as a multi-speed remote control system, allowing users to effortlessly adjust the fan's speed and lighting from the comfort of their seating area. The remote control enhances convenience, especially for installations in high ceilings or hard-to-reach places. Additionally, this fan may be compatible with smart home technology, allowing integration into existing smart systems for voice control and automation.
Another noteworthy aspect is its integrated lighting feature, which often includes dimming options. This allows for customizable ambiance in any room, whether it’s for intimate gatherings or vibrant family activities. The fan's light kits are designed to provide ample illumination without being overly intrusive.
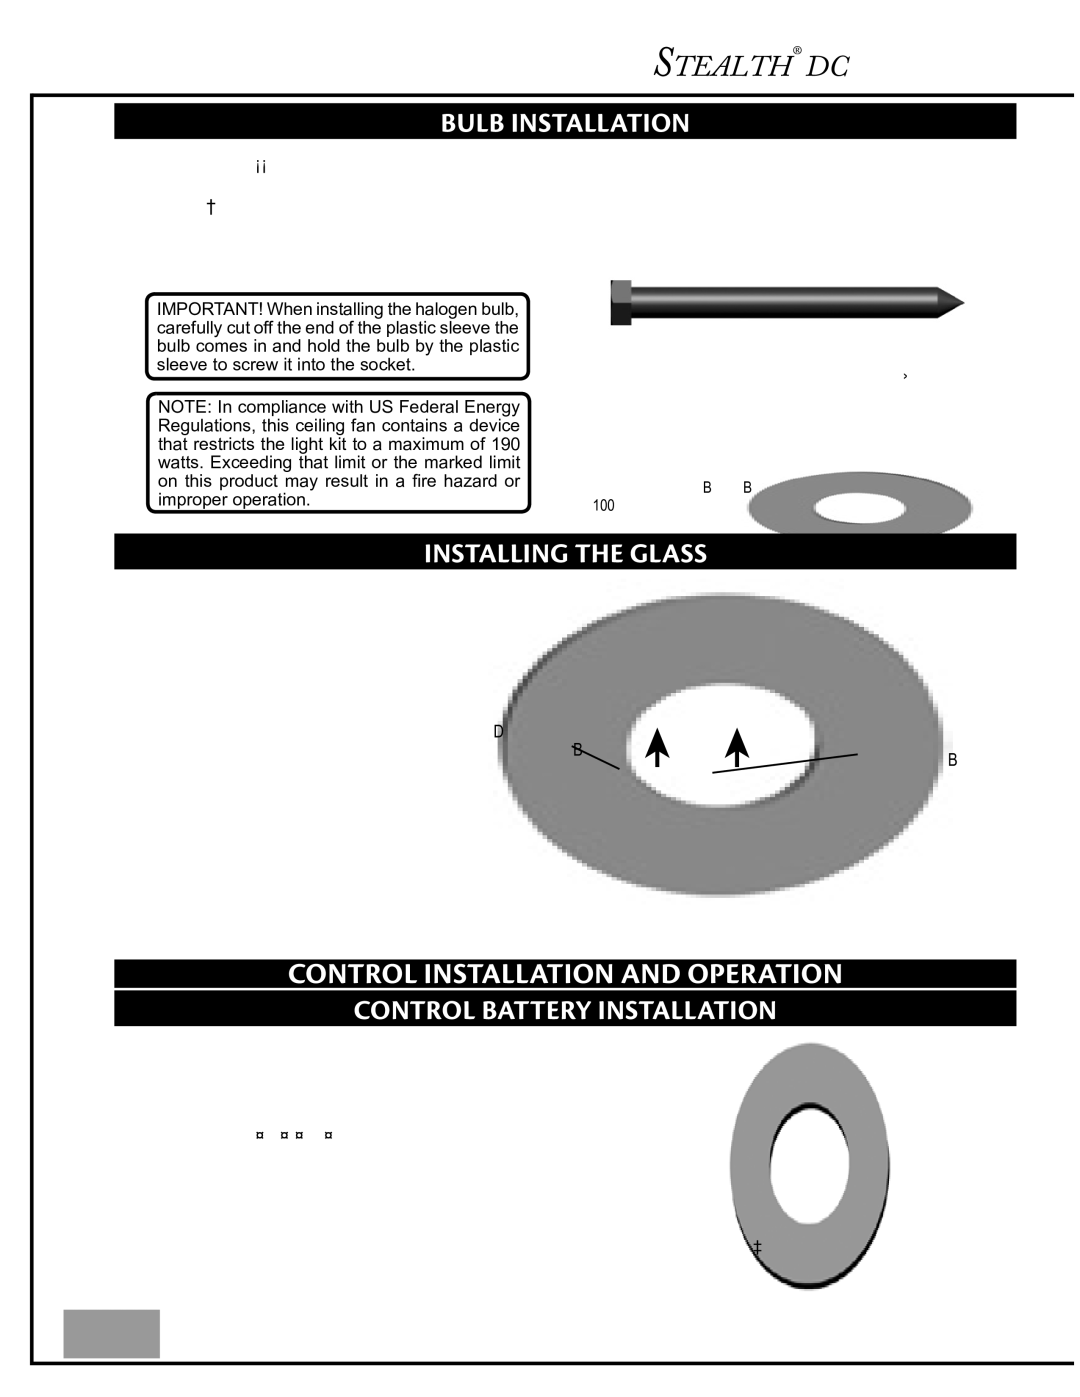
The installation process for the C45GxxxB is user-friendly, with a downloadable instruction manual and video guides available for assistance. The fan also comes with a manufacturer’s warranty, ensuring that customers have peace of mind regarding their investment.
In conclusion, the Casablanca Fan Company C45GxxxB is a perfect blend of style, efficiency, and modern technology, making it a worthy addition to any home. Its combination of aesthetic appeal, energy-saving capabilities, and user-centric features positions it as an excellent choice for homeowners seeking a reliable and stylish ceiling fan.