USER’S GUIDE 2412
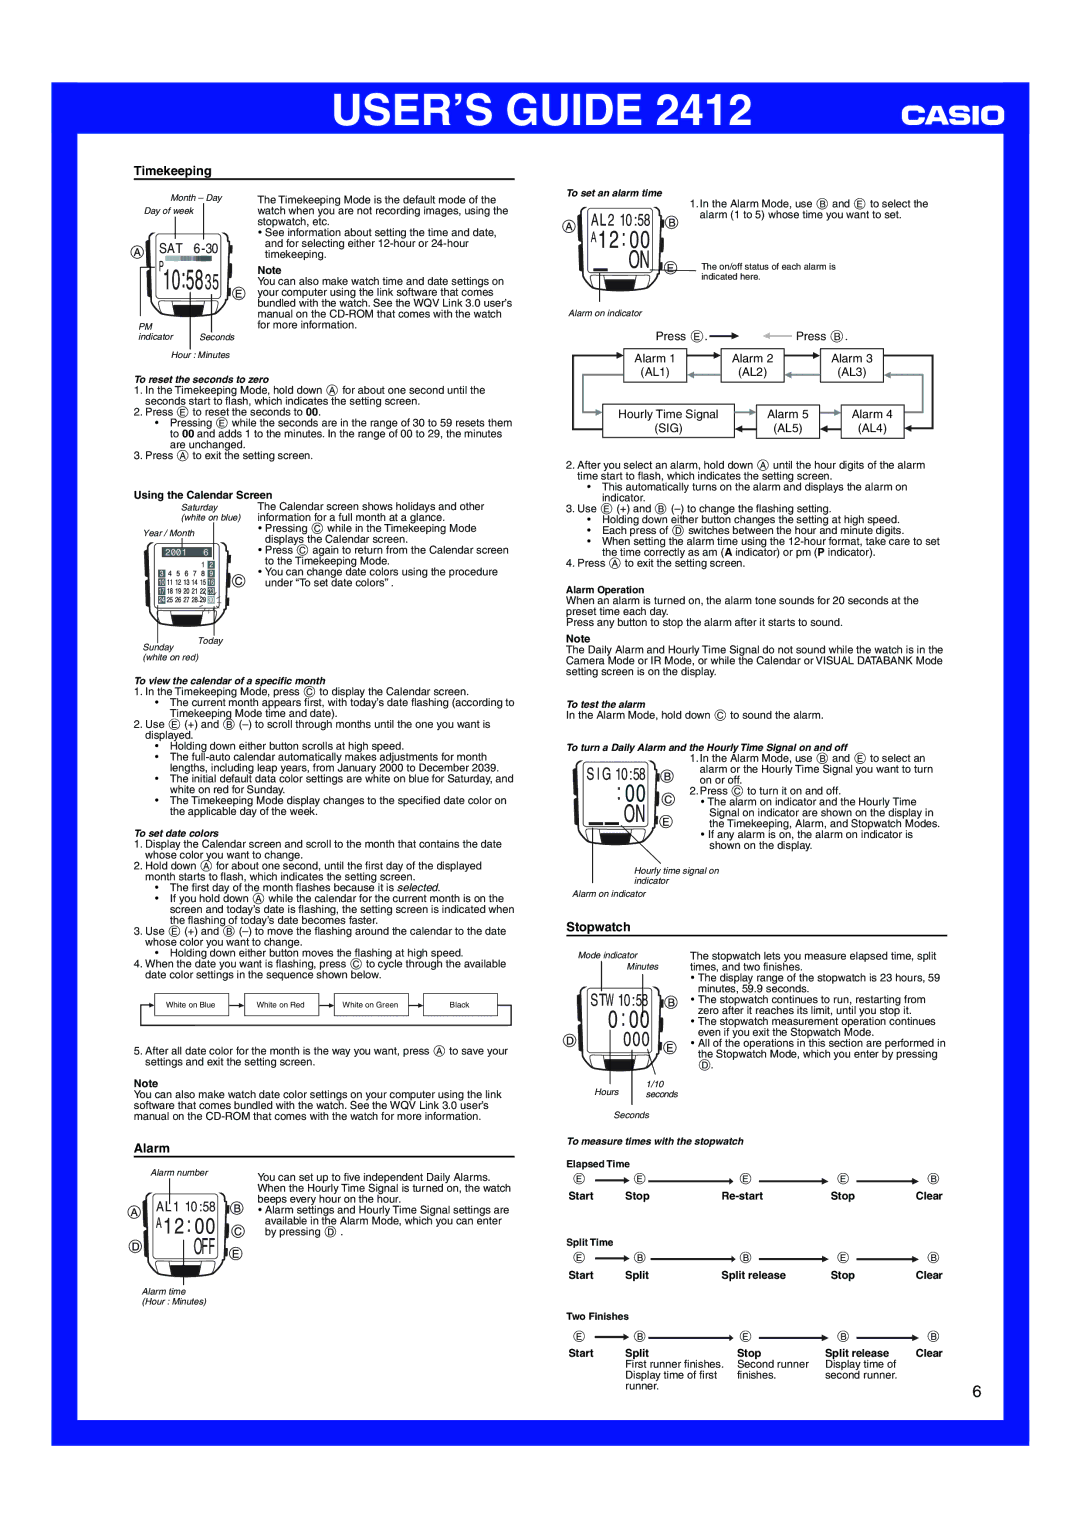
Timekeeping
Month – Day
Day of week
SAT

 P1‰:5835
PM |
|
indicator | Seconds |
Hour : Minutes
The Timekeeping Mode is the default mode of the watch when you are not recording images, using the stopwatch, etc.
•See information about setting the time and date, and for selecting either
Note
You can also make watch time and date settings on your computer using the link software that comes bundled with the watch. See the WQV Link 3.0 user’s manual on the
To set an alarm time
|
|
|
| 1. In the Alarm Mode, use B and E to select the | ||||
AL21‰:58 | alarm (1 to 5) whose time you want to set. | |||||||
|
|
|
|
| ||||
A12:‰‰ |
|
|
|
|
| |||
|
|
| ON | The on/off status of each alarm is | ||||
|
|
|
| indicated here. |
|
| ||
|
|
|
|
|
|
|
|
|
Alarm on indicator |
|
|
|
|
| |||
|
|
|
| Press E. |
|
|
| Press B. |
|
|
|
|
|
| |||
Alarm 1 | Alarm 2 | Alarm 3 |
(AL1) | (AL2) | (AL3) |
To reset the seconds to zero
1.In the Timekeeping Mode, hold down A for about one second until the seconds start to flash, which indicates the setting screen.
2.Press E to reset the seconds to 00.
•Pressing E while the seconds are in the range of 30 to 59 resets them to 00 and adds 1 to the minutes. In the range of 00 to 29, the minutes are unchanged.
3.Press A to exit the setting screen.
Using the Calendar Screen
| Saturday | The Calendar screen shows holidays and other | ||||
| (white on blue) information for a full month at a glance. | |||||
Year / Month |
|
|
| • Pressing C while in the Timekeeping Mode | ||
|
|
| displays the Calendar screen. | |||
|
|
|
|
|
| |
|
|
|
|
| • Press C again to return from the Calendar screen | |
|
| 6 |
| |||
| 2001 |
| ||||
|
|
|
|
|
| to the Timekeeping Mode. |
|
|
|
|
|
| • You can change date colors using the procedure |
|
|
|
|
|
| |
|
|
|
|
|
| under “To set date colors” . |
|
|
|
| l |
|
|
|
| l | l |
| ll | |
|
|
|
|
|
| |
|
| l |
|
|
| l |
|
| l | ll | |||
|
|
|
|
| ||
|
|
| ll |
| ||
Today
Sunday (white on red)
To view the calendar of a specific month
1.In the Timekeeping Mode, press C to display the Calendar screen.
•The current month appears first, with today’s date flashing (according to Timekeeping Mode time and date).
2.Use E (+) and B
•Holding down either button scrolls at high speed.
•The
•The initial default data color settings are white on blue for Saturday, and white on red for Sunday.
•The Timekeeping Mode display changes to the specified date color on the applicable day of the week.
To set date colors
1.Display the Calendar screen and scroll to the month that contains the date whose color you want to change.
2.Hold down A for about one second, until the first day of the displayed month starts to flash, which indicates the setting screen.
•The first day of the month flashes because it is selected.
•If you hold down A while the calendar for the current month is on the screen and today’s date is flashing, the setting screen is indicated when the flashing of today’s date becomes faster.
3.Use E (+) and B
•Holding down either button moves the flashing at high speed.
4.When the date you want is flashing, press C to cycle through the available date color settings in the sequence shown below.
White on Blue |
|
| White on Red |
|
| White on Green |
|
| Black |
|
|
|
|
|
|
|
|
|
|
|
|
|
|
|
|
|
|
|
|
|
|
|
5.After all date color for the month is the way you want, press A to save your settings and exit the setting screen.
Note
You can also make watch date color settings on your computer using the link software that comes bundled with the watch. See the WQV Link 3.0 user’s manual on the
Alarm
Alarm number | You can set up to five independent Daily Alarms. | |
|
| |
|
| When the Hourly Time Signal is turned on, the watch |
AL1 1‰:58 | beeps every hour on the hour. | |
• Alarm settings and Hourly Time Signal settings are | ||
A12:‰‰ | available in the Alarm Mode, which you can enter | |
by pressing D . | ||
| OFF |
|
|
| |
|
|
|
Alarm time |
| |
(Hour : Minutes) |
| |
| Hourly Time Signal |
|
|
| Alarm 5 |
|
|
| Alarm 4 |
|
|
|
|
|
|
| |||
| (SIG) |
|
|
| (AL5) |
|
|
| (AL4) |
|
|
|
|
| |||||
|
|
|
|
|
|
|
|
|
|
2.After you select an alarm, hold down A until the hour digits of the alarm time start to flash, which indicates the setting screen.
•This automatically turns on the alarm and displays the alarm on indicator.
3.Use E (+) and B
•Holding down either button changes the setting at high speed.
•Each press of D switches between the hour and minute digits.
•When setting the alarm time using the
4.Press A to exit the setting screen.
Alarm Operation
When an alarm is turned on, the alarm tone sounds for 20 seconds at the preset time each day.
Press any button to stop the alarm after it starts to sound.
Note
The Daily Alarm and Hourly Time Signal do not sound while the watch is in the Camera Mode or IR Mode, or while the Calendar or VISUAL DATABANK Mode setting screen is on the display.
To test the alarm
In the Alarm Mode, hold down C to sound the alarm.
To turn a Daily Alarm and the Hourly Time Signal on and off
|
|
|
| 1. In the Alarm Mode, use B and E to select an |
SIG1‰:58 | alarm or the Hourly Time Signal you want to turn | |||
on or off. | ||||
|
| :‰‰ | 2. Press C to turn it on and off. | |
|
| • The alarm on indicator and the Hourly Time | ||
|
|
| ON | Signal on indicator are shown on the display in |
|
|
| the Timekeeping, Alarm, and Stopwatch Modes. | |
|
|
| ||
•If any alarm is on, the alarm on indicator is shown on the display.
Hourly time signal on indicator
Alarm on indicator
Stopwatch
The stopwatch lets you measure elapsed time, split
Minutes times, and two finishes.
•The display range of the stopwatch is 23 hours, 59 minutes, 59.9 seconds.
• The stopwatch continues to run, restarting from zero after it reaches its limit, until you stop it.
• The stopwatch measurement operation continues
‰‰‰• All of the operations in this section are performed in the Stopwatch Mode, which you enter by pressingeven if you exit the Stopwatch Mode.
|
|
|
|
| D. |
|
|
|
|
|
|
|
|
|
|
| Hours | 1/10 |
|
|
|
|
|
|
|
|
| ||
|
| seconds |
|
|
|
|
|
|
|
|
| |||
|
| Seconds |
|
|
|
|
|
|
|
|
| |||
To measure times with the stopwatch |
|
|
|
| ||||||||||
Elapsed Time |
|
|
|
|
|
|
|
|
| |||||
E |
| E |
|
|
|
| E |
|
|
| E |
| B | |
Start | Stop |
| Stop | Clear | ||||||||||
Split Time |
|
|
|
|
|
|
|
|
|
|
|
| ||
E |
| B |
|
|
| B |
|
| E |
| B | |||
Start | Split | Split release |
| Stop | Clear | |||||||||
Two Finishes |
|
|
|
|
|
|
|
|
| |||||
E |
| B |
|
|
| E |
|
| B |
| B | |||
Start | Split |
|
| Stop |
| Split release | Clear | |||||||
|
|
| First runner finishes. Second runner |
| Display time of |
| ||||||||
|
|
| Display time of first |
|
| finishes. |
| second runner. |
| |||||
|
|
| runner. |
|
|
|
|
|
|
|
| 6 | ||
|
|
|
|
|
|
|
|
|
|
|
|
|
| |