Safety Precautions
Precauciones de seguridad
English
Español
IMPORTANT SAFETY INSTRUCTIONS
Declaration of Conformity
NOTICE
FCC WARNING
Important
Contents
Included Accessories
Separately Available Accessories
General Guide
General Guide
VOLUME
POWER
INTRO, REPEAT
4NORMAL/FILL-IN,REW button ☞E-27
Page
Using the 10-keyPad (br)
Number Buttons
[–]and [+] Keys
FUNCTION Button (ck) Functions
To select a function
Returning the Digital Piano to Its Factory Default Settings
Getting Ready to Play
Preparing the Music Stand
Connecting a Pedal Unit
Power Supply
Using the AC Adaptor
Playing the Digital Piano
Turning on Power and Playing
Auto Power Off
Using Headphones
Changing Keyboard Response to Touch Pressure
(Touch Response)
Changing Touch Response Sensitivity
Adjusting Display Contrast
Using the Metronome
Start/Stop
Changing the Beats per Measure
Changing the Metronome Tempo
Changing the Metronome Sound Volume
Controlling the Keyboard Sounds
Select from a variety of musical instrument sounds
To select an instrument for playing
Playing with a Piano or Organ Tone
Layering Two Tones
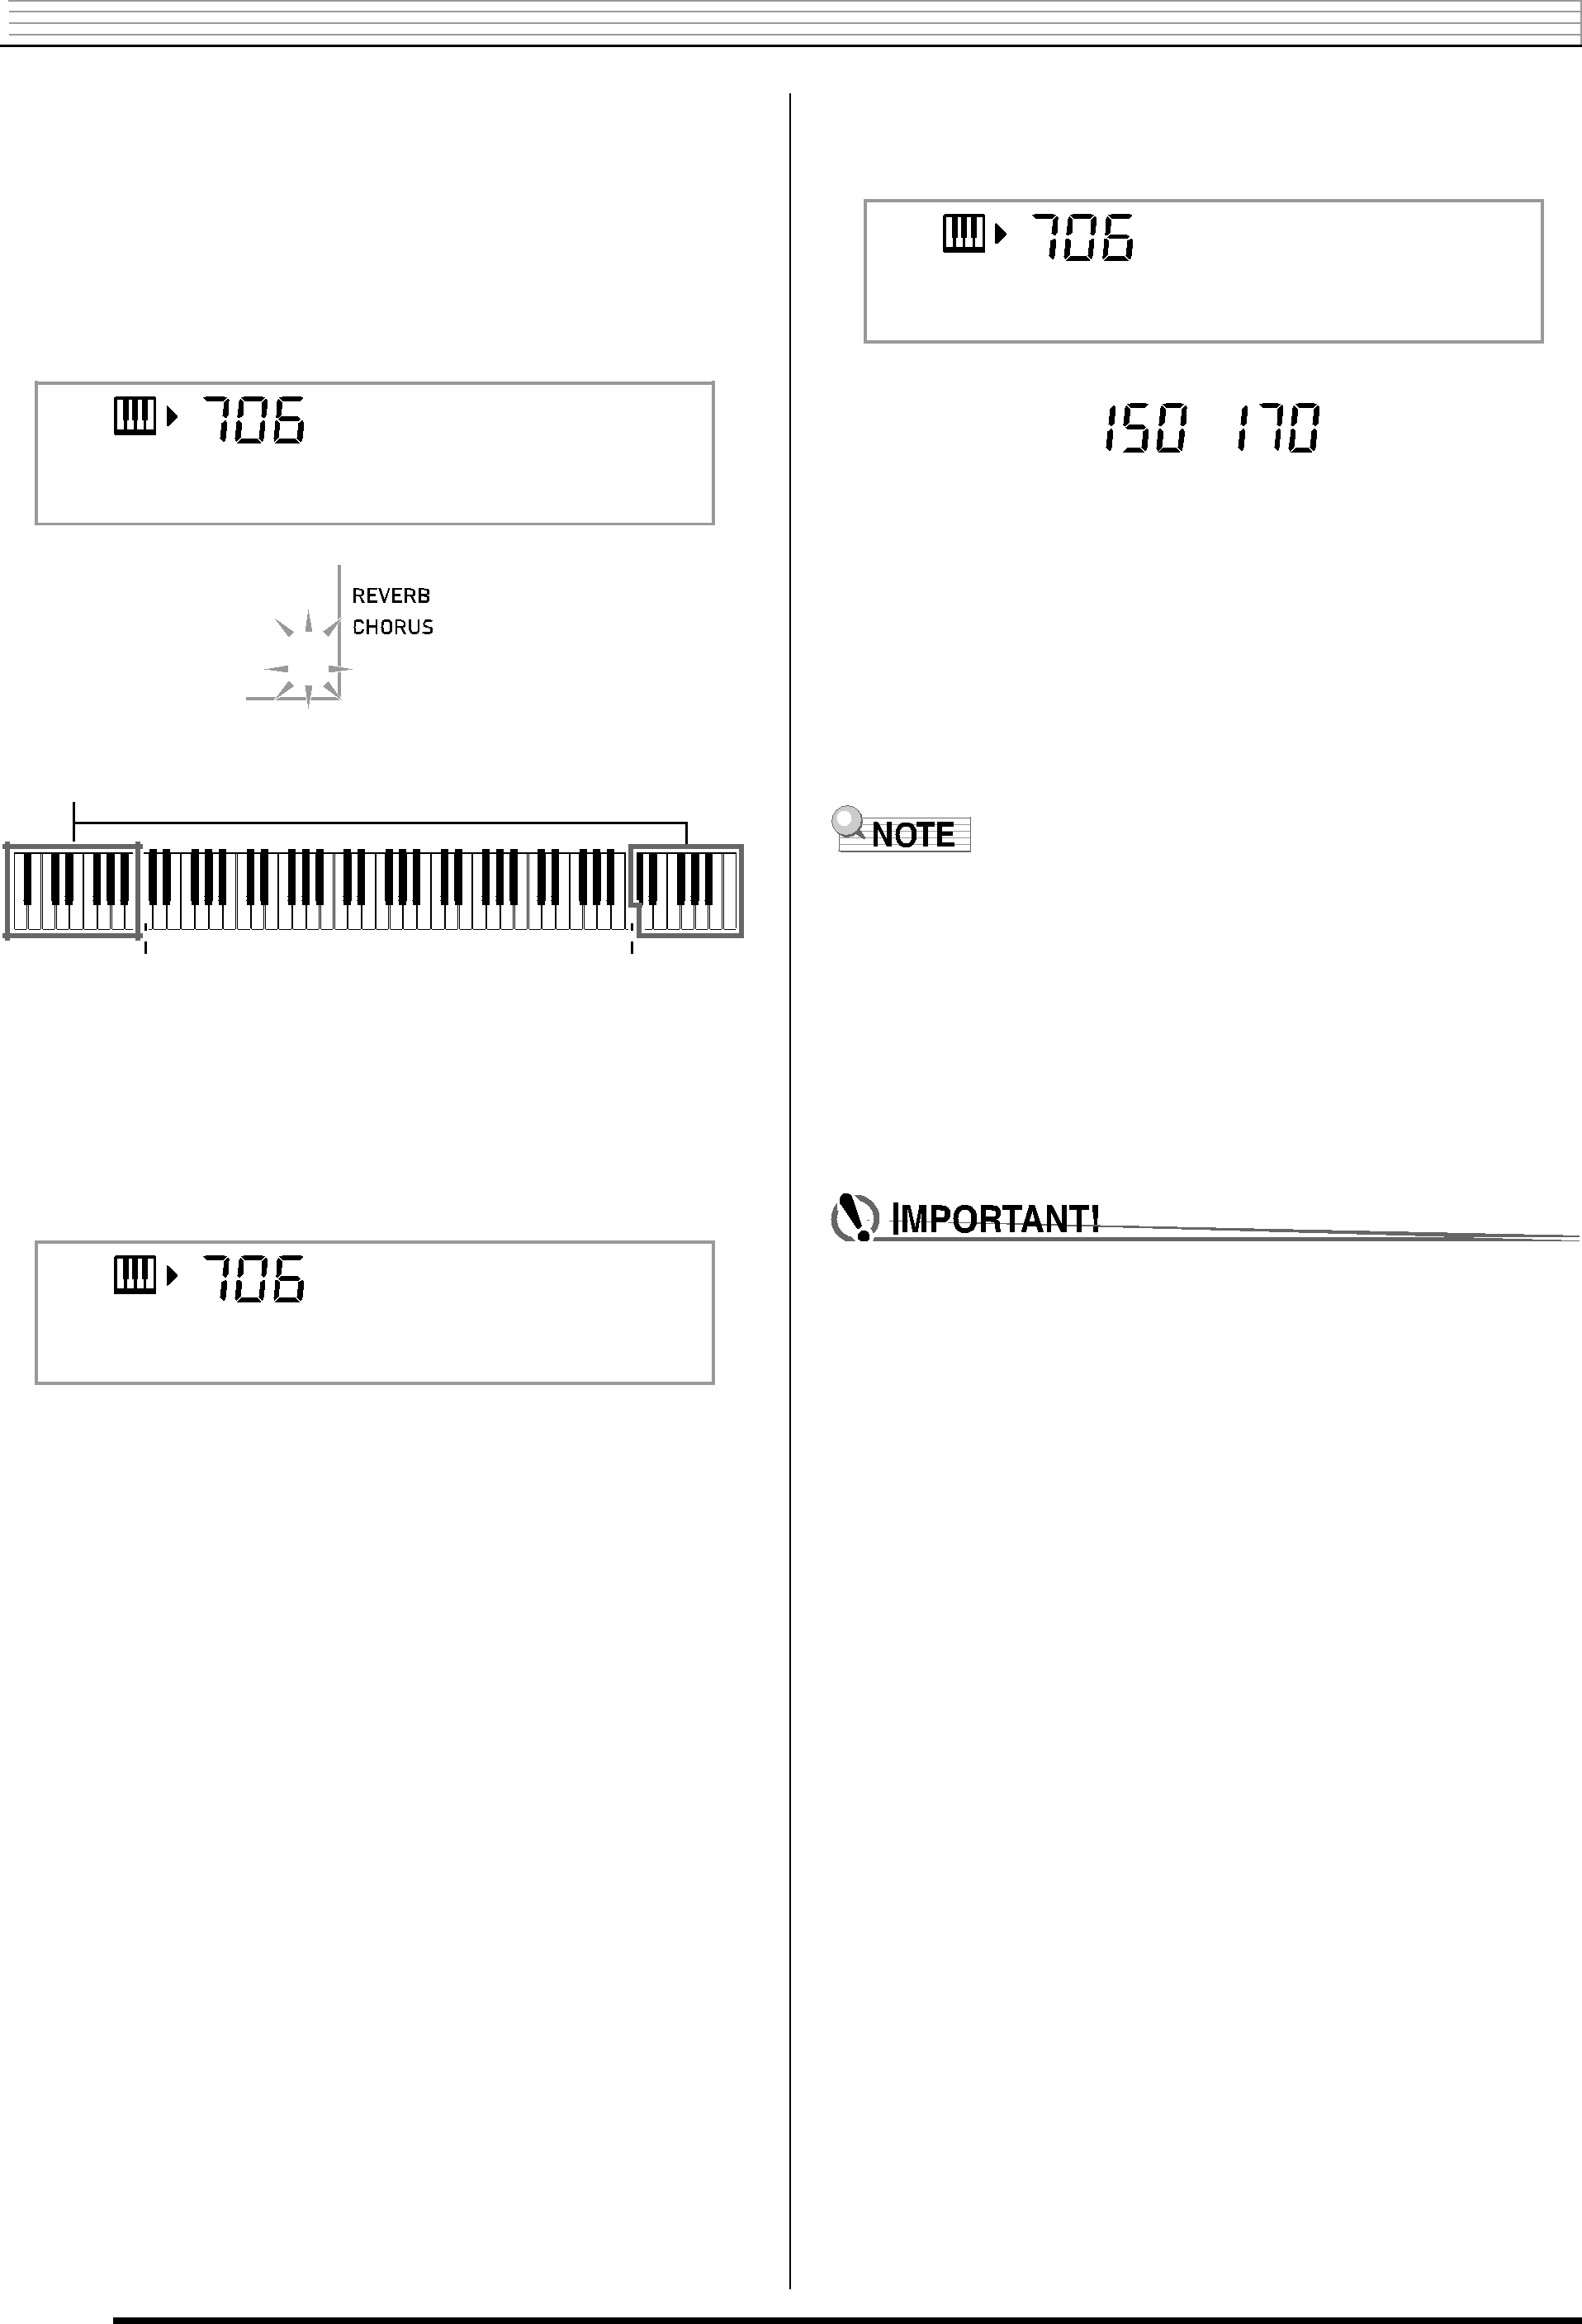
Splitting the Keyboard between Two Different Tones
To select the two tones for a split keyboard
Using Chorus
To change the split point
Using Reverb
Using a Pedal
Selecting the Pedal Effect
Changing the Pitch
(Transpose, Tuning, Octave Shift)
Changing the Pitch in Semitone Steps (Transpose)
Using the Pitch Bend Wheel to Shift the Pitch of Notes
To play with the pitch bend wheel
Specifying the Pitch Bend Range
Connection and Preparation
Sampling and Playing a Melody
Sound (Melody Sampling)
To sample a sound
Looping a Sampled Sound
Changing the Volume of Sampled Sound Looped Playback
Applying Effects to a Sampled Sound
Incorporating a Sampled Sound into a Drum Set (Drum Sampling)
Press the keyboard key
5.Output the sound in the direction of the microphone
After the sound you want to sample is finished, press
7.Press the keyboard key
Editing Sampled Drum Set Sounds
Using a Drum Sampling Tone in Auto
Accompaniment (Drum Assign)
Other Sampling Functions
Changing to a Manual Sampling Start
Changing to Manual Sampling Stop
Deleting a Sampled Sound
Protecting Against Accidental Deletion of Sampled Sounds
Playing Built-inSongs
Playing the Demo Songs
Playing Back a Particular Song
Repeating Playback of Specific Measures
Pause, Skip Forward, Skip Back
Playing with the Tone as Song Playback
Changing Playback Speed (Tempo)
Turning Off the Part of One Hand for Practice
(Part Select)
Adjusting the Song Volume
Increasing the Selection of Songs
Phrases
Step Up Lesson Flow
Messages that Appear during Lessons
Selecting the Song, Phrase, and
Part You Want to Practice
Lessons 1, 2, and
Lesson 1: Listen to the song
Lesson 2: Watch how the song is played
Lesson 3: Remember what you learned as you play
Playing a Particular Song All the Way Through
Lesson Settings
Playing without Phrase Repeat
Turning Off Voice Fingering Guide
Turning Off Note Guide
Turning Off Performance Evaluation
Changing the Phrase Length
Using Auto Step Up Lesson
Music Challenge Keyboard Game
Using Auto Accompaniment
Playing the Rhythm Part only
Starting and Stopping the Rhythm Part only
Playing All Parts
Auto Accompaniment with Chords
Selecting a Chord Input Mode
■FINGERED 1, 2, and
●FINGERED
■CASIO CHORD
CASIO CHORD Fingering
Chord Type
Using Auto Accompaniment
Effectively
Auto Accompaniment Pattern Variations
Adjusting the Accompaniment Volume
Using One-TouchPreset
Changing Auto Accompaniment Speed
(Tempo)
Using Auto Harmonize
Looking Up the Notes of Chords
(Chord Book)
Editing Auto Accompaniment Patterns
To edit and save an Auto Accompaniment
Editing Auto Accompaniment Patterns
3. Press a button from 3 to 6 to select the
7. To edit the other contents, press ck
Accompaniment Pattern you want to edit
(FUNCTION) to display the screen for the
To delete saved data
Saving Keyboard Setups to Registration Memory
Area
■Registration Save Example
Setup 1–1
Setup 1–2
To save a setup to registration memory
To recall a setup from registration memory
Recording Your Keyboard Play
Recording and Playing Back Keyboard Play
Using Tracks to Record and Mix
Parts
To record to Tracks 1 through
3. Press a button from cm to cq to select the track
7. After you finish recording all of the tracks
number of the next track to which you want to
press
record
Recording Two or More Songs, and Selecting One for Playback
Recording while Playing Along with a Built-inSong
Saving Recorded Data on an
External Device
Other Useful Digital Piano Functions
Changing the Scale of the
Keyboard
Using the Current Scale Notes for Auto Accompaniments
Using Music Preset
Using the Arpeggiator
Sustaining an Arpeggio (Arpeggiator Hold)
Deleting User Song Data
Deleting All Data in Digital Piano Memory
Using a Memory Card
Memory Card and Card Slot Precautions
Inserting and Removing a
Memory Card
Formatting a Memory Card
Saving Digital Piano Data to a
Loading Data from a Memory
Card into Digital Piano Memory
Deleting Data from a Memory
Card
Playing Back Data from a Memory
Memory Card Error Messages
Connecting External Devices
Connecting a Computer
Minimum Computer System Requirements
Connecting the Digital Piano to Your Computer
MIDI Settings
Keyboard Channel
Navigate Channels
Local Control
Accomp Out
Storing and Loading Digital Piano Memory Data
Data Types Supported for Data Transfer
Downloading Data Manager
Connecting to Audio Equipment
Outputting Digital Piano Notes to Audio Equipment
Playing an External Device from the Digital Piano
Reference
Troubleshooting
Reference
Operation
Computer Connection
Specifications
Operating Precautions
Error Messages
Song List
SONG BANK
Fingering Guide
Fingered 1, Fingered 2 Chords
Fingered 3, Full Range Chords
Model: CDP-220R
Version :
Recognized
Remarks
Basic
Program
System Exclusive
System
Common
Real Time

 Sampling Sounds and Playing Them on the Digital Piano


