9. Use [4] and [6] to select the continuous shutter | CS speed | ||||
| (CS) speed you want and then press [SET]. |
|
|
| |
|
|
|
| ||
|
|
|
|
|
|
|
|
|
|
|
|
| AUTO | The camera measures light levels and configures the fastest | |||
| possible CS speed setting automatically. |
|
|
| |
|
|
|
|
| |
1 to 40 fps Enablessecond. specification of the number of CS images recorded per
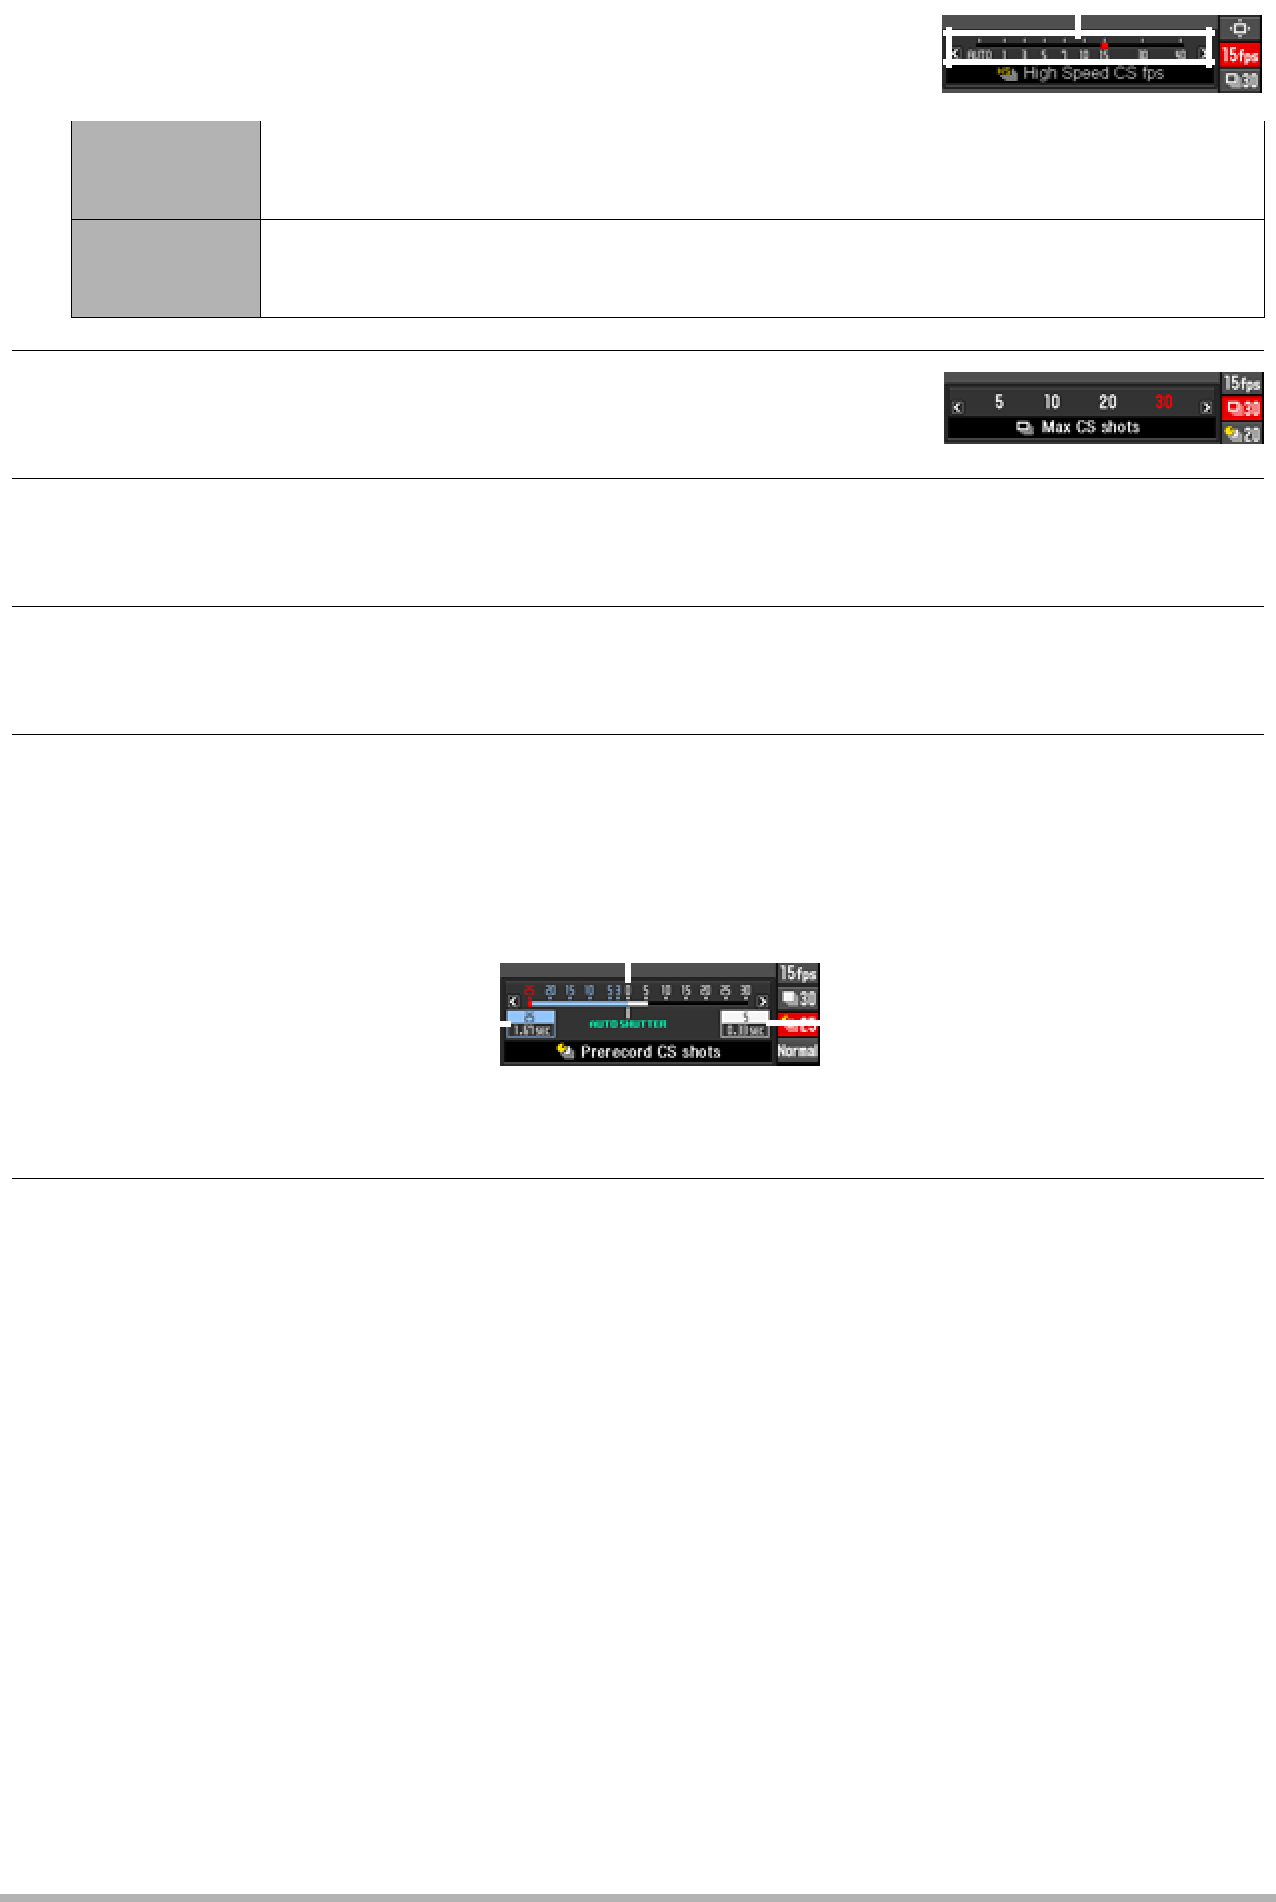
10.Use [8] and [2] to select the third control panel option from the bottom (Max CS shots).
11.Use [4] and [6] to select the maximum number of shots for each continuous shutter operation and then press [SET].
12.Use [8] and [2] to select the second control panel option from the bottom (Prerecord CS shots).
13.Use [4] and [6] to specify how many of the 30 images and for how long images should be
•You cannot set a value of “0” for the number of Prerecord CS buffer images.
|
|
| Shutter button | ||||||
Number of |
|
|
|
|
|
|
|
| Number of remaining images |
|
|
|
| ||||||
images and |
|
|
|
|
|
|
|
| and remaining recording |
(Not displayed when “AUTO” |
|
|
|
|
|
|
|
| time after the shutter button |
|
|
|
|
|
|
| |||
is selected for “High Speed |
|
|
|
|
|
|
|
| |
CS fps”.) |
|
|
|
|
|
|
|
| when “AUTO” is selected for |
|
|
|
|
|
|
|
|
| “High Speed CS fps”.) |
14.Use [8] and [2] to select the bottom control panel option (Trigger
Sense).
82 | Using BEST SHOT |
|