3.Use [S] and [T] to select “Trim” and then
press [SET].
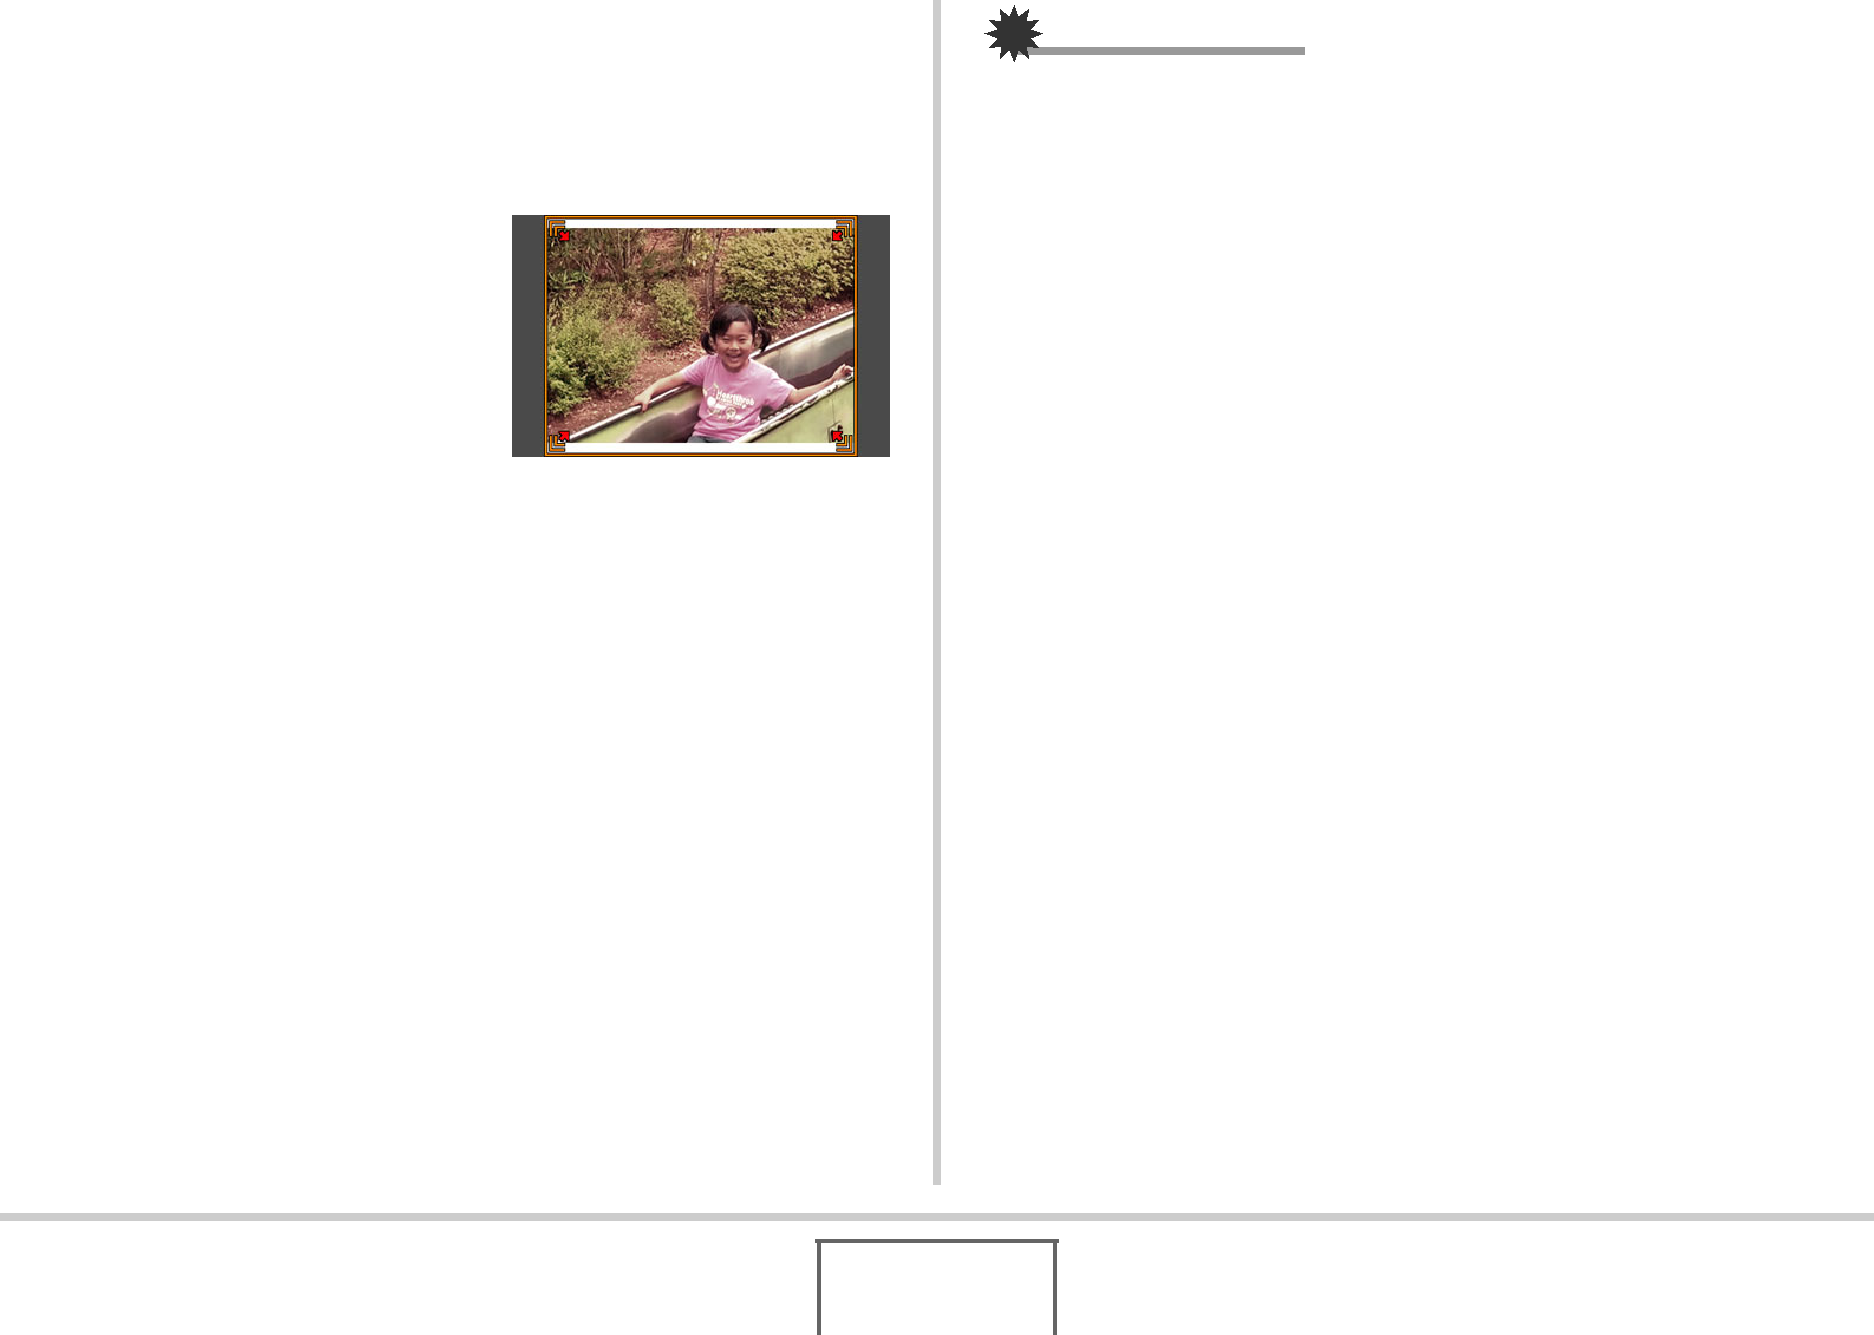
This displays a cropping boundary on the monitor screen.
• To cancel the correction operation, select “Cancel”.
4.Move the zoom controller left and right to zoom the cropping boundary.
5.Use [S], [T], [W], and [X] to move the selection boundary to the desired location and then press [SET].
The camera will correct color automatically and save the corrected image.
•If you do not want a border around the resulting image, select and area that is smaller than the original image.
•To cancel the restoration operation at any point and save the image
IMPORTANT!
•Digital zoom is disabled while recording with Old Photo. However, you can use optical zoom.
•When recording the image of a photograph, the camera will not be able to recognize the shape of the photograph in the following cases.
–When part of the photograph extends outside of the monitor screen
–When the subject is the same color as the background it is placed upon
•The maximum Old Photo image size is 2M (1600 × 1200 pixels). When the camera is configured to record images smaller than 2M (1600 × 1200 pixels), Old Photo will produce images in accordance with the currently specified image size.
•Under certain conditions, restored colors may not produce the desired results.
99
USING BEST SHOT