Controlling the Camera Mode Image
You can use the following procedures to adjust the brightness and to specify the type of lighting present when recording an image.
Adjusting the Image Brightness
The watch automatically sets the brightness of the image when you record it. You can also change the brightness level manually when you want to compensate for backlighting of the subject, very dark backgrounds, etc.
To adjust image brightness
To select the recording mode
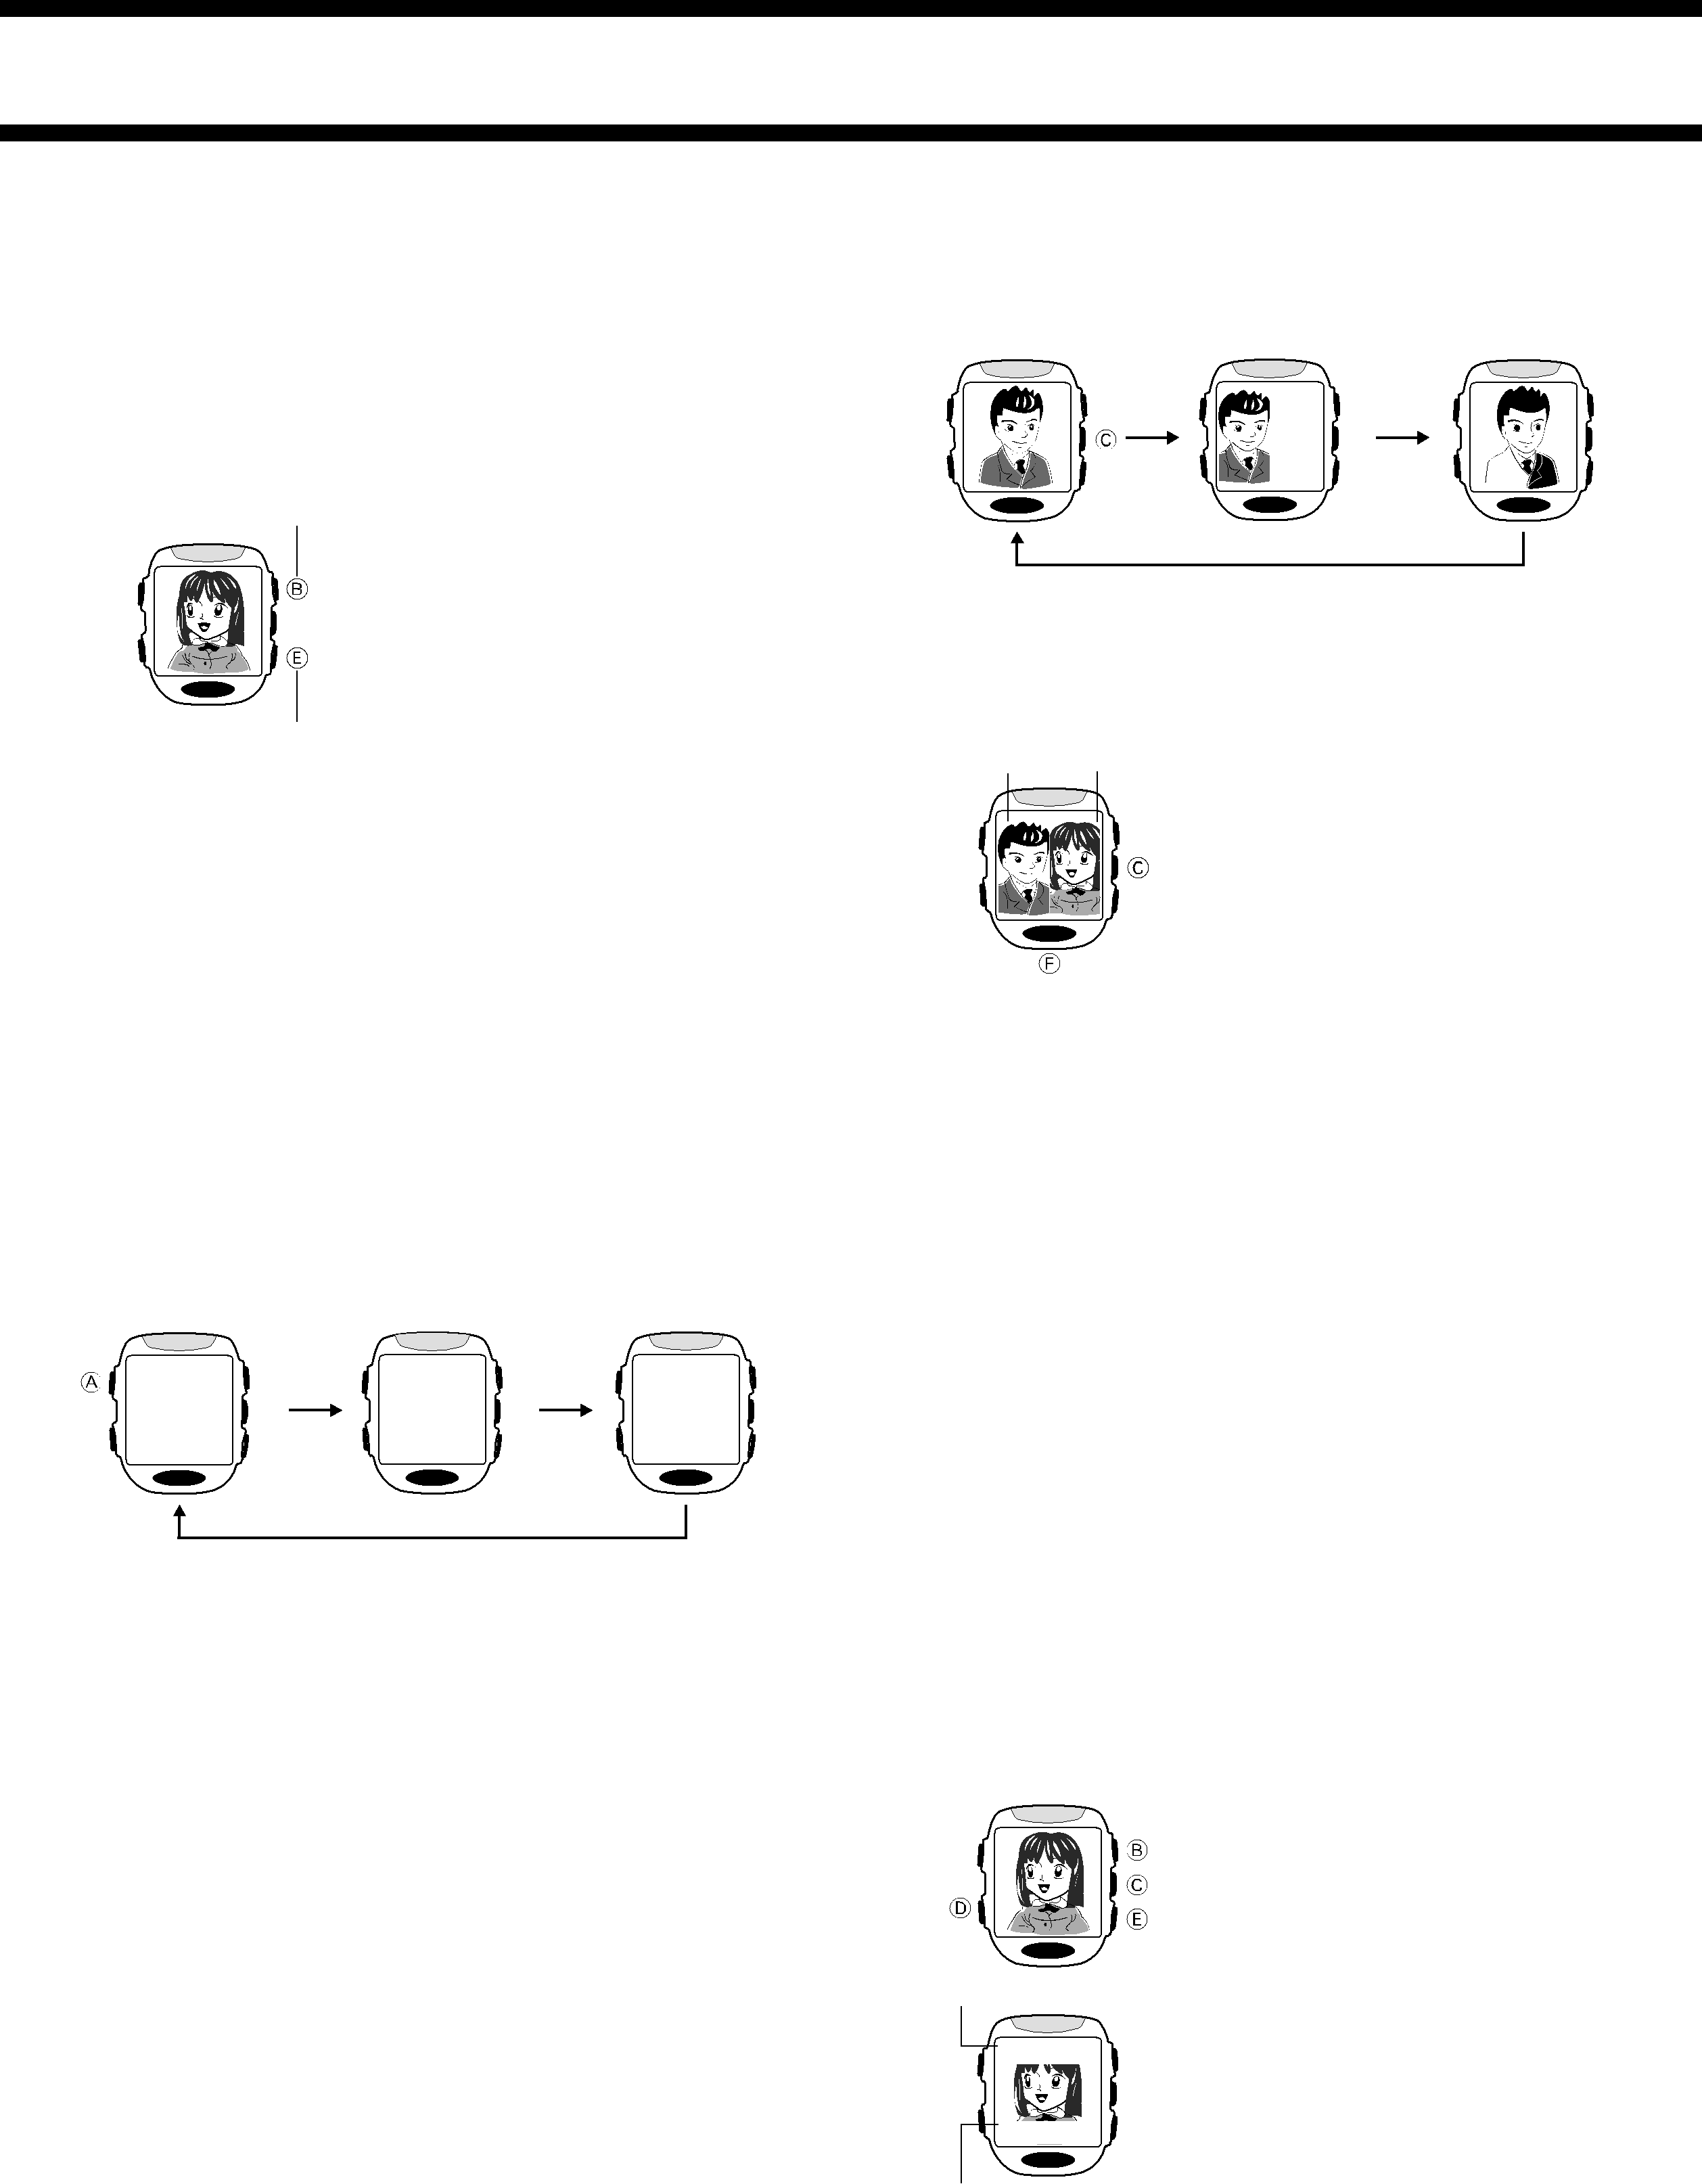
In the Camera Mode, press Cto cycle through the available recording modes as shown below.
Normal Mode | Merge Mode | Art Mode |
Darker
When composing an image on the display, use
B(darker) and E(lighter) to adjust its |
brightness. |
• You can set brightness to one of 15 levels. |
The initial default level is 8. |
• It may take some time after you press Bor |
Ebefore the change in brightness is |
reflected on the displayed image. |
• A brightness setting you make remains in |
•The recording mode you select remains in effect until you change it or exit the Camera Mode. The Normal Mode is the initial default whenever you enter the Camera Mode.
To record using the Merge Mode
Lighter
Important!
effect until you change it or exit the Camera |
Mode. Automatic brightness adjustment is |
the initial default whenever you enter the |
Camera Mode. |
First Second
image image
1.In the Camera Mode, press Conce to select the Merge Mode.
2.Compose the first image, and then press Fto record it.
•This records the first image on the left half
of the display.
•Even with manual brightness adjustment, you may not be able to obtain an acceptable image when recording images under very bright or very dark lighting conditions.
Specifying the Lighting Type
The type of lighting present when recording, greatly affects the resulting image. Besides the difference between outdoor and indoor lighting, there is
Important!
3.Compose the second image, and then press Fto record it.
•This records the second image on the right half of the display, and stores both images in memory.
also a difference between indoor lighting types.
Though you cannot see it, light produced by indoor lighting fixtures actually flickers at a fixed rate, which is the same as the cycle of the lighting fixture’s AC power (50Hz or 60Hz). You can use the following procedure to tell the watch the type of lighting you are using, so it can make necessary adjustments that ensure best results.
To specify the lighting type
In the Camera Mode, press Ato cycle through the available lighting type settings as shown below.
Outdoor | 50Hz Indoor | 60Hz Indoor |
OUT | IN | IN |
DOOR | DOOR | DOOR |
| 5‰HZ | 6‰HZ |
•The lighting type setting screen remains on the display for about one second. After that, it returns to the normal Camera Mode screen.
•A lighting type setting you make remains in effect until you change it or exit the Camera Mode. Outdoor lighting is the initial default whenever you enter the Camera Mode.
Recording Modes
There are three recording modes that you can use to produce the type of
•A Merge Mode image that has only a left side cannot be stored in memory.
Note
•Before pressing Fin steps 2 and 3 of the above procedure, you can use the procedure (“To adjust image brightness”) to adjust the brightness of the image.
To record using the Art Mode
1.In the Camera Mode, press Ctwice to select the Art Mode.
2.Compose the image, and then press Fto record it.
VISUAL DATABANK™ MODE
Besides viewing images, you can use the VISUAL DATABANK Mode to delete images, to attach text to images, etc.
Important!
•The watch does not emit any alarm, Hourly Time Signal, or Countdown Alarm sound while it is in the VISUAL DATABANK Mode. Instead, the message ALM flashes in the upper left corner of the display when an alarm time is reached, and the message TMR flashes when the countdown reaches zero.
To view recorded images
1.In the Timekeeping Mode, press Dto enter the VISUAL DATABANK Mode.
•The first image that appears is the one you just recorded or the one that was on the display when you last exited the Viewer Screen or the VISUAL DATABANK Mode.
image you want.
Normal Mode
This mode records images using 16 grayscales. It is the normal default mode.
Merge Mode
This mode lets you merge two separately recorded images into a single image.
Art Mode
This mode records images in
Text
ABE KEIKO
2000. 6.30.  PM 10:05
Recording date and time
2. Use E(+) and B
•Holding down either button scrolls at high speed.
•Press Cto toggle display of the recording
date and time (and attached text, if any) of the displayed image on and off.
3.Press D five times to return to the Timekeeping Mode.
•The watch automatically switches to the Timekeeping Mode if you do not perform any operation for about two minutes in the VISUAL DATABANK Mode.
Note
•You can use the procedure under “Image Sorting” for information about how images are sorted when they are stored in memory.
•The image may appear somewhat dark while the recording date and time (and attached text, if any) are on the display.