Installation
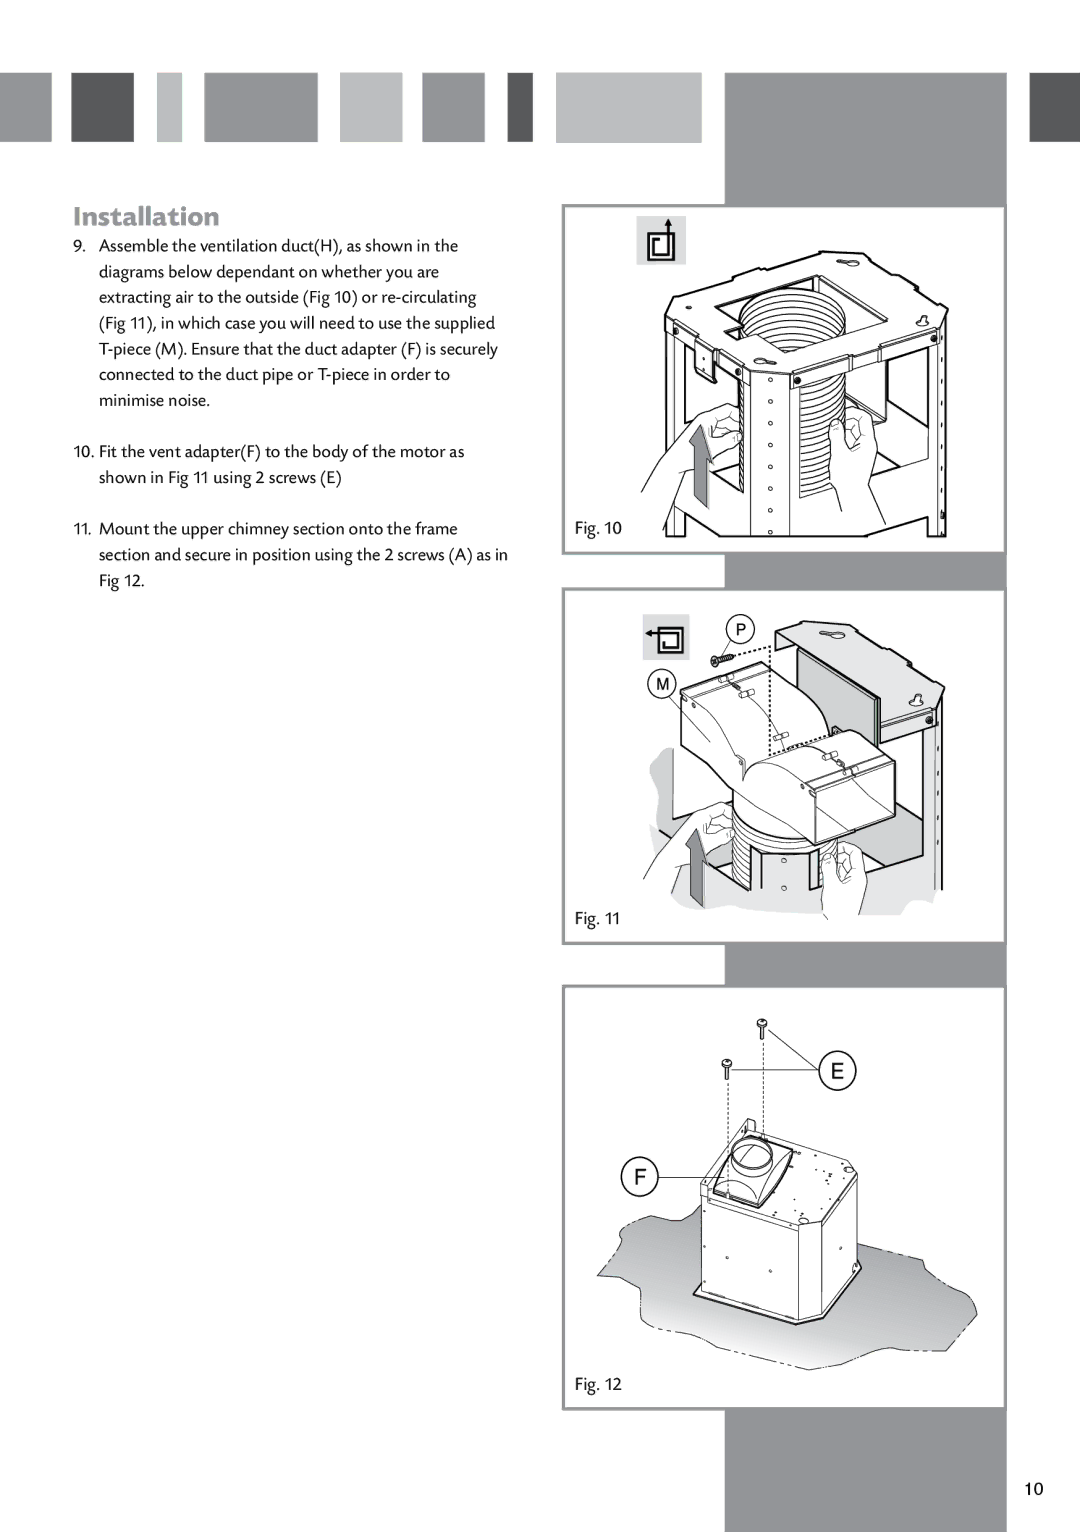
9.Assemble the ventilation duct(H), as shown in the diagrams below dependant on whether you are extracting air to the outside (Fig 10) or
10.Fit the vent adapter(F) to the body of the motor as shown in Fig 11 using 2 screws (E)
11.Mount the upper chimney section onto the frame section and secure in position using the 2 screws (A) as in Fig 12.
Fig. 10
Fig. 11
Fig. 12 |
10