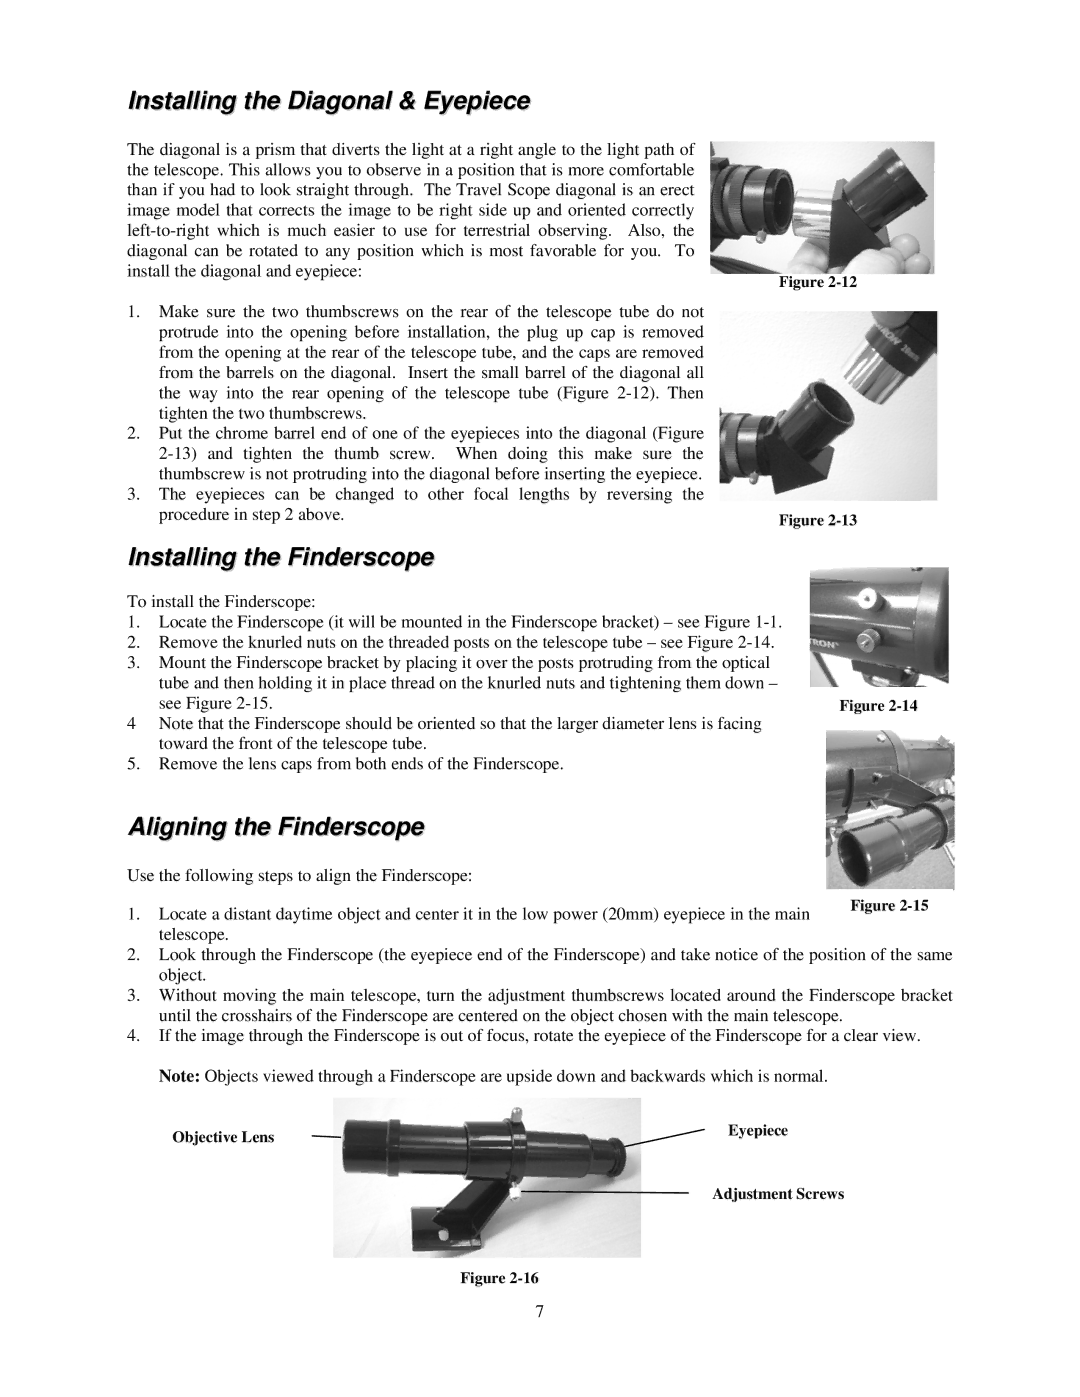
Figure 2-15

Installing the Diagonal & Eyepiece

The diagonal is a prism that diverts the light at a right angle to the light path of the telescope. This allows you to observe in a position that is more comfortable than if you had to look straight through. The Travel Scope diagonal is an erect image model that corrects the image to be right side up and oriented correctly left-to-right which is much easier to use for terrestrial observing. Also, the diagonal can be rotated to any position which is most favorable for you. To install the diagonal and eyepiece:

1.Make sure the two thumbscrews on the rear of the telescope tube do not protrude into the opening before installation, the plug up cap is removed from the opening at the rear of the telescope tube, and the caps are removed from the barrels on the diagonal. Insert the small barrel of the diagonal all the way into the rear opening of the telescope tube (Figure 2-12). Then tighten the two thumbscrews.

2.Put the chrome barrel end of one of the eyepieces into the diagonal (Figure 2-13) and tighten the thumb screw. When doing this make sure the thumbscrew is not protruding into the diagonal before inserting the eyepiece.

3.The eyepieces can be changed to other focal lengths by reversing the procedure in step 2 above.

Figure 2-12

Figure 2-13

Installing the Finderscope

To install the Finderscope:

1.Locate the Finderscope (it will be mounted in the Finderscope bracket) – see Figure 1-1.

2.Remove the knurled nuts on the threaded posts on the telescope tube – see Figure 2-14.

3.Mount the Finderscope bracket by placing it over the posts protruding from the optical tube and then holding it in place thread on the knurled nuts and tightening them down –

see Figure 2-15.

Figure 2-14

4Note that the Finderscope should be oriented so that the larger diameter lens is facing toward the front of the telescope tube.

5.Remove the lens caps from both ends of the Finderscope.

Aligning the Finderscope

Use the following steps to align the Finderscope:

1. Locate a distant daytime object and center it in the low power (20mm) eyepiece in the main telescope.

2.Look through the Finderscope (the eyepiece end of the Finderscope) and take notice of the position of the same object.

3.Without moving the main telescope, turn the adjustment thumbscrews located around the Finderscope bracket until the crosshairs of the Finderscope are centered on the object chosen with the main telescope.

4.If the image through the Finderscope is out of focus, rotate the eyepiece of the Finderscope for a clear view. Note: Objects viewed through a Finderscope are upside down and backwards which is normal.

Objective Lens

Eyepiece


Adjustment Screws

Figure 2-16

7

Page 7
Image 7
Celestron 21035 manual Installing the Diagonal & Eyepiece, Installing the Finderscope, Aligning the Finderscope

21035 specifications

The Celestron 21035 is a high-quality, versatile telescope that caters to both novice and experienced astronomers. This reflector telescope is part of the AstroMaster series, known for its ease of use, excellent optical performance, and sturdy construction. One of its standout features is the 70mm aperture, which allows for bright and clear images of celestial objects. The larger the aperture, the more light the telescope can gather, making it ideal for viewing the Moon, stars, and even some of the more distant planets in our solar system.

One of the key technologies integrated into the Celestron 21035 is its fully coated glass optics. The objective lens and the eyepieces feature multiple layers of coatings, enhancing light transmission and delivering sharper images with improved contrast. This optical design ensures that both the colors and details of celestial objects are rendered accurately, which is crucial for astronomical observation.

Ease of setup is another highlight of the Celestron 21035. The telescope comes with a pre-assembled mount and optical tube, allowing users to get started with minimal effort. The simple, intuitive design is perfect for beginners who want to dive into stargazing without being overwhelmed by complicated setup processes. The lightweight and portable nature of the telescope makes it easy to transport, whether you are going to a local observatory or simply heading to your backyard for some nighttime exploration.

Additionally, the Celestron 21035 features an adjustable, full-height tripod that provides sturdy support, minimizing vibrations and maintaining stability while observing. The mount is manually operated with slow-motion controls, enabling precise targeting of celestial objects. Users can easily track their target as it moves across the sky, enhancing the viewing experience.

For those who enjoy astrophotography, the Celestron 21035 offers the option to attach a smartphone or a camera, allowing you to capture stunning images of the night sky. The telescope's versatility is further highlighted by its compatible eyepiece sizes, providing users with the ability to swap in different magnifications based on their interests.

In summary, the Celestron 21035 is an excellent choice for anyone looking to explore the wonders of the universe. With its robust optical performance, user-friendly design, and impressive features, it serves as a reliable tool for amateur astronomers and seasoned stargazers alike. Whether you’re observing lunar craters or distant galaxies, the Celestron 21035 promises an enjoyable and enriching experience under the stars.