Assembling Your Telescope

1)Your Celestron telescope should include all of the following:

a.Tripod with center support bracket

b.Telescope tube with tube rings attached

c.Equatorial mount head

d.Two 1 ¼" eyepieces

e.90˚ star diagonal

f.5x24 Finderscope

g.3x Barlow Lens

h.5# Counterweight

i.Counterweight bar

j.Two slow motion cables

k.Eyepiece accessory tray

l.The Sky CD rom

2)To set up the tripod, spread the legs outward until they are fully extended. Extend the center portion of each of the three tripod legs down 6-8". Use the three tightening screws located at the bottom of each leg to secure the extended legs in place.

3)Place the accessory tray on top of tripod's center leg brace. Thread the tray's threaded post into the threaded hole in the center of the leg brace.

4)Locate the equatorial mount and place the base of the mount through the hole in the center of the tripod mounting platform. From underneath the tripod mounting platform, thread the mounting bolt with washer into the threaded hole on the bottom of the equatorial mount.

5)Thread the latitude adjustment screws into the equatorial mount until both screws are touching the inside of the mount and the mount can no longer pivot up and down.

6)Locate the counterweight bar and counterweight. Thread the threaded end of the counterweight bar into the Dec axis of the equatorial mount. Remove the safety screw and washer from the other end of the counterweight bar. Loosen the counterweight locking bolt so that the screw is no longer obstructing the center hole of the counterweight. Slide the counterweight half way up the counterweight bar and tighten the locking screw to secure the counterweight in place. Thread the safety screw and washer on to the end of the counterweight bar.

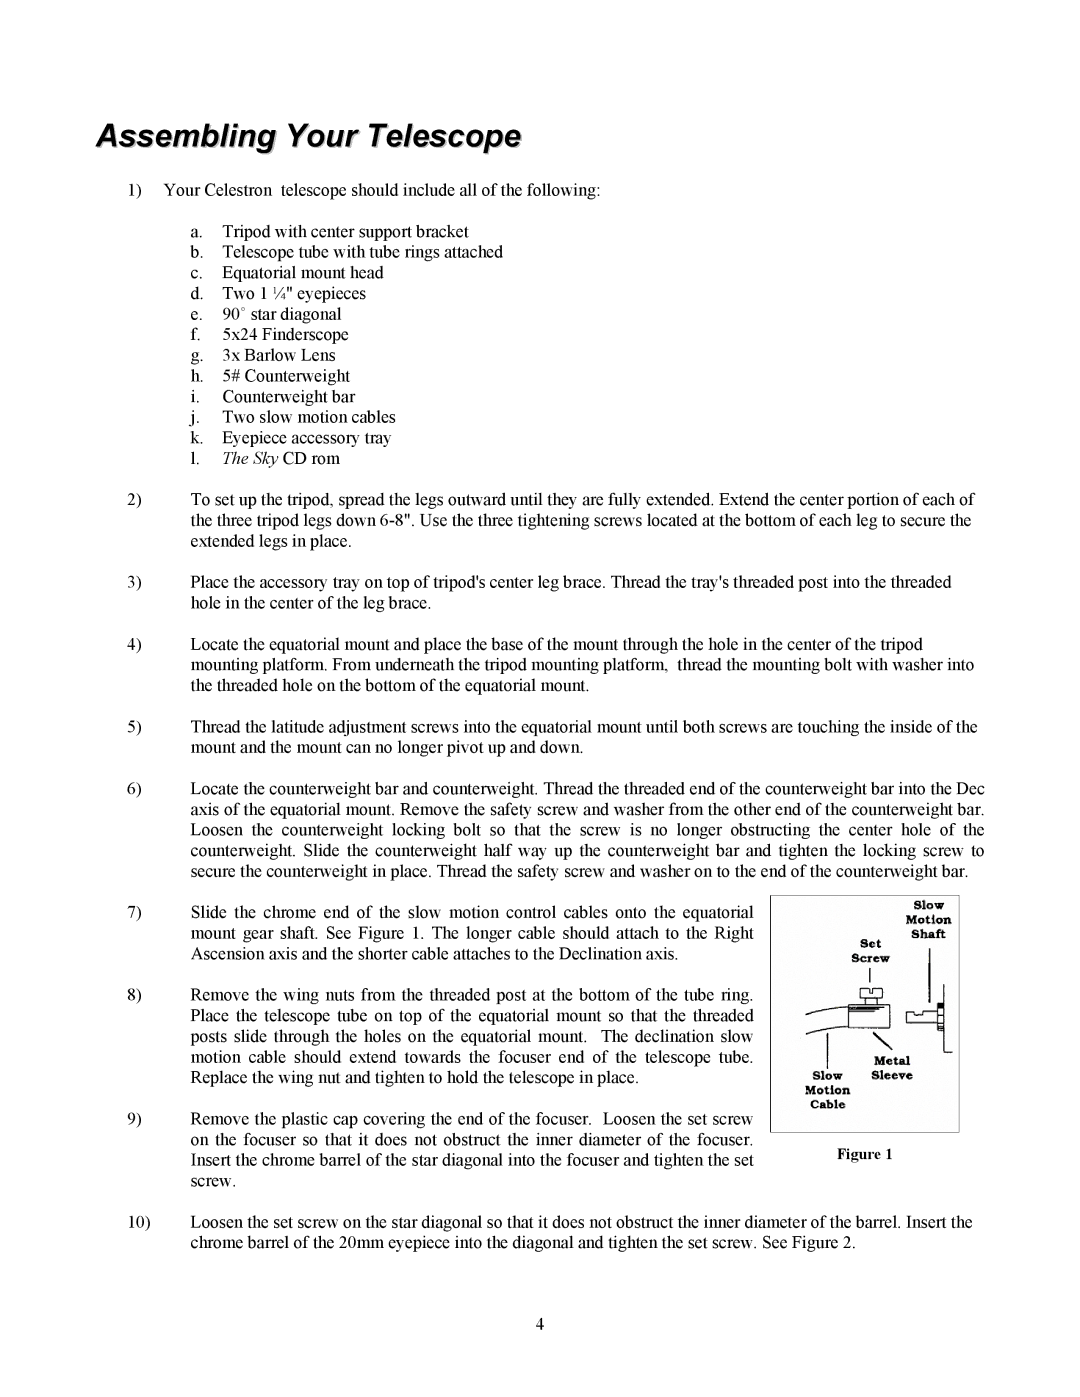
7)Slide the chrome end of the slow motion control cables onto the equatorial mount gear shaft. See Figure 1. The longer cable should attach to the Right Ascension axis and the shorter cable attaches to the Declination axis.

8)Remove the wing nuts from the threaded post at the bottom of the tube ring. Place the telescope tube on top of the equatorial mount so that the threaded posts slide through the holes on the equatorial mount. The declination slow motion cable should extend towards the focuser end of the telescope tube. Replace the wing nut and tighten to hold the telescope in place.

9)Remove the plastic cap covering the end of the focuser. Loosen the set screw on the focuser so that it does not obstruct the inner diameter of the focuser.

Insert the chrome barrel of the star diagonal into the focuser and tighten the set

Figure 1

screw.


10)Loosen the set screw on the star diagonal so that it does not obstruct the inner diameter of the barrel. Insert the chrome barrel of the 20mm eyepiece into the diagonal and tighten the set screw. See Figure 2.

4

Page 4
Image 4
Celestron 80 manual Assembling Your Telescope

80 specifications

The Celestron 80, commonly referred to as the Celestron Astromaster 80, is a popular choice among amateur astronomers and nature enthusiasts alike. This versatile telescope combines portability, ease of use, and impressive optical performance, making it an excellent introduction to the world of astronomy.

One of the primary features of the Celestron 80 is its 80mm aperture. This size allows for a bright and clear view of celestial objects, even in less-than-ideal conditions. The telescope employs a fully coated optical system, which enhances light transmission and improves image clarity. As a result, users can enjoy sharp, detailed views of planets, the moon, and various deep-sky objects such as star clusters and nebulae.

The design of the Celestron 80 is particularly user-friendly. The telescope is equipped with a simple alt-azimuth mount, providing both vertical and horizontal movement. This makes it easy to track objects across the night sky. The mount is also lightweight and portable, making the telescope an ideal companion for on-the-go stargazing adventures or nature observation excursions.

Another standout characteristic of the Celestron 80 is its versatility. It comes with a couple of eyepieces, allowing users to switch magnification levels to suit their viewing preferences. The included finderscope simplifies locating celestial objects, ensuring that even novice users can quickly find and observe various targets.

The Celestron 80 also showcases advancements in technology, including its sturdy, adjustable tripod that ensures stability during use. Additionally, the telescope is designed with user comfort in mind, featuring an adjustable height to accommodate various viewing positions.

For those interested in astrophotography, the Celestron 80 offers several opportunities for capturing images of the night sky. With the proper accessories, users can attach a camera to the telescope, making it a suitable option for wide-field astrophotography.

In summary, the Celestron 80 is an excellent entry-level telescope that offers a powerful combination of features, technology, and portability. Its impressive optical performance, user-friendly design, and versatility make it a favorite among both beginners and seasoned enthusiasts. Whether you wish to observe the craters of the moon or the rings of Saturn, the Celestron 80 is poised to provide an enjoyable and fulfilling viewing experience.