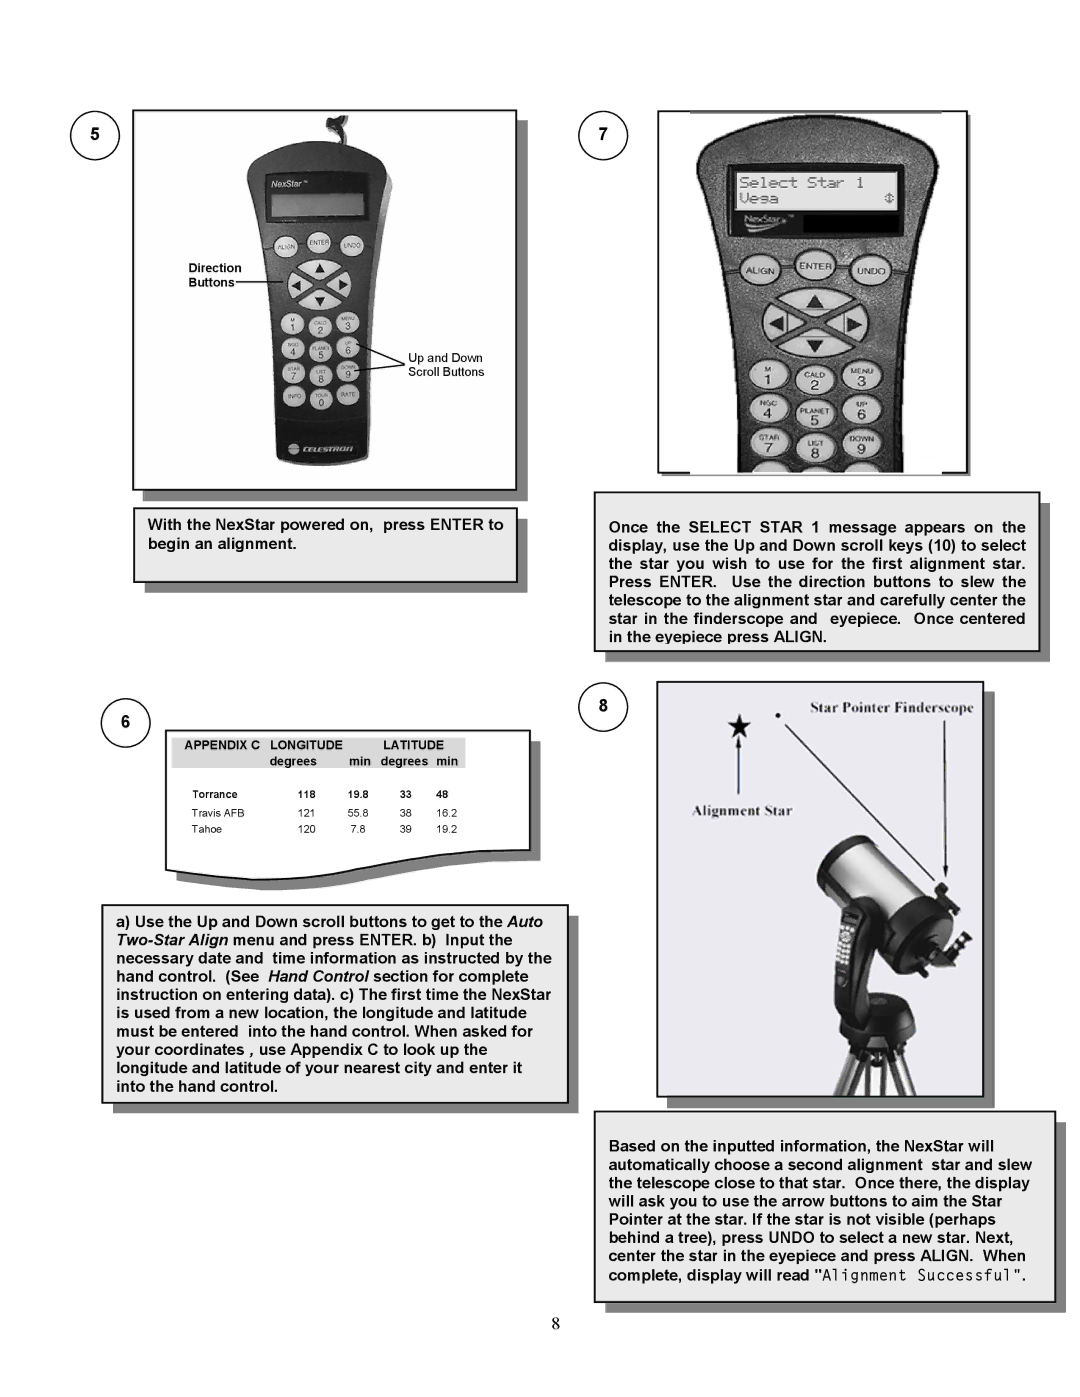
5
Direction
Buttons
Up and Down
Scroll Buttons
7
With the NexStar powered on, press ENTER to begin an alignment.
Once the SELECT STAR 1 message appears on the display, use the Up and Down scroll keys (10) to select the star you wish to use for the first alignment star. Press ENTER. Use the direction buttons to slew the telescope to the alignment star and carefully center the star in the finderscope and eyepiece. Once centered in the eyepiece press ALIGN.
6
8
APPENDIX C | LONGITUDE |
| LATITUDE | |
| degrees | min | degrees | min |
Torrance | 118 | 19.8 | 33 | 48 |
Travis AFB | 121 | 55.8 | 38 | 16.2 |
Tahoe | 120 | 7.8 | 39 | 19.2 |
a)Use the Up and Down scroll buttons to get to the Auto
Based on the inputted information, the NexStar will automatically choose a second alignment star and slew the telescope close to that star. Once there, the display will ask you to use the arrow buttons to aim the Star Pointer at the star. If the star is not visible (perhaps behind a tree), press UNDO to select a new star. Next, center the star in the eyepiece and press ALIGN. When complete, display will read "Alignment Successful".
8