Powering the NexStar
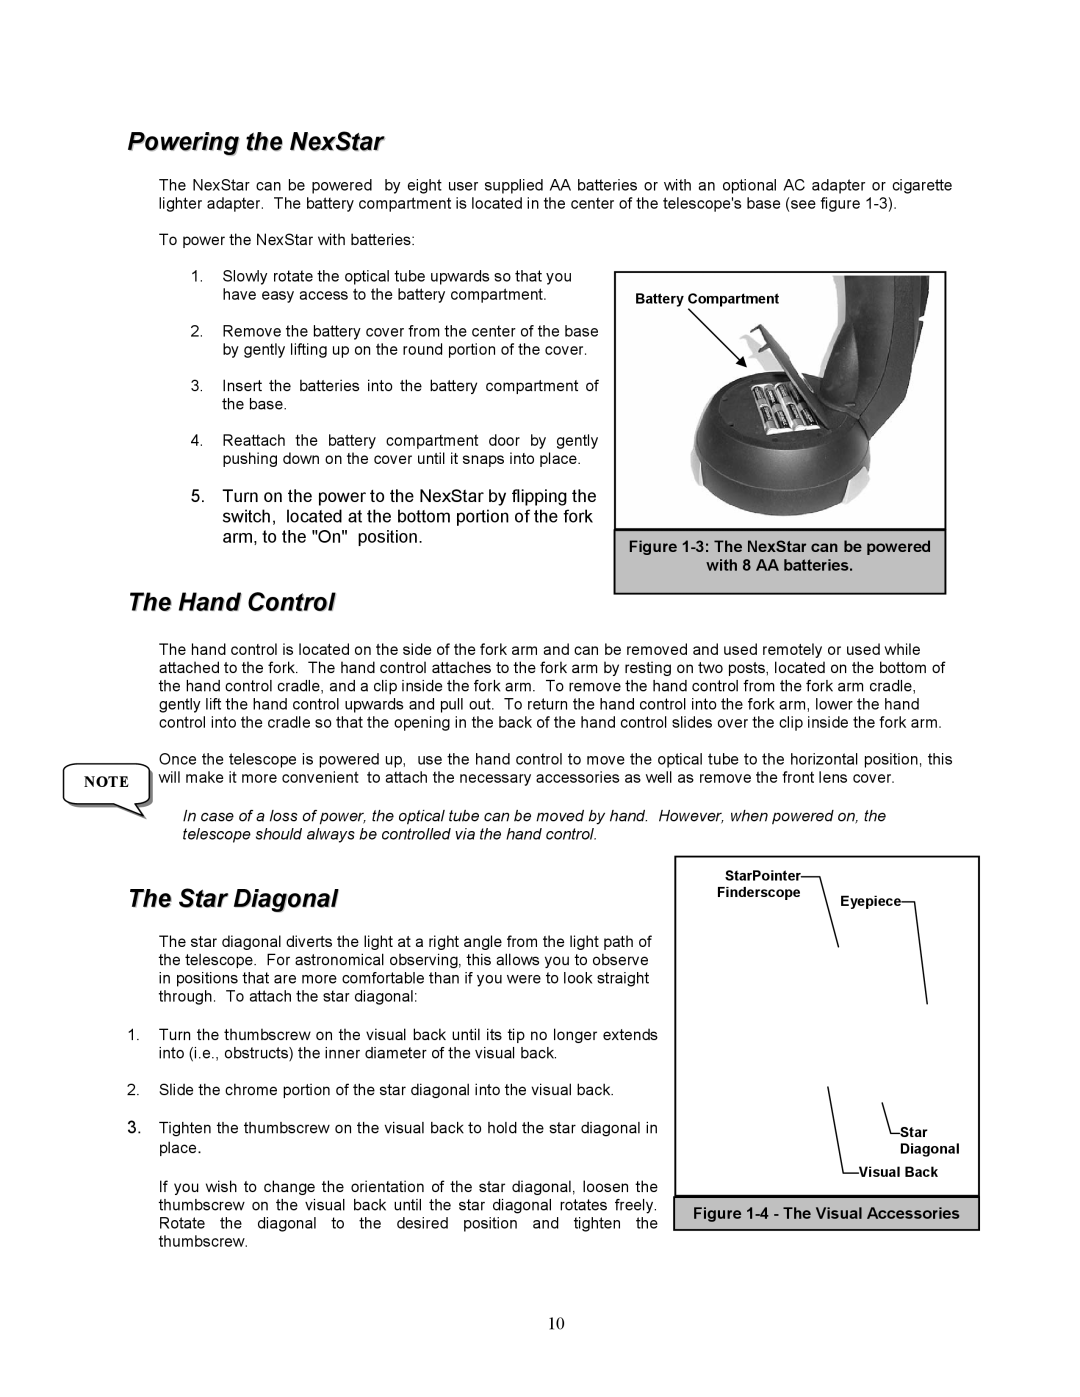
The NexStar can be powered by eight user supplied AA batteries or with an optional AC adapter or cigarette lighter adapter. The battery compartment is located in the center of the telescope's base (see figure
To power the NexStar with batteries:
1.Slowly rotate the optical tube upwards so that you have easy access to the battery compartment.
2.Remove the battery cover from the center of the base by gently lifting up on the round portion of the cover.
3.Insert the batteries into the battery compartment of the base.
4.Reattach the battery compartment door by gently pushing down on the cover until it snaps into place.
5.Turn on the power to the NexStar by flipping the switch, located at the bottom portion of the fork arm, to the "On" position.
The Hand Control
Battery Compartment
Figure 1-3: The NexStar can be powered
with 8 AA batteries.
The hand control is located on the side of the fork arm and can be removed and used remotely or used while attached to the fork. The hand control attaches to the fork arm by resting on two posts, located on the bottom of the hand control cradle, and a clip inside the fork arm. To remove the hand control from the fork arm cradle, gently lift the hand control upwards and pull out. To return the hand control into the fork arm, lower the hand control into the cradle so that the opening in the back of the hand control slides over the clip inside the fork arm.
| Once the telescope is powered up, use the hand control to move the optical tube to the horizontal position, this |
NOTE | will make it more convenient to attach the necessary accessories as well as remove the front lens cover. |
In case of a loss of power, the optical tube can be moved by hand. However, when powered on, the telescope should always be controlled via the hand control.
The Star Diagonal
The star diagonal diverts the light at a right angle from the light path of the telescope. For astronomical observing, this allows you to observe in positions that are more comfortable than if you were to look straight through. To attach the star diagonal:
1.Turn the thumbscrew on the visual back until its tip no longer extends into (i.e., obstructs) the inner diameter of the visual back.
2.Slide the chrome portion of the star diagonal into the visual back.
3.Tighten the thumbscrew on the visual back to hold the star diagonal in place.
If you wish to change the orientation of the star diagonal, loosen the thumbscrew on the visual back until the star diagonal rotates freely. Rotate the diagonal to the desired position and tighten the thumbscrew.
StarPointer
Finderscope Eyepiece
![]() Star
Star
Diagonal
Visual Back
Figure 1-4 - The Visual Accessories
10