
CV-1800, CV-900, CV-2800 specifications
Cerwin-Vega is a renowned name in the world of audio equipment, celebrated for delivering powerful sound solutions. Among its impressive lineup, the CV-1800, CV-2800, and CV-900 stand out as exceptional choices for both professional and casual audio enthusiasts. These models offer unique features, advanced technologies, and characteristics that cater to diverse audio needs.The Cerwin-Vega CV-1800 is a powerhouse in the realm of subwoofers. With an 18-inch woofer, it is designed to deliver thrilling bass and unparalleled sound pressure levels. This model boasts a frequency response that extends from 25 Hz to 200 Hz, ensuring that low-end frequencies are not just felt but heard. Its rugged design features a durable MDF enclosure, which minimizes distortion and enhances sound quality. The CV-1800 is equipped with a built-in high-efficiency amplifier, allowing it to produce an impressive output without requiring excessive power. Home theater enthusiasts and music lovers alike will appreciate the dynamic range and impactful performance this subwoofer provides.
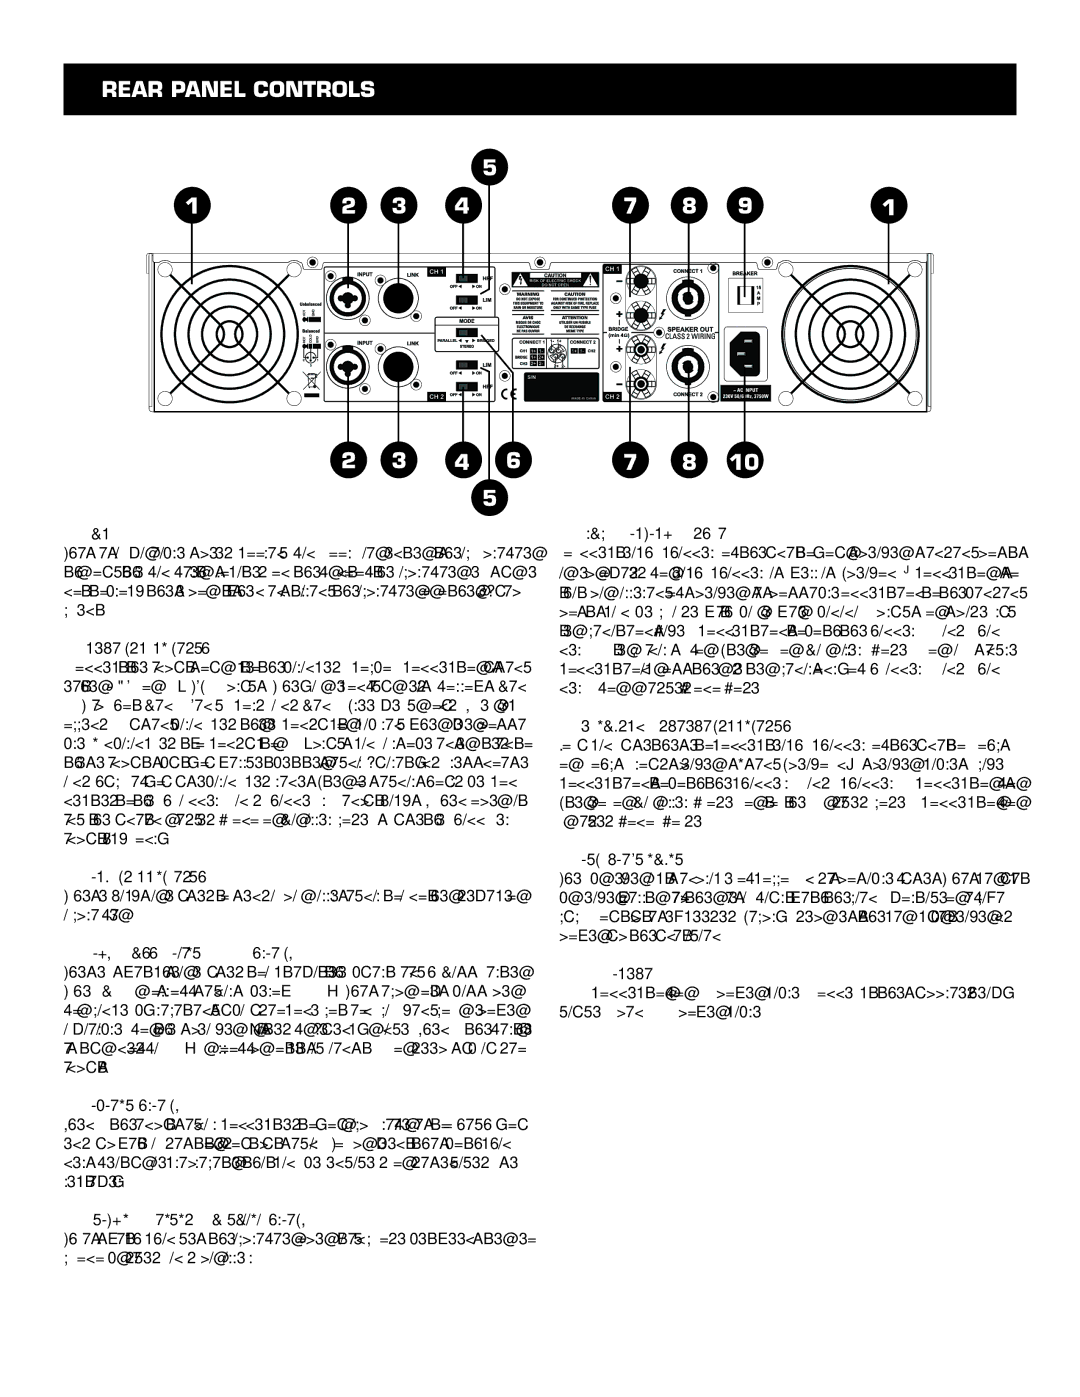
The CV-2800, on the other hand, is a robust power amplifier that plays a critical role in amplifying audio signals. This 2-channel amplifier is capable of delivering 2800 watts of peak power, making it suitable for large events and venues. With a variable low-pass filter and a built-in limiter, the CV-2800 ensures sound precision and protection against output clipping. Its rugged construction and advanced thermal management technology contribute to reliability and longevity, making it an ideal choice for both mobile and permanent installations.
Lastly, the CV-900 is a versatile loudspeaker that is equally impressive on its own or as part of a more extensive sound system. Featuring a 15-inch woofer and a high-frequency compression driver, the CV-900 is engineered for clarity, definition, and powerful output. This model provides a frequency response of 45 Hz to 20 kHz, ensuring that it covers a wide range of auditory experiences. The speaker’s lightweight design enhances portability, making it easy to transport for DJ gigs or live performances. Furthermore, its adjustable mounting options allow for flexible placement in various environments.
In summary, the Cerwin-Vega CV-1800, CV-2800, and CV-900 represent a trio of audio solutions that excel in performance, durability, and versatility. Whether you need deep, resonant bass, reliable amplification, or clear, dynamic sound, these models deliver uncompromising quality and exceptional value, embodying the legacy of Cerwin-Vega in the world of audio.