Lighting and Setup Instructions
Spray inside lid and body with nonstick vegetable oil based spray.
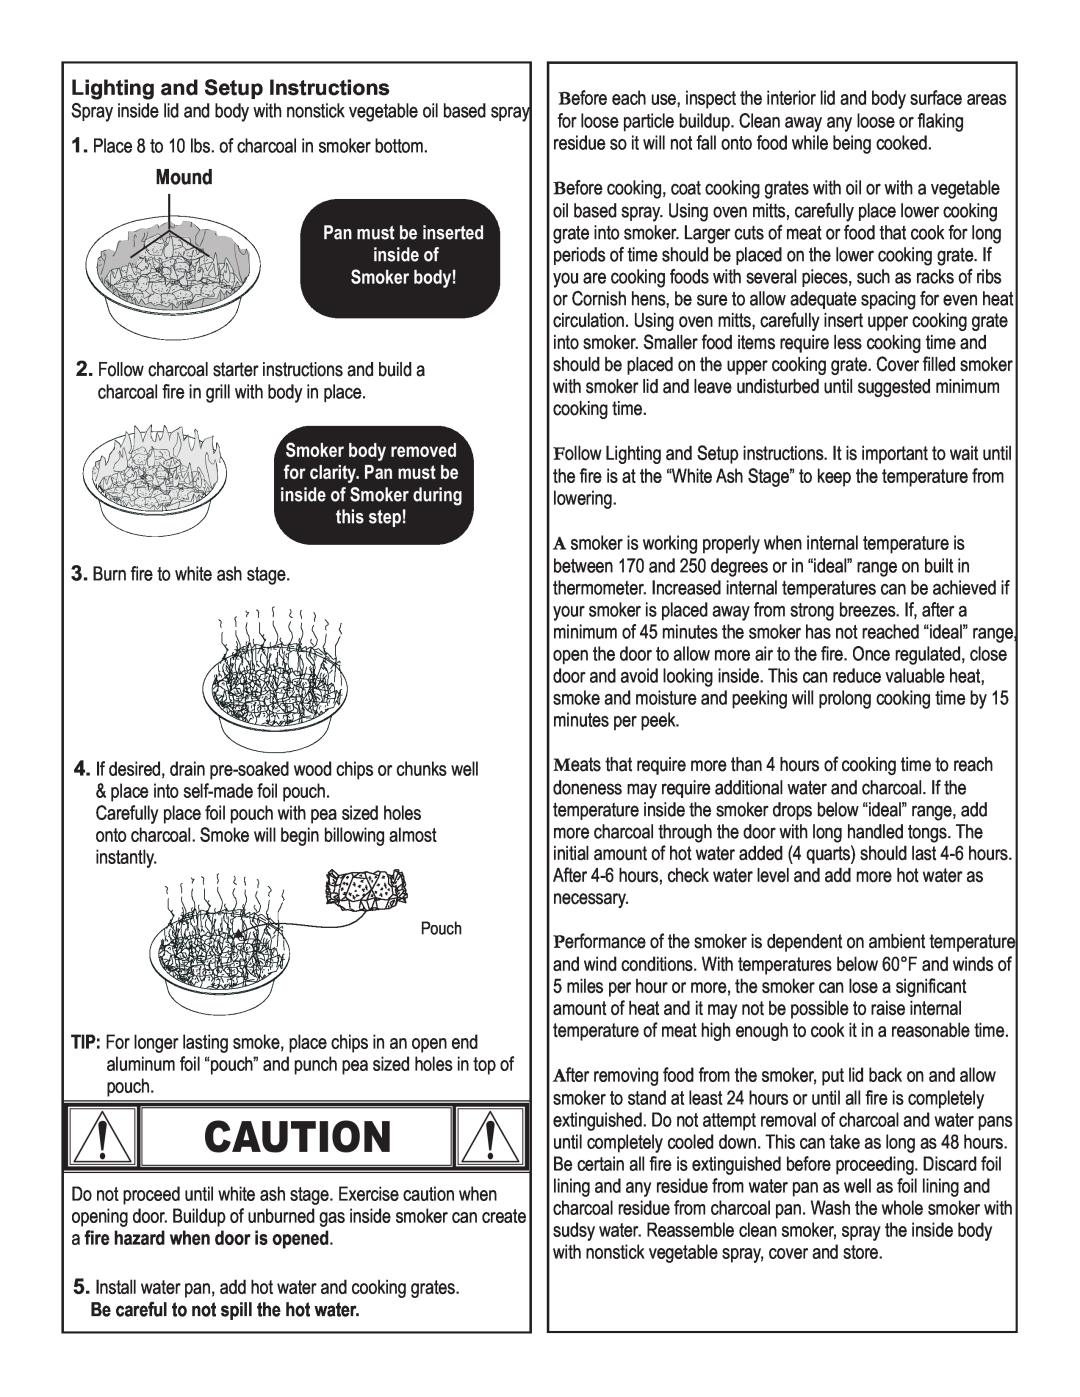
1.Place 8 to 10 lbs. of charcoal in smoker bottom.
Mound
Pan must be inserted inside of
Smoker body!
2.Follow charcoal starter instructions and build a charcoal fire in grill with body in place.
Smoker body removed for clarity. Pan must be inside of Smoker during this step!
3.Burn fire to white ash stage.
4.If desired, drain
& place into
Carefully place foil pouch with pea sized holes onto charcoal. Smoke will begin billowing almost instantly.
Pouch
TIP: For longer lasting smoke, place chips in an open end aluminum foil “pouch” and punch pea sized holes in top of pouch.
CAUTION
Do not proceed until white ash stage. Exercise caution when opening door. Buildup of unburned gas inside smoker can create a fire hazard when door is opened.
5.Install water pan, add hot water and cooking grates.
Be careful to not spill the hot water.
Before each use, inspect the interior lid and body surface areas for loose particle buildup. Clean away any loose or flaking residue so it will not fall onto food while being cooked.
Before cooking, coat cooking grates with oil or with a vegetable oil based spray. Using oven mitts, carefully place lower cooking grate into smoker. Larger cuts of meat or food that cook for long periods of time should be placed on the lower cooking grate. If you are cooking foods with several pieces, such as racks of ribs or Cornish hens, be sure to allow adequate spacing for even heat circulation. Using oven mitts, carefully insert upper cooking grate into smoker. Smaller food items require less cooking time and should be placed on the upper cooking grate. Cover filled smoker with smoker lid and leave undisturbed until suggested minimum cooking time.
Follow Lighting and Setup instructions. It is important to wait until the fire is at the “White Ash Stage” to keep the temperature from lowering.
A smoker is working properly when internal temperature is between 170 and 250 degrees or in “ideal” range on built in thermometer. Increased internal temperatures can be achieved if your smoker is placed away from strong breezes. If, after a minimum of 45 minutes the smoker has not reached “ideal” range, open the door to allow more air to the fire. Once regulated, close door and avoid looking inside. This can reduce valuable heat, smoke and moisture and peeking will prolong cooking time by 15 minutes per peek.
Meats that require more than 4 hours of cooking time to reach doneness may require additional water and charcoal. If the temperature inside the smoker drops below “ideal” range, add more charcoal through the door with long handled tongs. The initial amount of hot water added (4 quarts) should last
Performance of the smoker is dependent on ambient temperature and wind conditions. With temperatures below 60°F and winds of 5 miles per hour or more, the smoker can lose a significant amount of heat and it may not be possible to raise internal temperature of meat high enough to cook it in a reasonable time.
After removing food from the smoker, put lid back on and allow smoker to stand at least 24 hours or until all fire is completely extinguished. Do not attempt removal of charcoal and water pans until completely cooled down. This can take as long as 48 hours. Be certain all fire is extinguished before proceeding. Discard foil lining and any residue from water pan as well as foil lining and charcoal residue from charcoal pan. Wash the whole smoker with sudsy water. Reassemble clean smoker, spray the inside body with nonstick vegetable spray, cover and store.