Warning: Never charge more than 2 hours continuously. Chargers should not be left plugged in or charging for more than 2 hours.
Charging the Battery Pack
The Battery Pack (part #14) does not come charged from the factory. Charge it before using.
Step 1) | Insert the Battery Pack (#14) into the Quick Charger. The Battery Pack will only |
| fit in one way. |
Step 2) | Plug the Quick Charger into a wall socket. |
Step 3) | When the Quick Charger is plugged into a wall socket, the GREEN light will go on. |
| This shows that all circuitry is working properly and that the Charger is ready. |
Step 4) | Press the SET button to start charging. The RED light will go on and will continue |
| to be on while the Battery Pack is charging. When the RED light goes off, the |
| Battery pack charge is complete. It will take approximately 1 to |
| Battery Pack. |
Step 5) | After charging, unplug the Quick Charger from the wall outlet. |
Step 6) | Remove the Battery from the Quick Charger. |
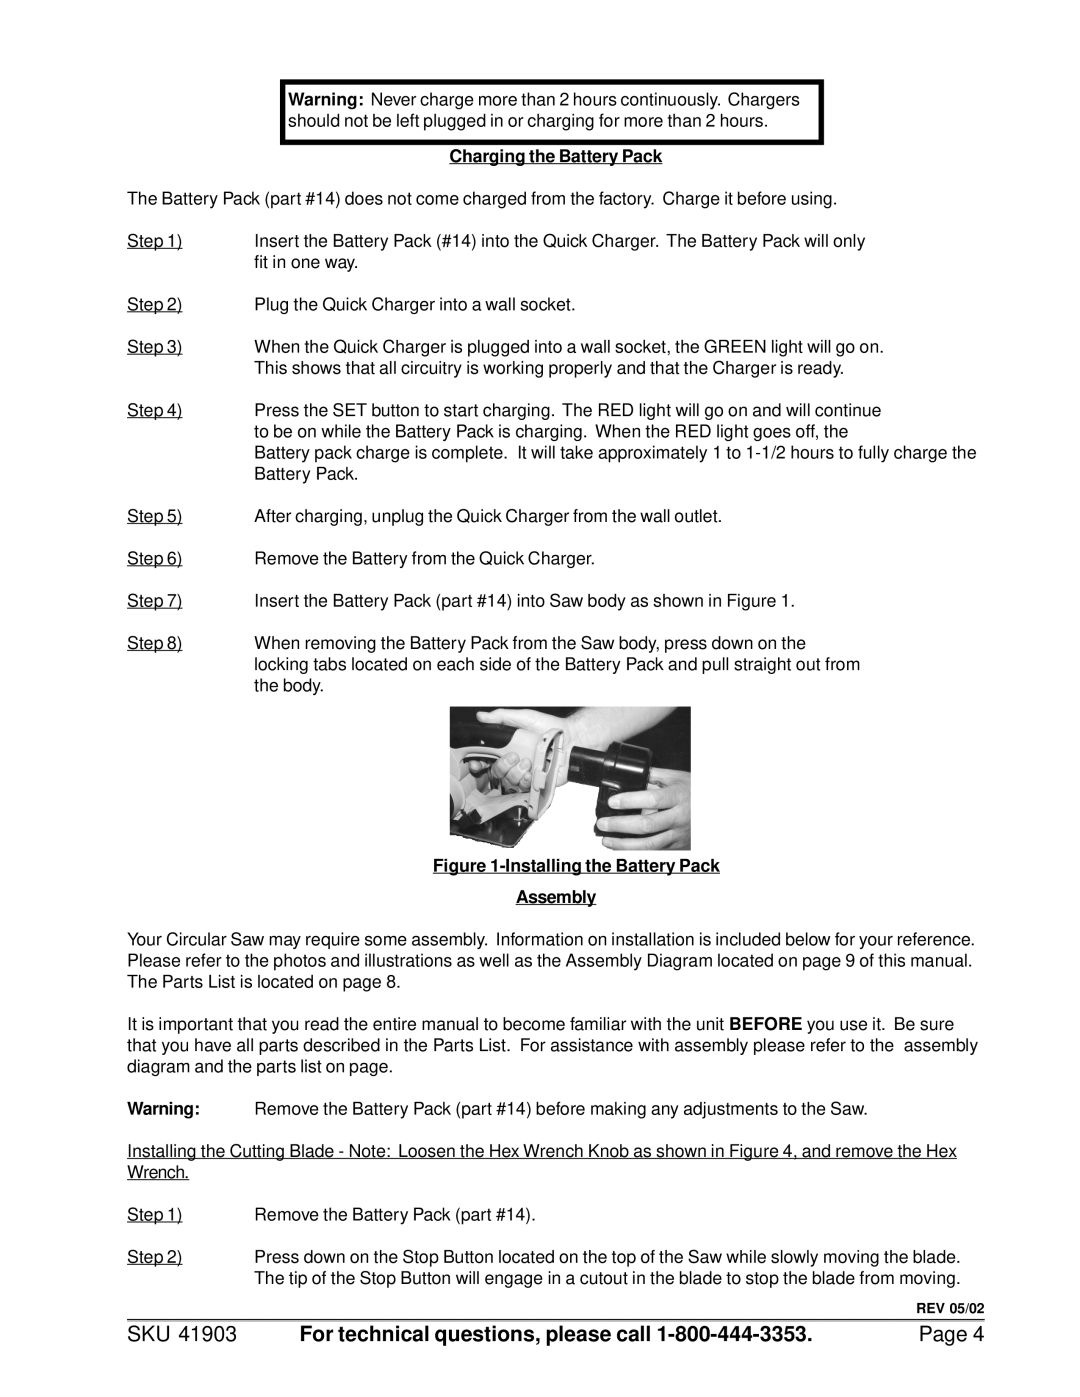
Step 7) | Insert the Battery Pack (part #14) into Saw body as shown in Figure 1. |
Step 8) | When removing the Battery Pack from the Saw body, press down on the |
| locking tabs located on each side of the Battery Pack and pull straight out from |
| the body. |
Figure 1-Installing the Battery Pack
Assembly
Your Circular Saw may require some assembly. Information on installation is included below for your reference. Please refer to the photos and illustrations as well as the Assembly Diagram located on page 9 of this manual. The Parts List is located on page 8.
It is important that you read the entire manual to become familiar with the unit BEFORE you use it. Be sure that you have all parts described in the Parts List. For assistance with assembly please refer to the assembly diagram and the parts list on page.
Warning: Remove the Battery Pack (part #14) before making any adjustments to the Saw.
Installing the Cutting Blade - Note: Loosen the Hex Wrench Knob as shown in Figure 4, and remove the Hex Wrench.
Step 1) | Remove the Battery Pack (part #14). |
Step 2) | Press down on the Stop Button located on the top of the Saw while slowly moving the blade. |
| The tip of the Stop Button will engage in a cutout in the blade to stop the blade from moving. |
| REV 05/02 |
|
|
|
|
SKU 41903 | For technical questions, please call | Page 4 |
