OPERATING INSTRUCTIONS (continued)
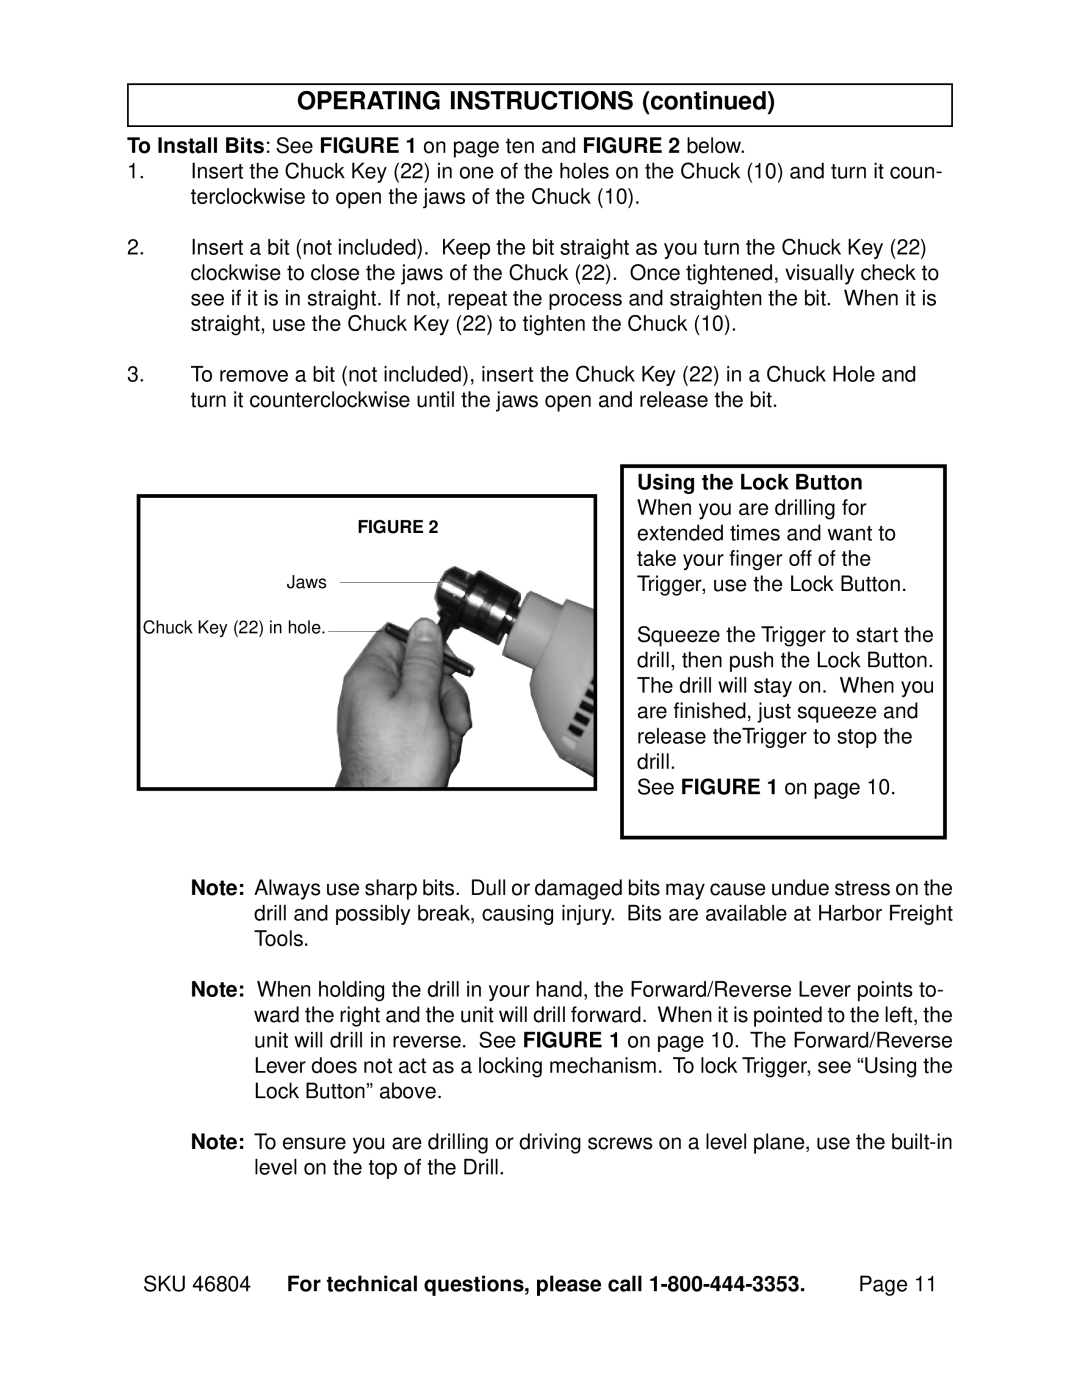
To Install Bits: See FIGURE 1 on page ten and FIGURE 2 below.
1.Insert the Chuck Key (22) in one of the holes on the Chuck (10) and turn it coun- terclockwise to open the jaws of the Chuck (10).
2.Insert a bit (not included). Keep the bit straight as you turn the Chuck Key (22) clockwise to close the jaws of the Chuck (22). Once tightened, visually check to see if it is in straight. If not, repeat the process and straighten the bit. When it is straight, use the Chuck Key (22) to tighten the Chuck (10).
3.To remove a bit (not included), insert the Chuck Key (22) in a Chuck Hole and turn it counterclockwise until the jaws open and release the bit.
FIGURE 2
Jaws
Chuck Key (22) in hole.
Using the Lock Button When you are drilling for extended times and want to take your finger off of the Trigger, use the Lock Button.
Squeeze the Trigger to start the drill, then push the Lock Button. The drill will stay on. When you are finished, just squeeze and release theTrigger to stop the drill.
See FIGURE 1 on page 10.
Note: Always use sharp bits. Dull or damaged bits may cause undue stress on the drill and possibly break, causing injury. Bits are available at Harbor Freight Tools.
Note: When holding the drill in your hand, the Forward/Reverse Lever points to- ward the right and the unit will drill forward. When it is pointed to the left, the unit will drill in reverse. See FIGURE 1 on page 10. The Forward/Reverse Lever does not act as a locking mechanism. To lock Trigger, see “Using the Lock Button” above.
Note: To ensure you are drilling or driving screws on a level plane, use the
SKU 46804 For technical questions, please call | Page 11 |