case, press the Reset Button one or more times to warm the battery and start the charging process. If after pressing the Reset Button up to 5 times the Red and Green L.E.D.’s continue flashing, this indicates the battery is too old or defective and should be replaced. (See Figure A.)
Operating Instructions
Read the entire Important Safety Information section at the beginning of this manual including all text under subheadings therein before set up or use of this product.
1.IMPORTANT:
a.Polarity is not critical.
b.This means the Charger Output Clips (4) or Charger Output Magnets
(5) may be connected to a battery without need to match the Clips or
Magnets to a specific positive (+) or negative
c.The “intelligent
2.ADDITIONAL NOTES:
a.When charging a cool battery, place the battery in a warm location for at least one hour. Then, if neccesary, press the Reset Button on the Char- ger (4) to aid in warming up the bat- tery. Otherwise, the battery may not fully charge.
b.Do not allow the black and red Char- ger Clips (5) to touch one another
when the Battery Charger is plugged into an electrical outlet.
c.Do not allow the two Charger Mag- nets (5) to touch one another when the Battery Charger is plugged into an electrical outlet. Do not place magnets on metal surfaces or adja- cent to a metal tool where they can attach to a tool casing and short circuit.
d.Prior to using the Battery Charger, read the battery manufacturer’s instruction for properly charging the batteries. Never overcharge a bat- tery.
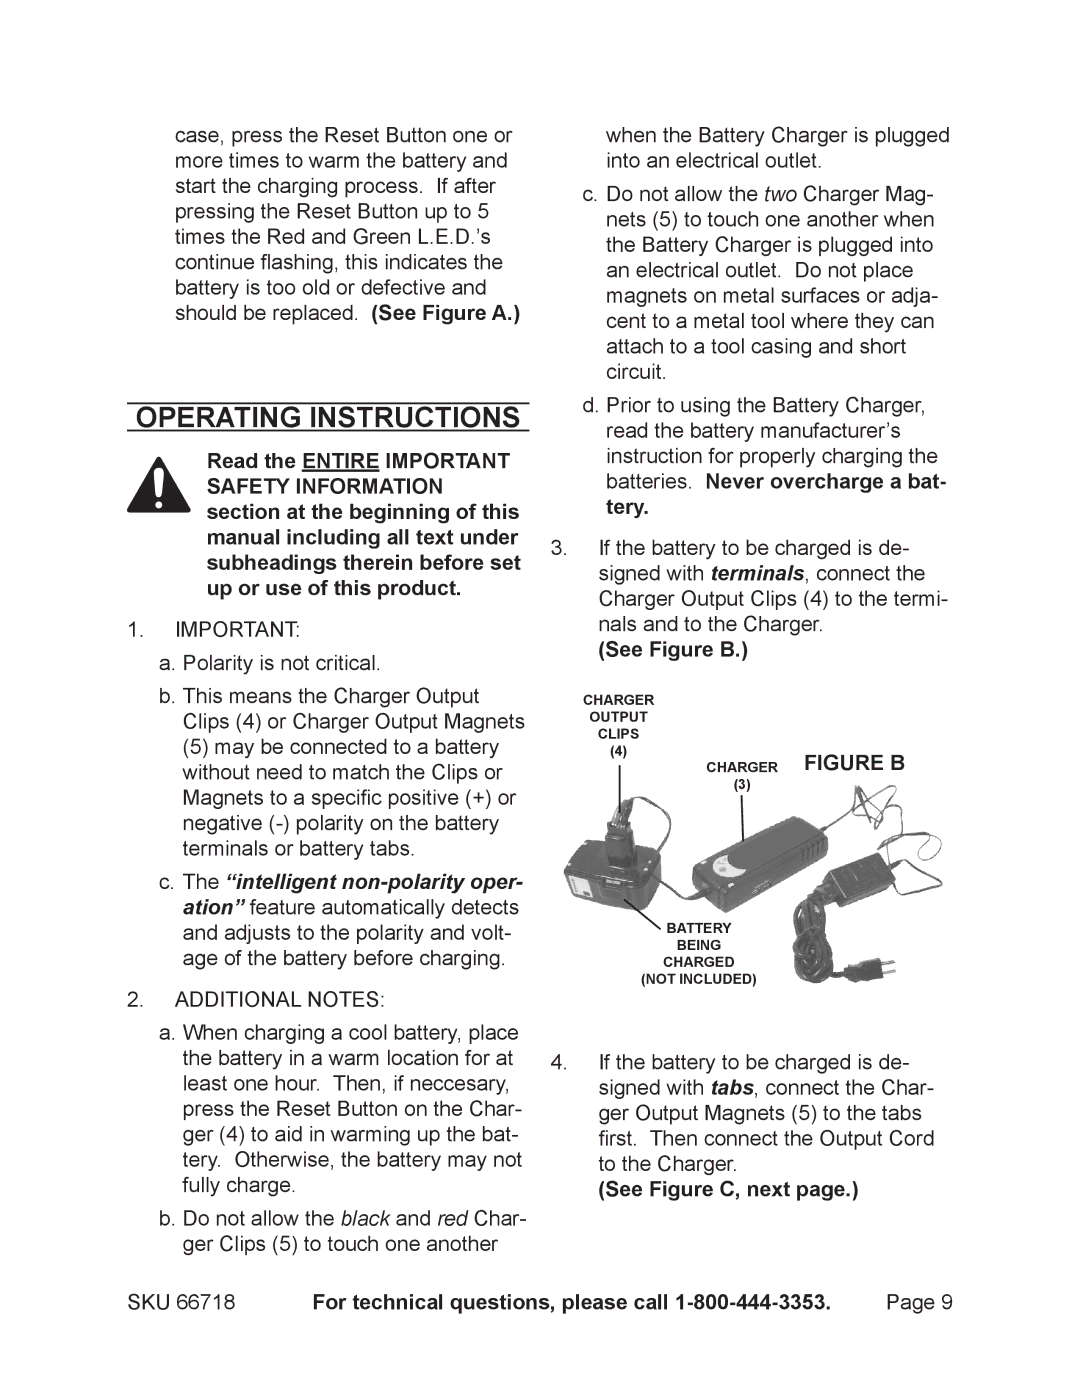
3.If the battery to be charged is de- signed with terminals, connect the Charger Output Clips (4) to the termi- nals and to the Charger.
(See Figure B.)
CHARGER |
|
OUTPUT |
|
CLIPS |
|
(4) | FIGURE B |
CHARGER | |
(3) |
|
![]() BATTERY BEING
BATTERY BEING
CHARGED
(NOT INCLUDED)
4.If the battery to be charged is de- signed with tabs, connect the Char- ger Output Magnets (5) to the tabs first. Then connect the Output Cord to the Charger.
(See Figure C, next page.)
SKU 66718 | For technical questions, please call | Page 9 |