Setting the Fence Angle
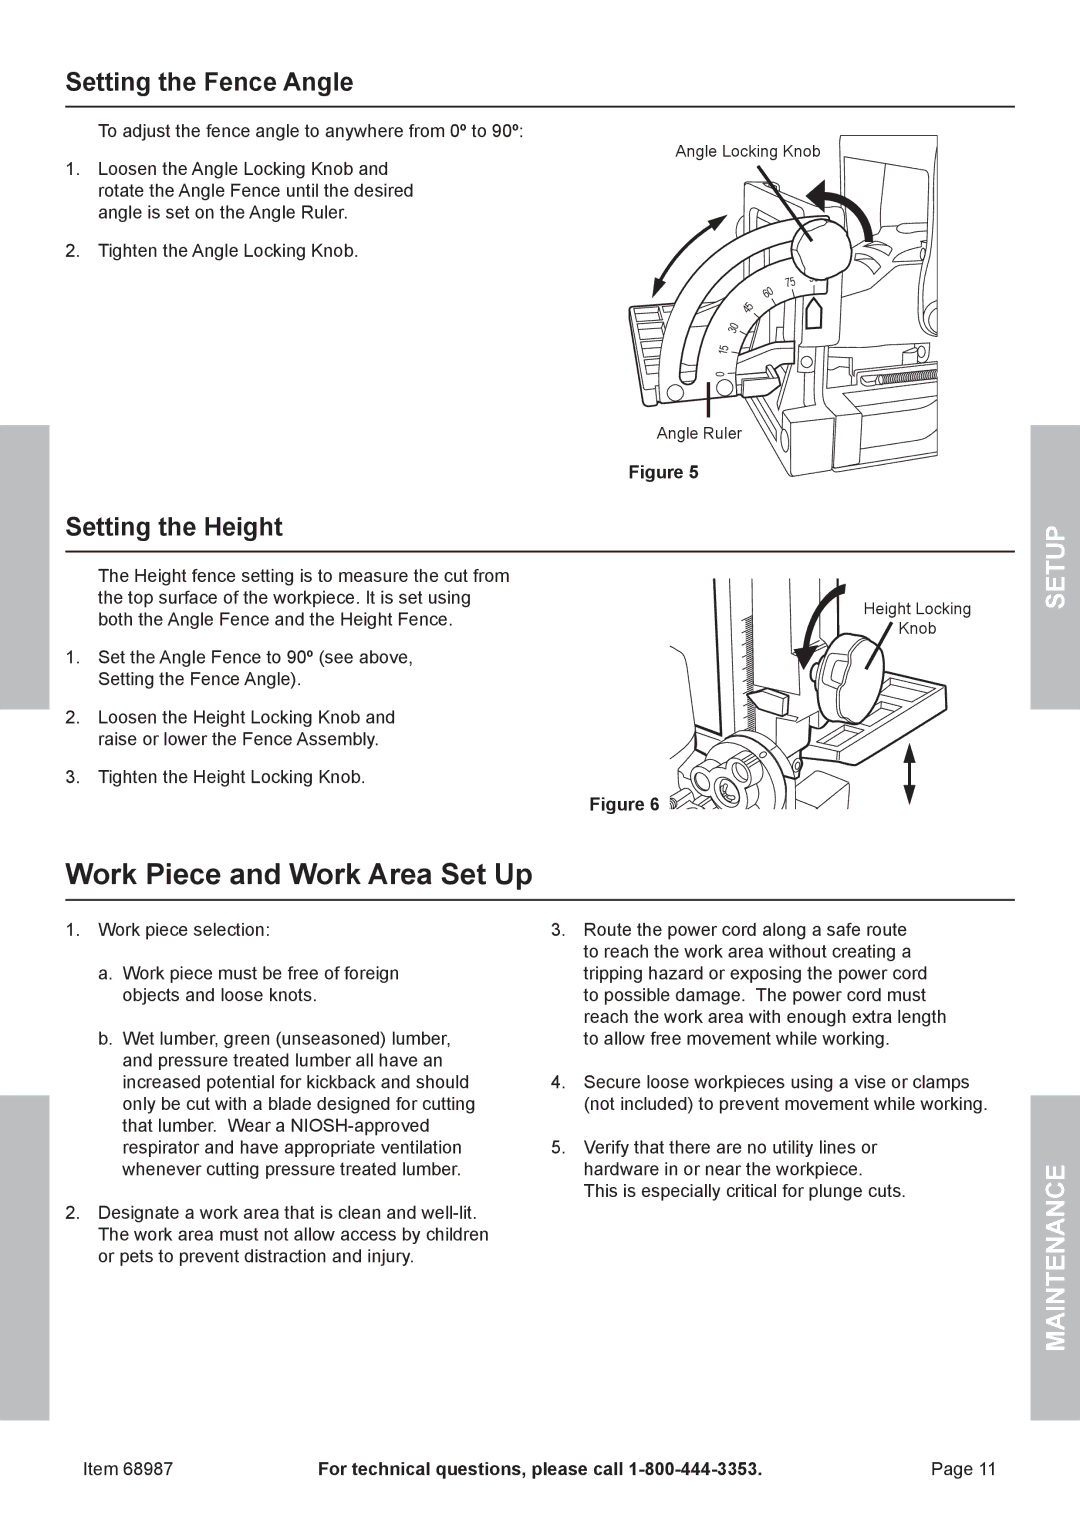
To adjust the fence angle to anywhere from 0º to 90º:
Angle Locking Knob
1. Loosen the Angle Locking Knob and rotate the Angle Fence until the desired angle is set on the Angle Ruler.
2. Tighten the Angle Locking Knob.
75 | 90 |
| |
60 |
|
45 |
|
30 |
|
15 |
|
0 |
|
Angle Ruler ![]()
![]()
Figure 5
Setting the Height
Safety
The Height fence setting is to measure the cut from the top surface of the workpiece. It is set using both the Angle Fence and the Height Fence.
1. Set the Angle Fence to 90º (see above, Setting the Fence Angle).
2. Loosen the Height Locking Knob and raise or lower the Fence Assembly.
3. Tighten the Height Locking Knob.
Figure 6 ![]()
![]()
![]()
![]()
![]()
Height Locking
![]() Knob
Knob
Setup
Work Piece and Work Area Set Up
Operation
1.Work piece selection:
a.Work piece must be free of foreign objects and loose knots.
b.Wet lumber, green (unseasoned) lumber, and pressure treated lumber all have an increased potential for kickback and should only be cut with a blade designed for cutting that lumber. Wear a
2.Designate a work area that is clean and well‑lit. The work area must not allow access by children or pets to prevent distraction and injury.
3.Route the power cord along a safe route to reach the work area without creating a tripping hazard or exposing the power cord to possible damage. The power cord must reach the work area with enough extra length to allow free movement while working.
4.Secure loose workpieces using a vise or clamps (not included) to prevent movement while working.
5.Verify that there are no utility lines or hardware in or near the workpiece. This is especially critical for plunge cuts.
Maintenance
Item 68987 | For technical questions, please call | Page 11 |