Operation
CHARGING BATTERY
The Battery (26) does not come charged from the factory. Charge the Battery before using.
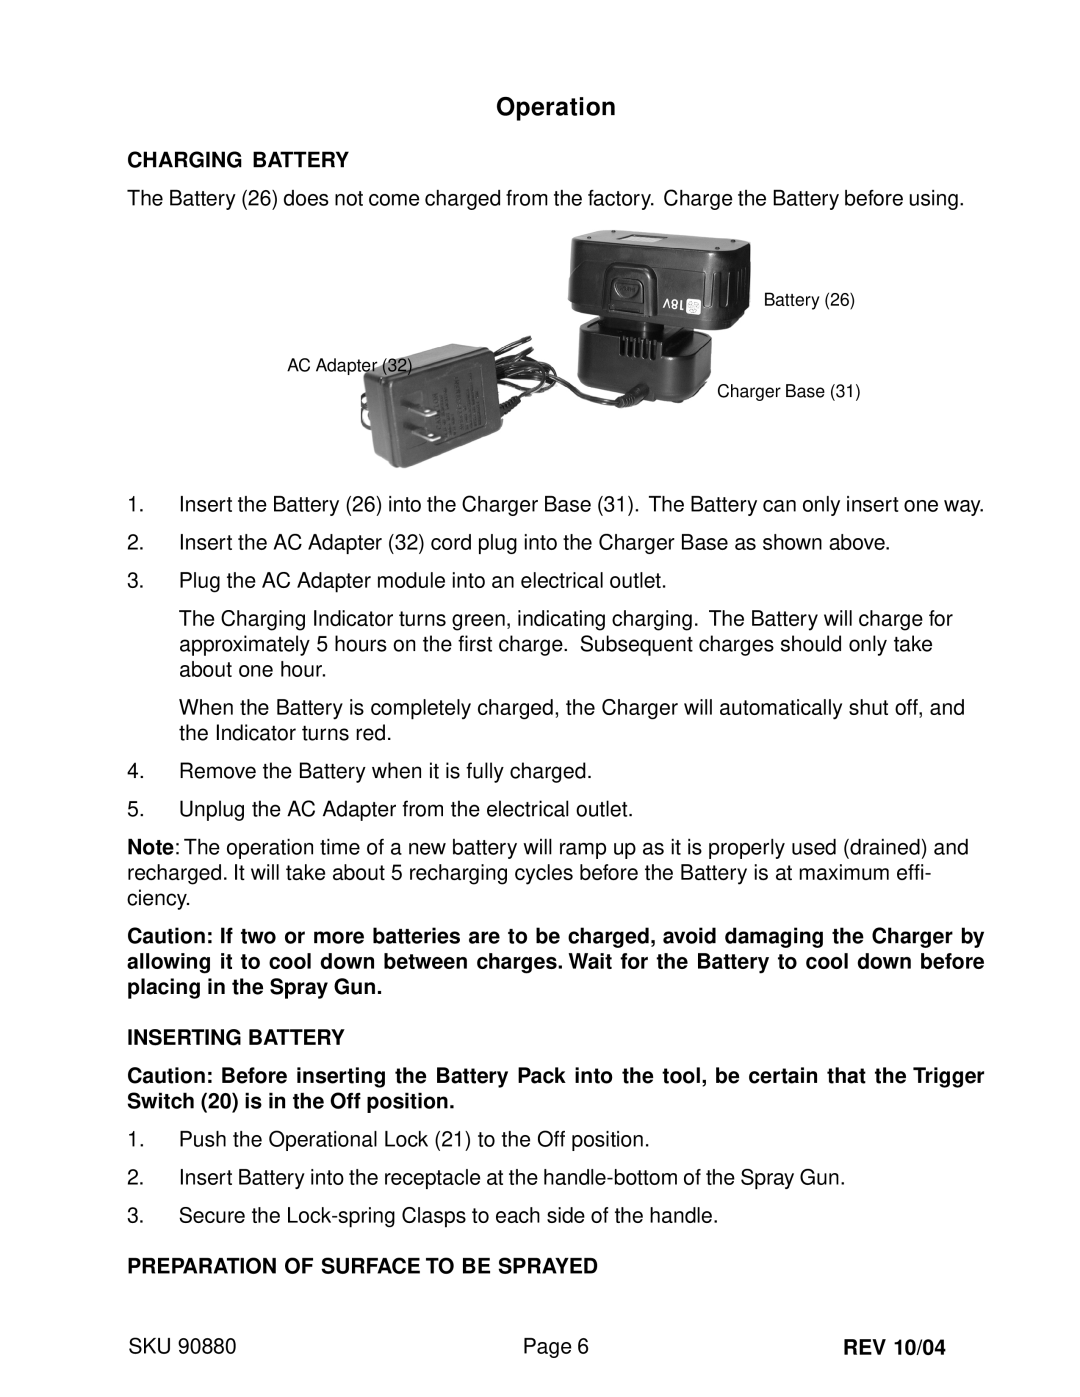
Battery (26)
AC Adapter (32)
Charger Base (31)
1.Insert the Battery (26) into the Charger Base (31). The Battery can only insert one way.
2.Insert the AC Adapter (32) cord plug into the Charger Base as shown above.
3.Plug the AC Adapter module into an electrical outlet.
The Charging Indicator turns green, indicating charging. The Battery will charge for approximately 5 hours on the first charge. Subsequent charges should only take about one hour.
When the Battery is completely charged, the Charger will automatically shut off, and the Indicator turns red.
4.Remove the Battery when it is fully charged.
5.Unplug the AC Adapter from the electrical outlet.
Note: The operation time of a new battery will ramp up as it is properly used (drained) and recharged. It will take about 5 recharging cycles before the Battery is at maximum effi- ciency.
Caution: If two or more batteries are to be charged, avoid damaging the Charger by allowing it to cool down between charges. Wait for the Battery to cool down before placing in the Spray Gun.
INSERTING BATTERY
Caution: Before inserting the Battery Pack into the tool, be certain that the Trigger Switch (20) is in the Off position.
1.Push the Operational Lock (21) to the Off position.
2.Insert Battery into the receptacle at the
3.Secure the
PREPARATION OF SURFACE TO BE SPRAYED
SKU 90880 | Page 6 | REV 10/04 |