Operation
This Bandsaw Blade Welder is used to weld saw blades between 1/8 and 1/2 inches in width.
Additional Warnings!
1.Make sure the Welding and Annealing Buttons are not depressed before plugging in the unit.
2.Never leave the welder unattended while running.
3.Always unplug before servicing. All internal maintenance should be performed by an authorized service technician.
4.Sparks are generated while welding. Situate the welder far away from any flammable materials. Work in a
Note: This unit does not have a grinder attachment.
WARNING! Handle blades with extreme care. They flex and twist easily, making them extremely dan- gerous. Always wear
Saw blade preparation
1.Wearing
Note: The ends must be cut perfectly square to attain a full width weld. The cut should be made in an area between the blade’s teeth (especially with larger blades). If hand shears (not included) are used to cut the blade, it may be necessary to file the ends until they are square. Use a square (tool, not included) to make sure the blade ends are 90°. There should be no taper on the very end of the blade.
2.Using a fine emery cloth (not included), lightly clean both ends (and flat surfaces near the ends) of the saw blade. Remove all burrs. Completely clean off all dirt, coatings, and oil.
Welding
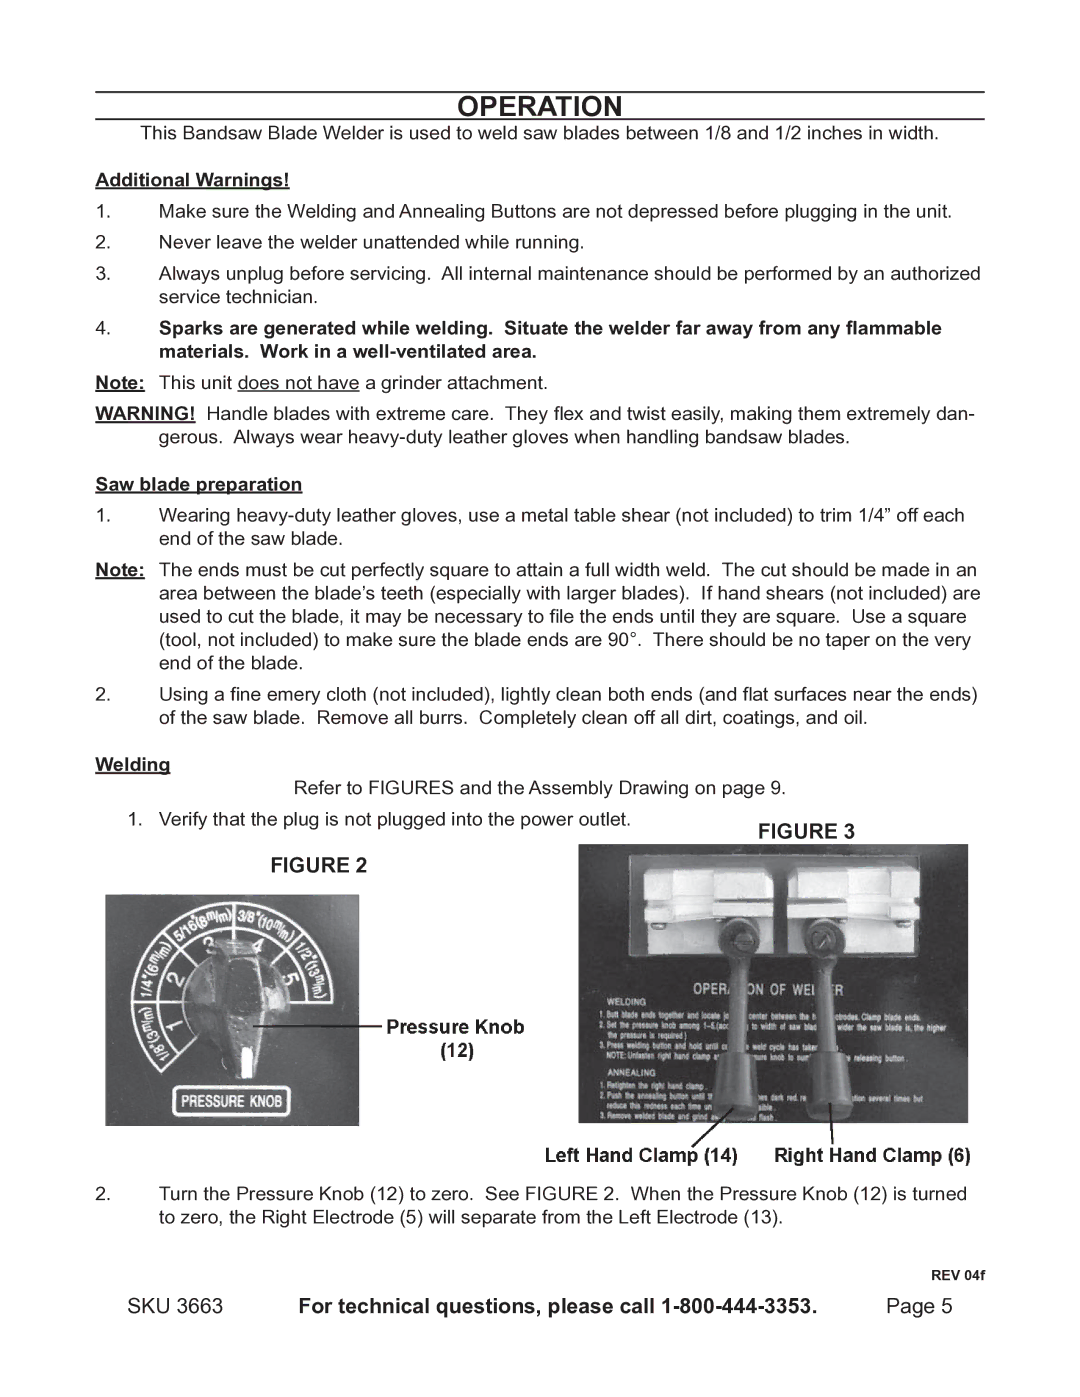
Refer to Figures and the Assembly Drawing on page 9.
1. Verify that the plug is not plugged into the power outlet. | Figure 3 |
| |
Figure 2 |
|
2.Turn the Pressure Knob (12) to zero. See Figure 2. When the Pressure Knob (12) is turned to zero, the Right Electrode (5) will separate from the Left Electrode (13).
REV 04f
SKU 3663 | For technical questions, please call | Page 5 |
