Annealing the Weld
Note: The annealing process tempers and toughens the blade, reducing brittleness.
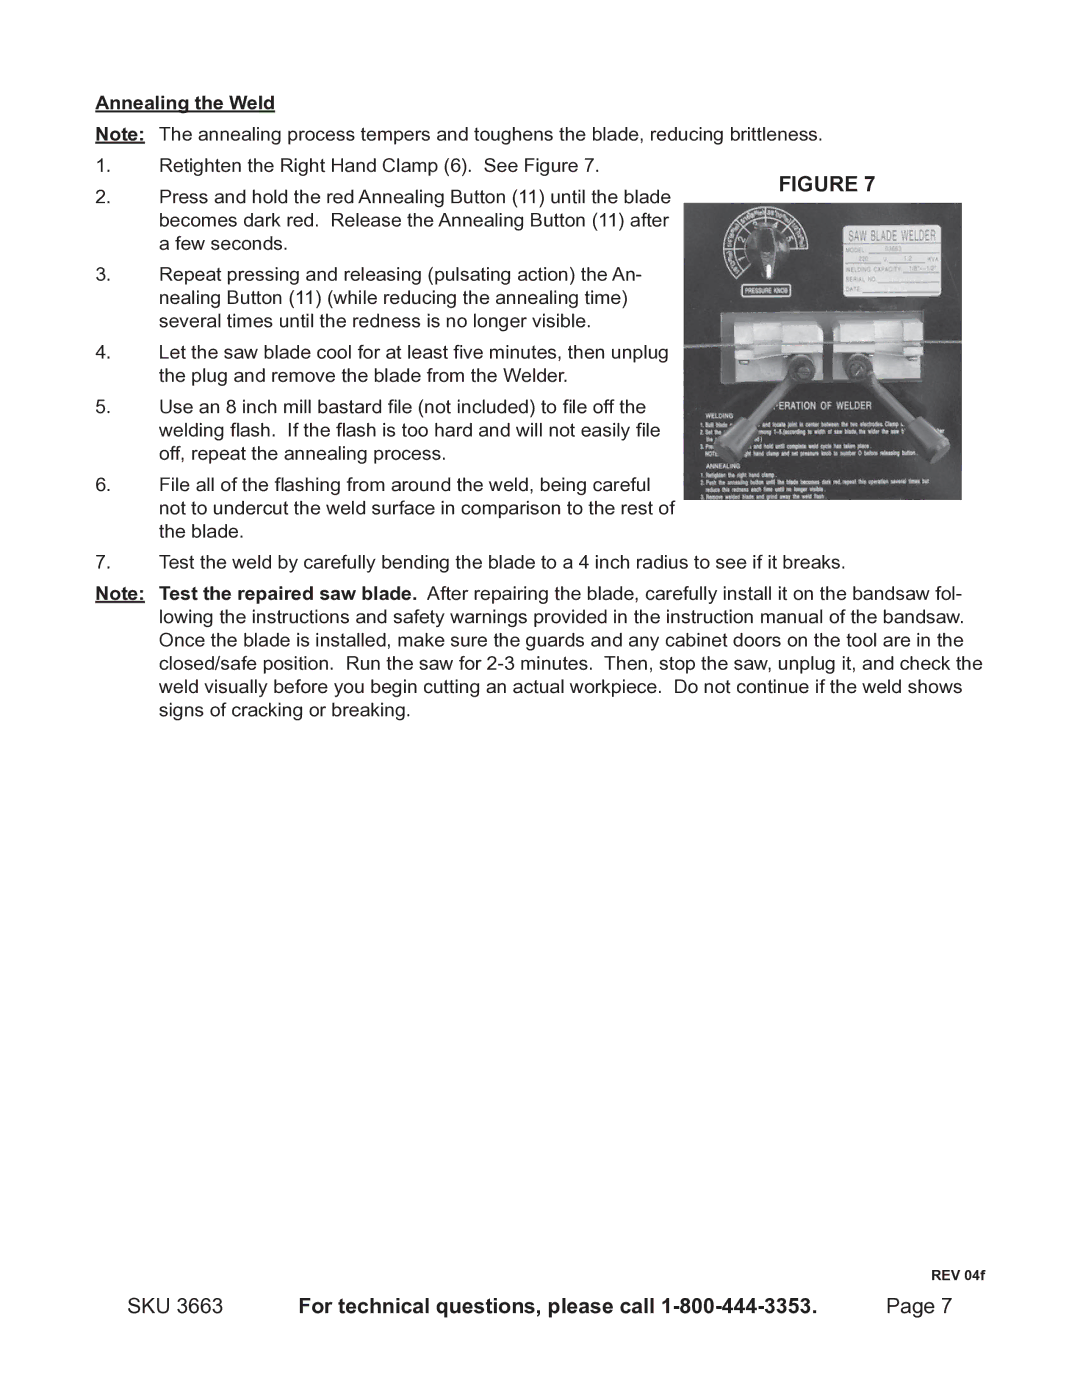
1. | Retighten the Right Hand Clamp (6). See Figure 7. | Figure 7 | |
2. | Press and hold the red Annealing Button (11) until the blade | ||
|
becomes dark red. Release the Annealing Button (11) after a few seconds.
3.Repeat pressing and releasing (pulsating action) the An- nealing Button (11) (while reducing the annealing time) several times until the redness is no longer visible.
4.Let the saw blade cool for at least five minutes, then unplug the plug and remove the blade from the Welder.
5.Use an 8 inch mill bastard file (not included) to file off the welding flash. If the flash is too hard and will not easily file off, repeat the annealing process.
6.File all of the flashing from around the weld, being careful not to undercut the weld surface in comparison to the rest of the blade.
7.Test the weld by carefully bending the blade to a 4 inch radius to see if it breaks.
Note: Test the repaired saw blade. After repairing the blade, carefully install it on the bandsaw fol- lowing the instructions and safety warnings provided in the instruction manual of the bandsaw. Once the blade is installed, make sure the guards and any cabinet doors on the tool are in the closed/safe position. Run the saw for
REV 04f
SKU 3663 | For technical questions, please call | Page 7 |
