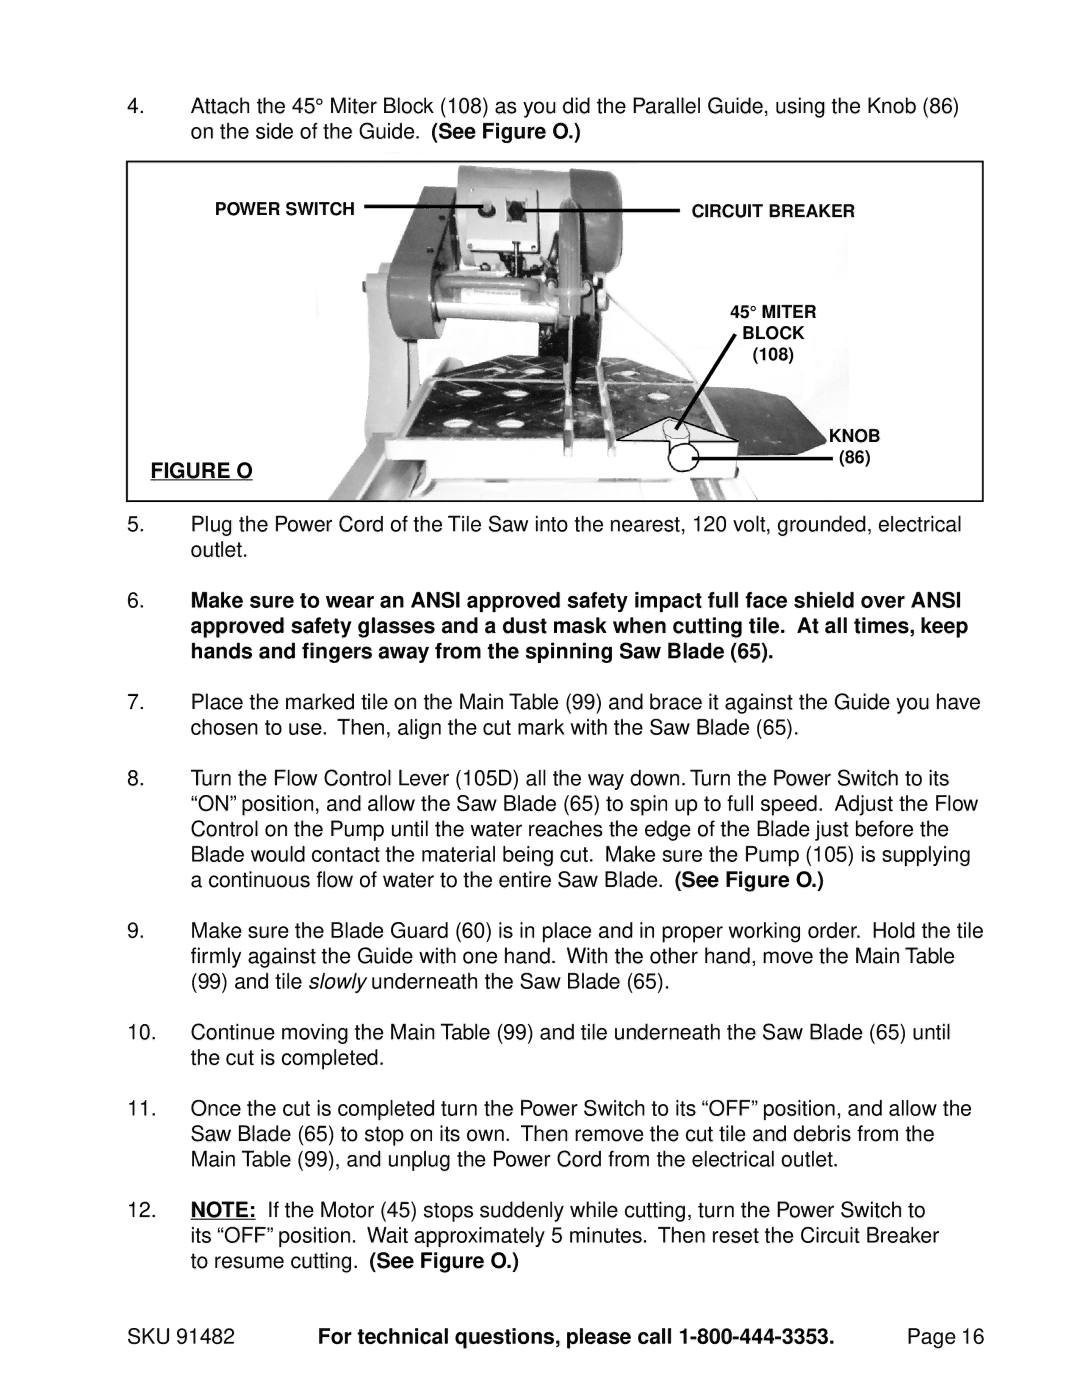
4.Attach the 45° Miter Block (108) as you did the Parallel Guide, using the Knob (86) on the side of the Guide. (See Figure O.)
POWER SWITCH |
|
|
| CIRCUIT BREAKER |
|
|
|
45° MITER
BLOCK
(108)
KNOB
FIGURE O
(86)
5.Plug the Power Cord of the Tile Saw into the nearest, 120 volt, grounded, electrical outlet.
6.Make sure to wear an ANSI approved safety impact full face shield over ANSI approved safety glasses and a dust mask when cutting tile. At all times, keep hands and fingers away from the spinning Saw Blade (65).
7.Place the marked tile on the Main Table (99) and brace it against the Guide you have chosen to use. Then, align the cut mark with the Saw Blade (65).
8.Turn the Flow Control Lever (105D) all the way down. Turn the Power Switch to its “ON” position, and allow the Saw Blade (65) to spin up to full speed. Adjust the Flow Control on the Pump until the water reaches the edge of the Blade just before the Blade would contact the material being cut. Make sure the Pump (105) is supplying a continuous flow of water to the entire Saw Blade. (See Figure O.)
9.Make sure the Blade Guard (60) is in place and in proper working order. Hold the tile firmly against the Guide with one hand. With the other hand, move the Main Table (99) and tile slowly underneath the Saw Blade (65).
10.Continue moving the Main Table (99) and tile underneath the Saw Blade (65) until the cut is completed.
11.Once the cut is completed turn the Power Switch to its “OFF” position, and allow the Saw Blade (65) to stop on its own. Then remove the cut tile and debris from the Main Table (99), and unplug the Power Cord from the electrical outlet.
12.NOTE: If the Motor (45) stops suddenly while cutting, turn the Power Switch to its “OFF” position. Wait approximately 5 minutes. Then reset the Circuit Breaker to resume cutting. (See Figure O.)
SKU 91482 | For technical questions, please call | Page 16 |