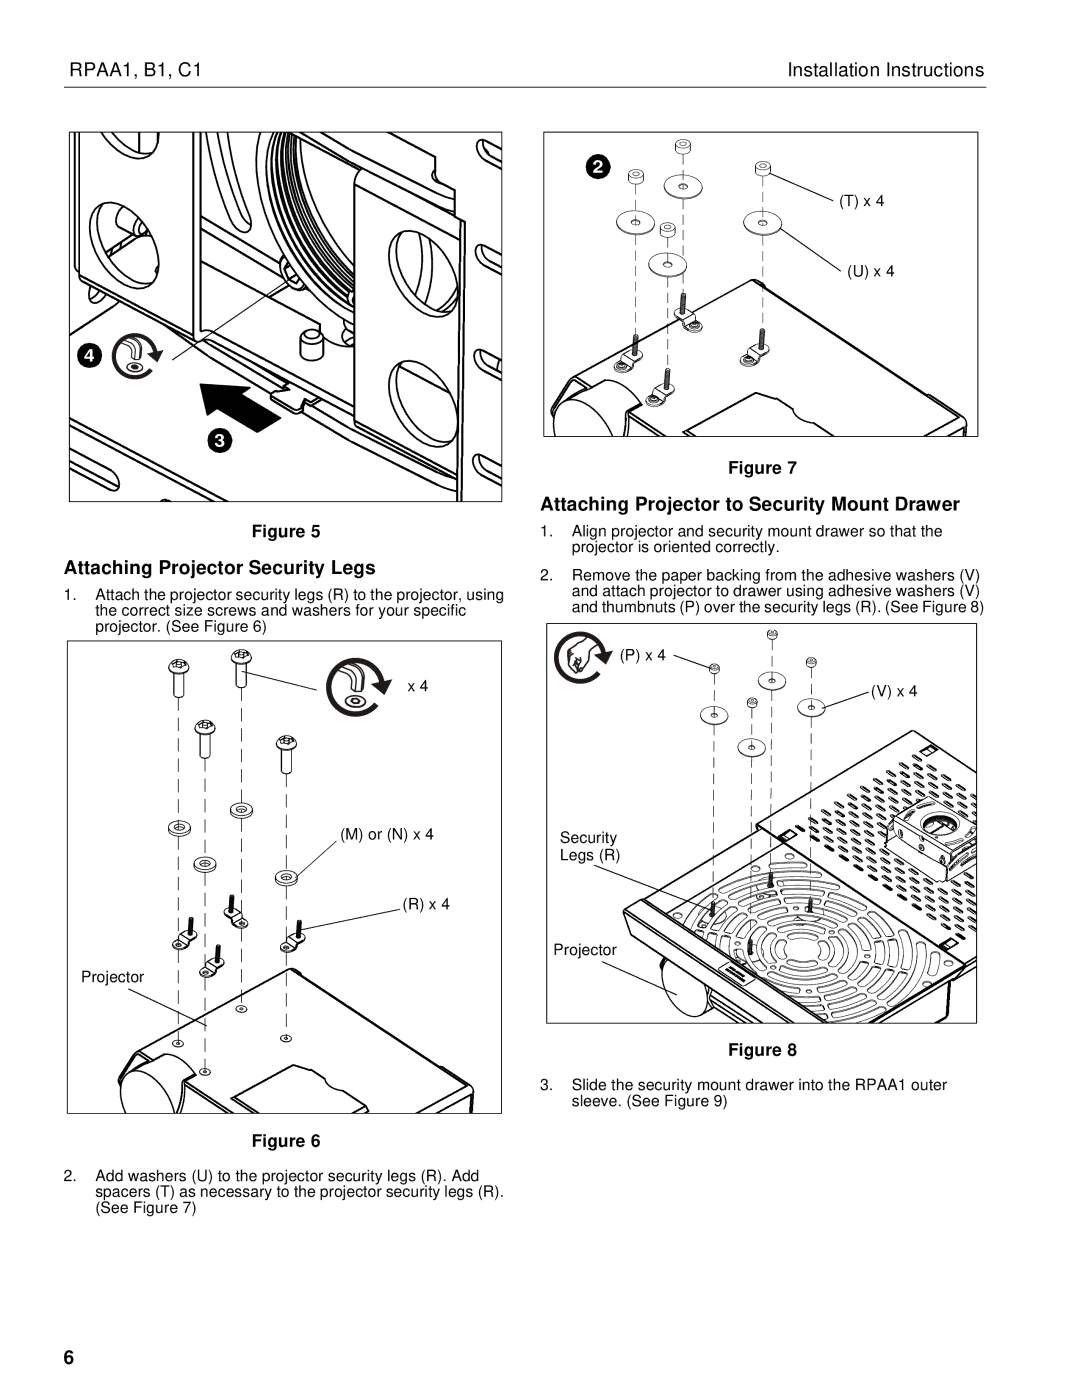
RPAA1, C1, B1 specifications
Chief Manufacturing B1, RPAA1, and C1 are some of the industry-leading solutions designed for professionals in settings that require precise mounting and support for displays and technology. Each model is engineered to enhance workflow, ergonomics, and the overall aesthetic of various environments, including classrooms, boardrooms, and broadcast studios.The Chief B1 series is renowned for its robust construction, which provides an exceptional level of stability and durability for mounted displays. Key features include easy installation, adjustable viewing angles, and seamless integration with other equipment. The B1 model is designed to support a wide range of display sizes, catering to diverse user needs while maintaining a sleek and unobtrusive profile. The innovative mounting solutions in the B1 series not only ensure safety and reliability but also offer adjustable height options for optimal viewing comfort.
Transitioning to the RPAA1 model, this product stands out with its advanced engineering designed to streamline the integration of large displays into any environment. The RPAA1 incorporates innovative features such as automation and advanced cable management systems, allowing for a clean and organized setup. It is ideal for use in professional settings where maintaining a polished appearance is paramount. This model is compatible with various display technologies, providing flexibility for users who deploy multiple devices. Enhanced mobility features make it easy to reposition displays as needed, responding swiftly to dynamic environments.
The Chief C1 model is particularly known for its comprehensive versatility. This model supports various mounting options, making it suitable for both fixed and mobile applications. The C1 integrates smart technology, featuring easy-to-use interfaces that allow users to adjust display positions with minimal effort. Its unique adaptability makes it a perfect choice for environments that require frequent display reconfigurations, such as trade shows, presentations, and collaborative working spaces.
Each of these Chief Manufacturing models—B1, RPAA1, and C1—exemplifies the brand's commitment to quality, innovation, and performance. Their core features are built to enhance user experience while providing the necessary support for modern display technologies. Whether it's the robust stability of the B1, the sophisticated automation of the RPAA1, or the dynamic versatility of the C1, Chief Manufacturing continues to set the benchmark in the industry for display mounting solutions. These models collectively reflect advancements in technology and user-centric design, ensuring they meet the needs of today's demanding professional environments.

