
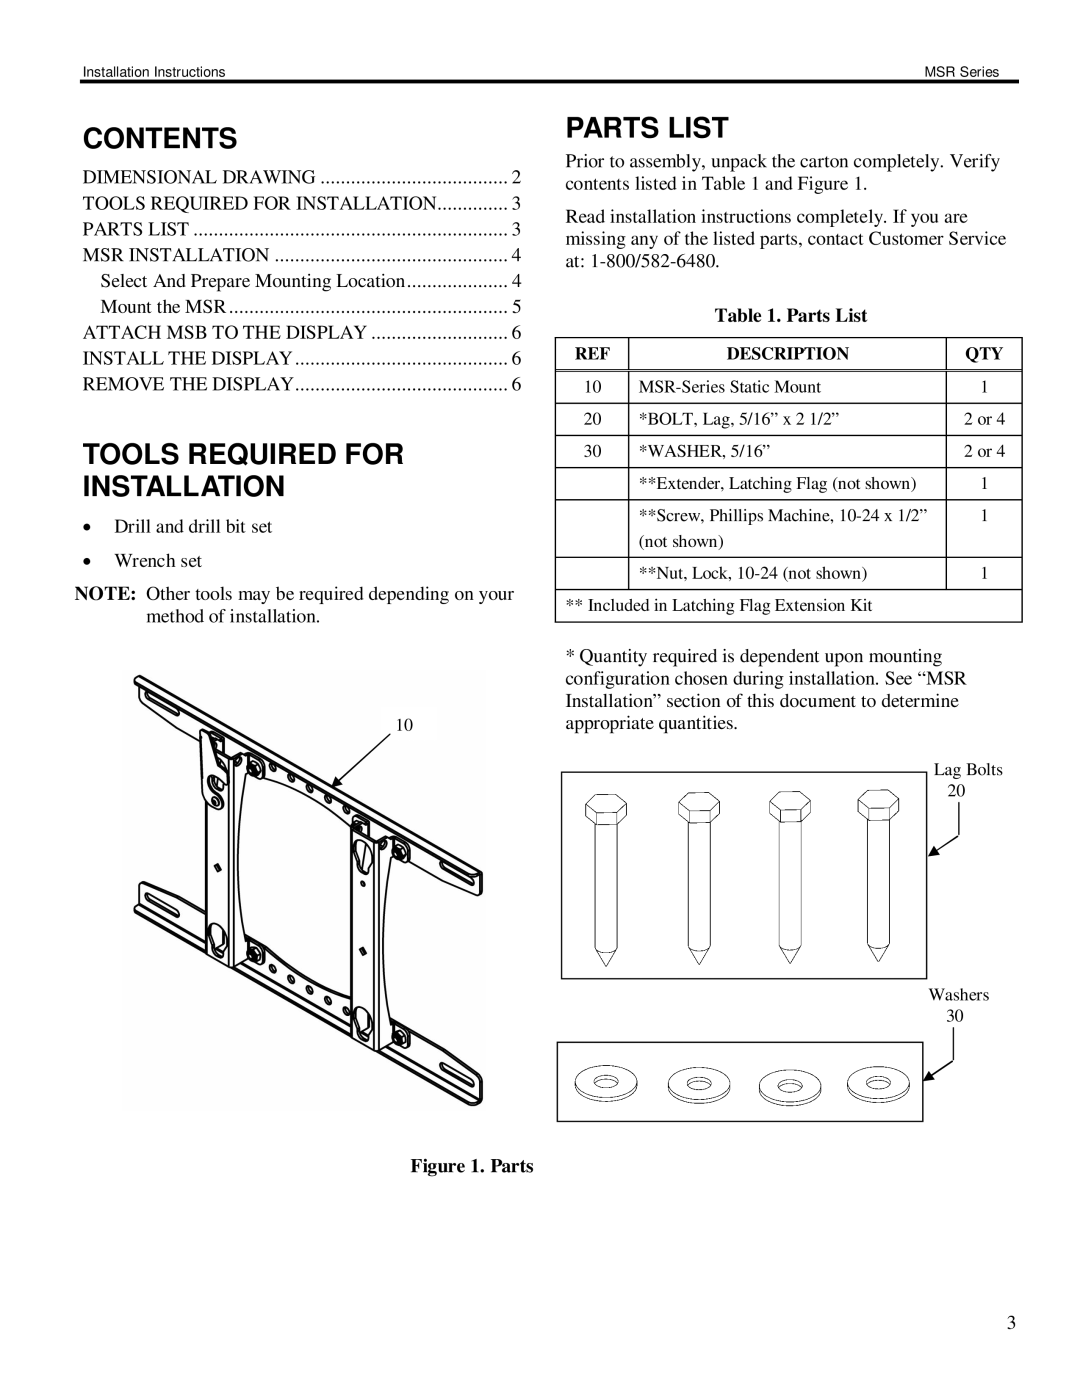
MSR Series specifications
The Chief Manufacturing MSR Series is a remarkable suite of mounting solutions designed for versatility, efficiency, and durability in both commercial and residential settings. With its emphasis on quality and innovative technology, the MSR Series addresses the diverse needs of modern audiovisual installations, ensuring that users achieve optimal performance and aesthetics.One of the standout features of the MSR Series is its modular design. This system allows integrators to customize setups to suit specific requirements, making installation faster and more efficient. Each component is engineered to work seamlessly with others in the series, facilitating a myriad of configurations for different display sizes and mounting scenarios. The adaptability of the MSR Series is particularly beneficial in environments where technology often needs to be reconfigured or upgraded.
The series incorporates advanced technologies such as Chief's patented In-Desk technology. This innovative feature enables clean cable management and maintenance convenience by allowing cables to be routed discreetly through surfaces. This not only enhances the visual appeal of the installation but also facilitates easy access for adjustments and updates, thereby maximizing uptime.
Additionally, the MSR Series offers an impressive load capacity, designed to support a wide range of displays, from smaller screens to large-format video walls. This capability ensures that the mounts can handle increasingly heavy and sophisticated display technologies in today's market. Furthermore, with built-in safety features such as locking mechanisms and robust materials, users can rest assured that their displays are securely positioned.
Another notable aspect of the MSR Series is its user-friendly adjustment capabilities. Many models within the series include tools that allow for tilt, pan, and pivot adjustments, enabling precise positioning without the need for complex tools. This makes the mounting process straightforward, even for those without extensive technical expertise.
Durability is a hallmark of Chief Manufacturing’s products, and the MSR Series is no exception. Constructed from high-grade materials that resist wear and tear, the mounts are designed to withstand the rigors of everyday use. This makes them ideal for high-traffic environments such as conference rooms, classrooms, and public spaces.
In summary, the Chief Manufacturing MSR Series stands out for its modular design, advanced technological features, impressive load capacity, user-friendly adjustments, and high durability. These characteristics make the MSR Series a top choice for both integrators and end-users looking for reliable and flexible mounting solutions for their audiovisual needs.