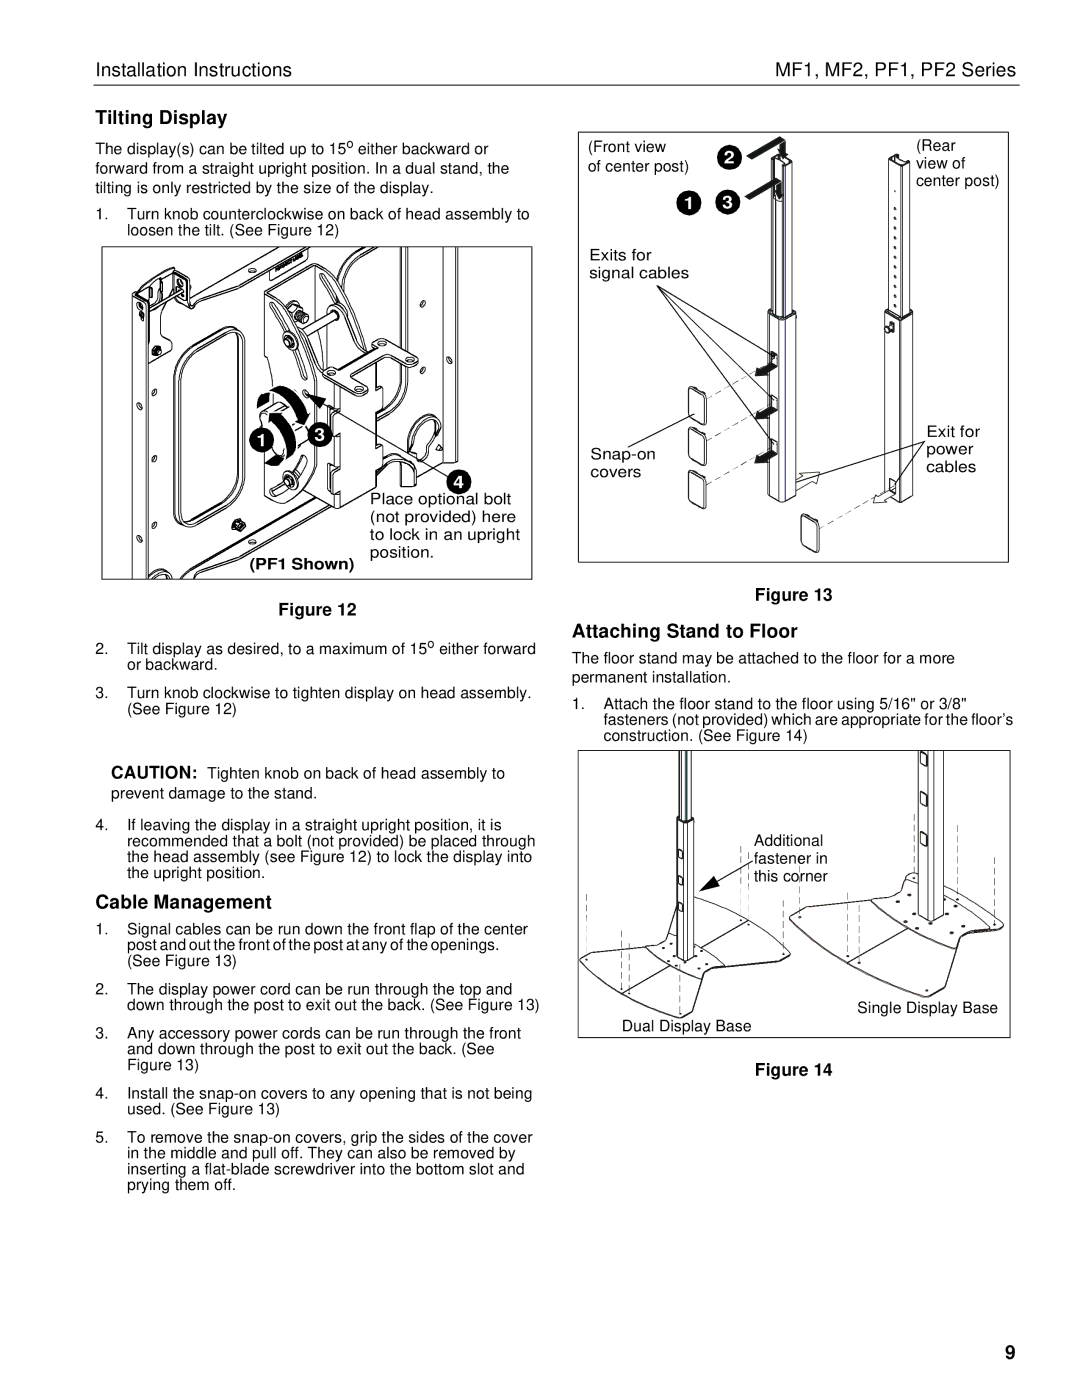
MF1 Series, MF2 Series, PF1 Series, PF2 Series specifications
Chief Manufacturing has established itself as a leader in the design and manufacture of mounting solutions, particularly within the audiovisual sector. Among their well-regarded products are the PF1, MF2, MF1, and PF2 series, each crafted to cater to specific installation needs while maintaining high standards in technology and usability.The PF1 Series is a standout in fixed mount technology, offering a low-profile design that seamlessly integrates televisions into various environments. Key features include a quick-release mechanism that allows for effortless attachment and detachment, which is particularly beneficial in commercial applications. It supports a weight capacity of up to 175 pounds and is compatible with VESA mounting patterns, ensuring versatility across many TV models. Additionally, its built-in security features help prevent theft, making it an ideal choice for public spaces.
On the other hand, the MF2 Series represents the pinnacle of full-motion mounting solutions. This series provides exceptional flexibility, enabling users to tilt, swivel, and extend their displays. The MF2 mounts can accommodate screen sizes ranging from 37 to 70 inches and are designed to support weights up to 125 pounds. With integrated cable management systems, users can maintain a clean and organized appearance while enhancing the viewing experience by easily adjusting the display’s position.
The MF1 Series is characterized by its durability and innovative design aimed at enhancing user experience through quick installation. This series is engineered with adjustable mounting points, facilitating compatibility with a wide range of TV sets. The MF1 supports various viewing angles through tilting and swiveling features, ensuring an optimized sightline. Its robust construction makes it a reliable choice for residential and professional environments alike.
Finally, the PF2 Series builds on the strengths of the PF1 Series while introducing enhanced features aimed at professional settings. It supports larger displays, with a weight capacity of up to 300 pounds, making it suitable for large-format televisions. Key attributes include integrated leveling adjustments, allowing for precise installation, and an easy-to-use installation guide that accelerates setup. The PF2’s sleek design ensures a polished look, which is essential in corporate environments where aesthetics matter.
Overall, the Chief Manufacturing PF1, MF2, MF1, and PF2 series exemplify innovation and quality in mounting solutions, ensuring both functionality and style across various applications.

