SETTING
On start
When this function is “On,” projector is automatically turned on just by connecting AC Power cord to a wall outlet.
Note ; Be sure to turn projector off properly (refer to section “TURNING OFF PROJECTOR” on P19). If projector is turned off in wrong steps, On Start function does not operate properly.
Lamp mode
When selecting the "![]() " (Eco) mode, the projector reduces the brightness and set itself into low power consumption mode.
" (Eco) mode, the projector reduces the brightness and set itself into low power consumption mode.
Remote control
This projector has two different remote control codes;
When operating projector in “Code 2,” both projector and Remote Control Unit must be switched to “Code 2.”
To change code of Projector;
Set Remote control in SETTING MENU to “Code 2.”
To change code of Remote Control Unit;
Press both MENU and IMAGE buttons on Remote Control Unit together for over 10 seconds.
After changing code, make sure Remote Control operates properly. To return to normal code (Code 1), operate both projector and Remote Control in ways above again.
NOTE : When batteries of Remote Control Unit are replaced or ALL- OFF switch is turned to
USB
This Projector is equipped with USB port for interactive operation between a projector and a computer. Follow the steps below for USB setup
Wireless Mouse mode
Select " " when controlling a computer with Remote Control of this projector.
Projector mode
Select " " when controlling a projector with computer.
NOTE: Before you control a projector by computer, install USB driver (optionally sold parts) and set up computer following instruc- tion in USB driver package. Contact your authorized dealer.
ChristieNet
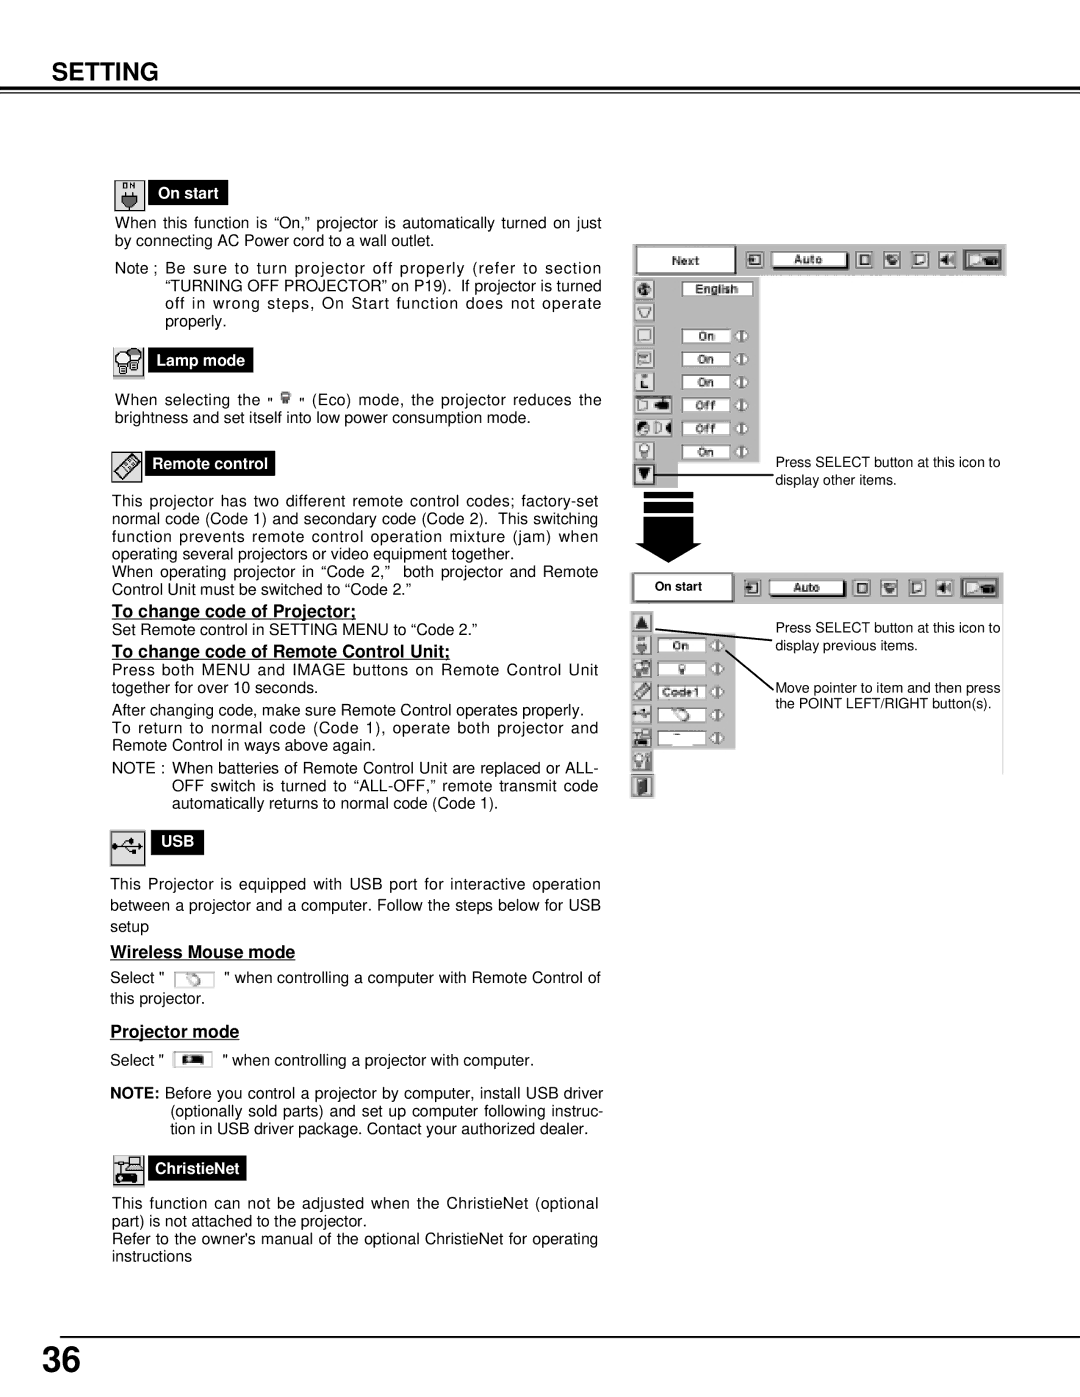
Press SELECT button at this icon to display other items.
On start
Press SELECT button at this icon to display previous items.
Move pointer to item and then press the POINT LEFT/RIGHT button(s).
This function can not be adjusted when the ChristieNet (optional part) is not attached to the projector.
Refer to the owner's manual of the optional ChristieNet for operating instructions
36
