Installation
Removing the Cisco 4400 Series Power Supply
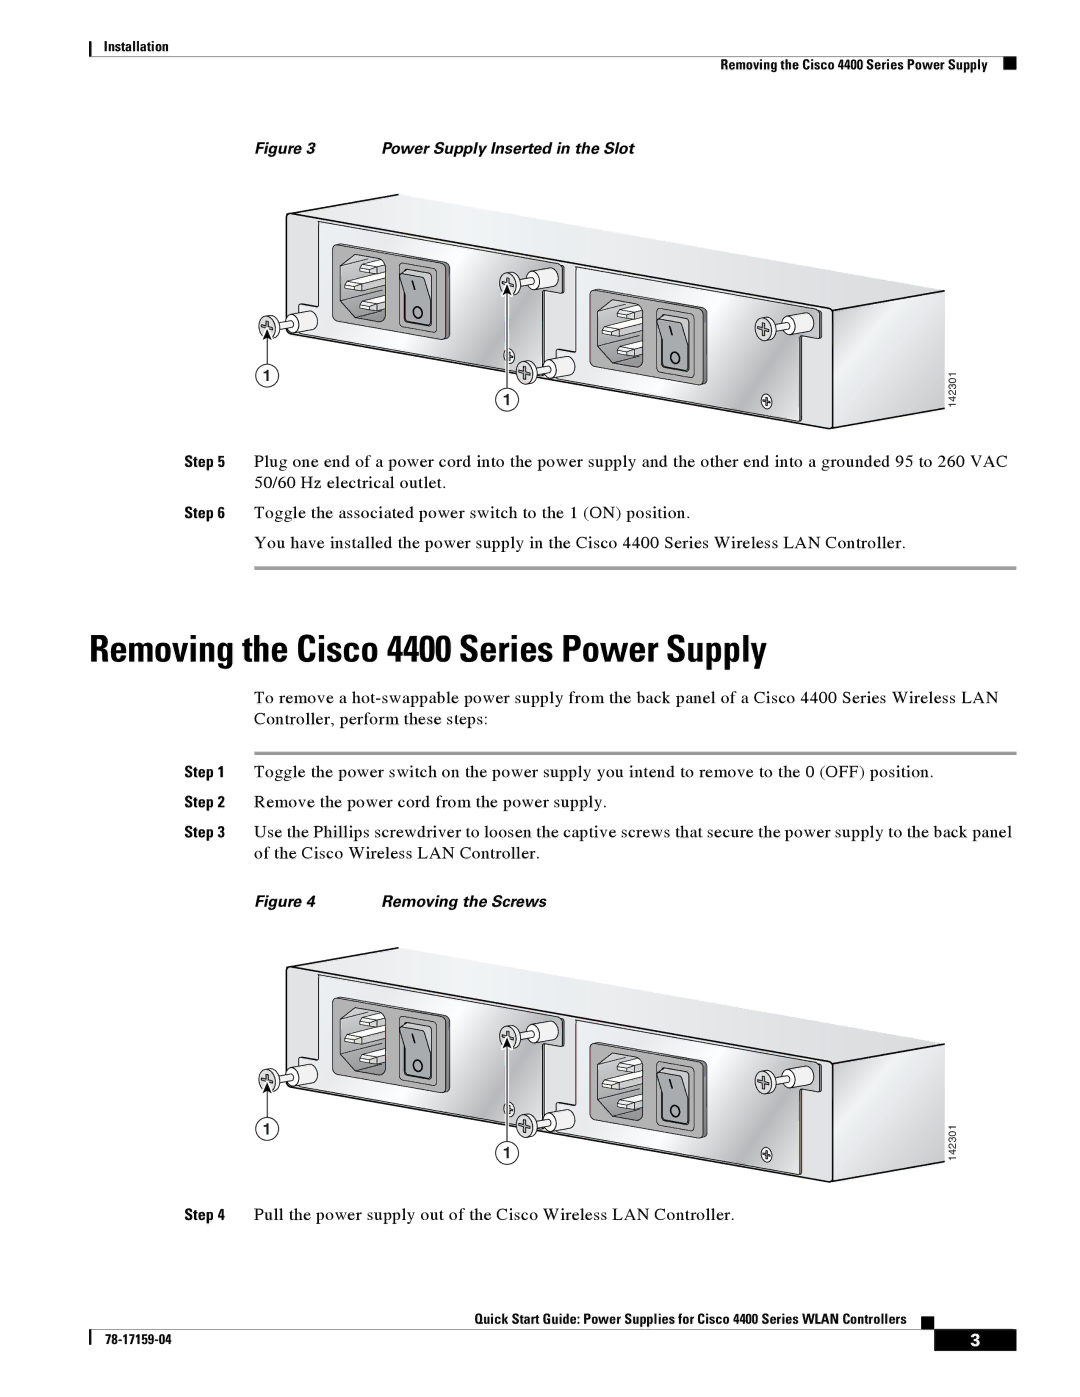
Figure 3 | Power Supply Inserted in the Slot |
1
1
 142301
Step 5 Plug one end of a power cord into the power supply and the other end into a grounded 95 to 260 VAC 50/60 Hz electrical outlet.
Step 6 Toggle the associated power switch to the 1 (ON) position.
You have installed the power supply in the Cisco 4400 Series Wireless LAN Controller.
Removing the Cisco 4400 Series Power Supply
To remove a
Step 1 Toggle the power switch on the power supply you intend to remove to the 0 (OFF) position. Step 2 Remove the power cord from the power supply.
Step 3 Use the Phillips screwdriver to loosen the captive screws that secure the power supply to the back panel of the Cisco Wireless LAN Controller.
Figure 4 | Removing the Screws |
1
1
Step 4 Pull the power supply out of the Cisco Wireless LAN Controller.
 142301
Quick Start Guide: Power Supplies for Cisco 4400 Series WLAN Controllers
| 3 |
| |
|
|