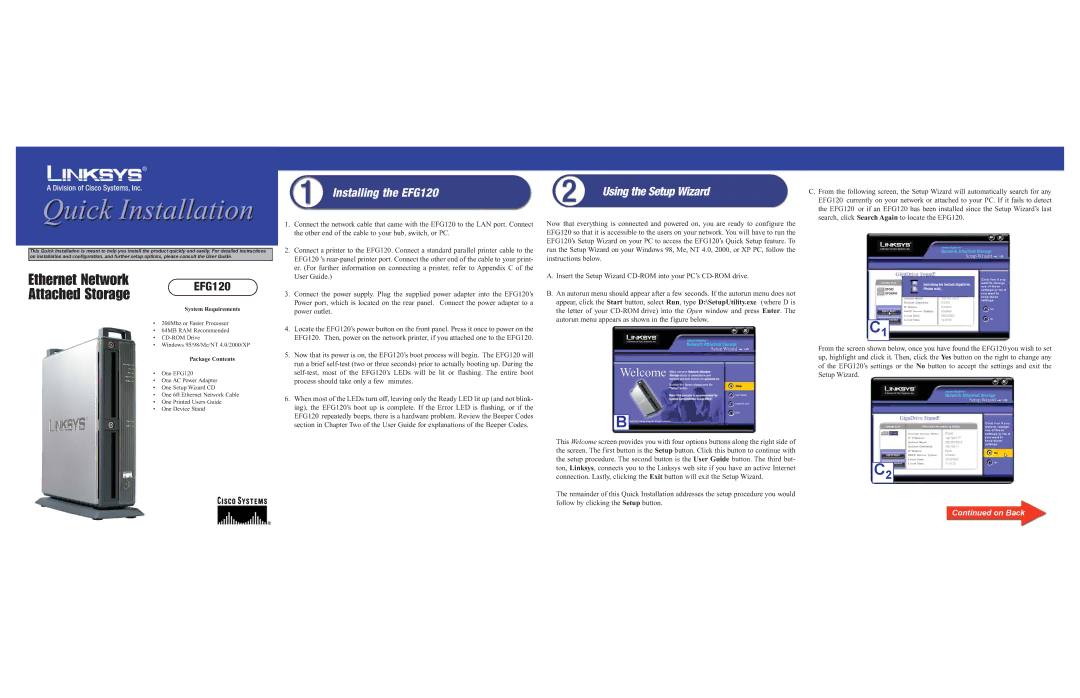
This Quick Installation is meant to help you install the product quickly and easily. For detailed instructions on installation and configuration, and further setup options, please consult the User Guide.
Ethernet Network | EFG120 | |
Attached Storage | ||
| ||
| System Requirements |
• 200Mhz or Faster Processor
• 64MB RAM Recommended
•
• Windows 95/98/Me/NT 4.0/2000/XP
Package Contents
• One EFG120
• One AC Power Adapter
• One Setup Wizard CD
• One 6ft Ethernet Network Cable
• One Printed Users Guide
• One Device Stand
Installing the EFG120
1. | Connect the network cable that came with the EFG120 to the LAN port. Connect |
| the other end of the cable to your hub, switch, or PC. |
2. | Connect a printer to the EFG120. Connect a standard parallel printer cable to the |
| EFG120 ’s |
| er. (For further information on connecting a printer, refer to Appendix C of the |
| User Guide.) |
3. | Connect the power supply. Plug the supplied power adapter into the EFG120’s |
| Power port, which is located on the rear panel. Connect the power adapter to a |
| power outlet. |
4. | Locate the EFG120’s power button on the front panel. Press it once to power on the |
| EFG120. Then, power on the network printer, if you attached one to the EFG120. |
5. | Now that its power is on, the EFG120’s boot process will begin. The EFG120 will |
| run a brief |
| |
| process should take only a few minutes. |
6. | When most of the LEDs turn off, leaving only the Ready LED lit up (and not blink- |
| ing), the EFG120’s boot up is complete. If the Error LED is flashing, or if the |
Using the Setup Wizard
Now that everything is connected and powered on, you are ready to configure the EFG120 so that it is accessible to the users on your network. You will have to run the EFG120’s Setup Wizard on your PC to access the EFG120’s Quick Setup feature. To run the Setup Wizard on your Windows 98, Me, NT 4.0, 2000, or XP PC, follow the instructions below.
A. Insert the Setup Wizard
B.An autorun menu should appear after a few seconds. If the autorun menu does not appear, click the Start button, select Run, type D:\SetupUtility.exe (where D is the letter of your
C. From the following screen, the Setup Wizard will automatically search for any EFG120 currently on your network or attached to your PC. If it fails to detect the EFG120 or if an EFG120 has been installed since the Setup Wizard’s last search, click Search Again to locate the EFG120.
C1
From the screen shown below, once you have found the EFG120 you wish to set up, highlight and click it. Then, click the Yes button on the right to change any of the EFG120’s settings or the No button to accept the settings and exit the Setup Wizard.
EFG120 repeatedly beeps, there is a hardware problem. Review the Beeper Codes |
section in Chapter Two of the User Guide for explanations of the Beeper Codes. |
B
This Welcome screen provides you with four options buttons along the right side of the screen. The first button is the Setup button. Click this button to continue with the setup procedure. The second button is the User Guide button. The third but- ton, Linksys, connects you to the Linksys web site if you have an active Internet connection. Lastly, clicking the Exit button will exit the Setup Wizard.
The remainder of this Quick Installation addresses the setup procedure you would follow by clicking the Setup button.
C2
