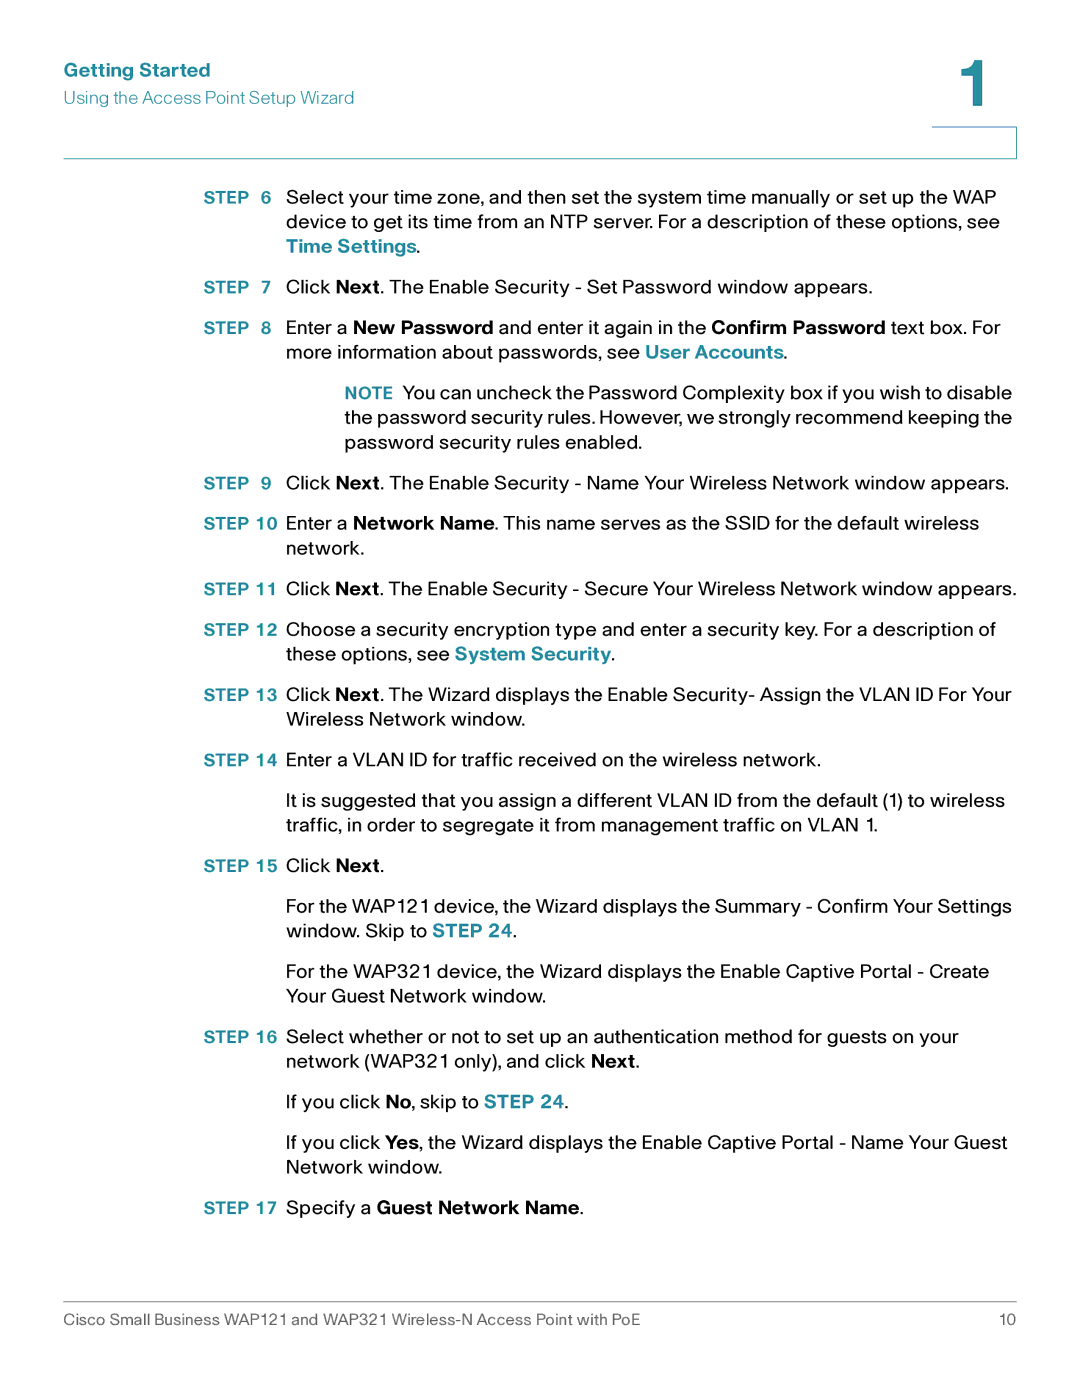
WAP121, WAP321 specifications
Cisco Systems has long been recognized for its innovation in networking technologies, and the Cisco WAP321 and WAP121 access points are prime examples of its commitment to delivering reliable, high-performance wireless networking solutions for small and medium-sized businesses. These devices offer a robust set of features designed to meet the requirements of modern wireless networking while ensuring ease of use and deployment.The Cisco WAP321 is a dual-band access point that operates in both the 2.4 GHz and 5 GHz frequency bands, providing flexibility and improved performance in crowded environments. With support for the 802.11n Wi-Fi standard, it boasts a combined data rate of up to 450 Mbps, enabling high-speed connections for multiple users simultaneously. The WAP321 also includes advanced features such as multiple SSIDs and VLAN support, allowing businesses to segment their networks for enhanced security and management control.
One of the standout characteristics of the WAP321 is its ability to act as a lightweight access point, meaning it can be managed through a Cisco Wireless LAN Controller (WLC) for larger deployments. This capability allows for centralized management of multiple access points, making it easier for IT administrators to deploy, configure, and monitor their network infrastructure.
On the other hand, the Cisco WAP121 is designed for those requiring a simpler, more cost-effective solution. This single-band access point also operates on the 2.4 GHz band but still provides robust performance with wireless speeds reaching up to 300 Mbps. It is ideal for small businesses looking to develop or expand their wireless networks without the complexities associated with more advanced systems.
Both models feature Power over Ethernet (PoE) capability, enabling them to receive power through the Ethernet cable, which simplifies installation and reduces the need for additional power outlets. Additionally, they support advanced security protocols, including WPA/WPA2 encryption, ensuring that sensitive data transmitted over the network remains protected from unauthorized access.
The ease of setup and user-friendly management interfaces of both the WAP321 and WAP121 make them appealing options for businesses lacking extensive IT resources. With features aimed at enhancing both performance and security, these access points represent powerful tools for achieving reliable wireless connectivity in a business environment. Whether organizations opt for the WAP321 for its extensive capabilities or the WAP121 for its simplicity, both access points reflect Cisco's dedication to meeting diverse networking needs.
