Chapter 3
Advanced Configuration
Remote Upgrade If you want to be able to upgrade the Router remotely, from outside the local network, select Enabled. (You must have the Remote Management feature enabled as well.) Otherwise, keep the default, Disabled.
Allowed Remote IP Address If you want to be able to access the Router from any external IP address, select Any IP Address. If you want to specify an external IP address or range of IP addresses, then select the second option and complete the fields provided.
Remote Management Port Enter the port number that will be open to outside access.
NOTE: When you are in a remote location and wish to manage the Router, enter
http://<Internet_IP_address>:port or https://<Internet _ IP _ address>:port, depending on whether you use HTTP or HTTPS. Enter the Router’s specific Internet IP address in place of <Internet_IP_address>, and enter the Remote Management Port number in place of the word port.
UPnP
Universal Plug and Play (UPnP) allows Windows Me and XP to automatically configure the Router for various Internet applications, such as gaming and videoconferencing.
UPnP If you want to use UPnP, keep the default setting, Enabled. Otherwise, select Disabled.
Allow Users to Configure Keep the default, Enabled, if you want to be able to make manual changes to the Router while using the UPnP feature. Otherwise, select Disabled.
Allow Users to Disable Internet Access Select Enabled, if you want to be able to prohibit any and all Internet connections. Otherwise, keep the default setting, Disabled.
Backup and Restore
Backup Configurations To back up the Router’s configuration settings, click this button and follow the on- screen instructions.
Restore Configurations To restore the Router’s configuration settings, click this button and follow the on- screen instructions. (You must have previously backed up the Router’s configuration settings.)
Click Save Settings to apply your changes, or click Cancel Changes to cancel your changes.
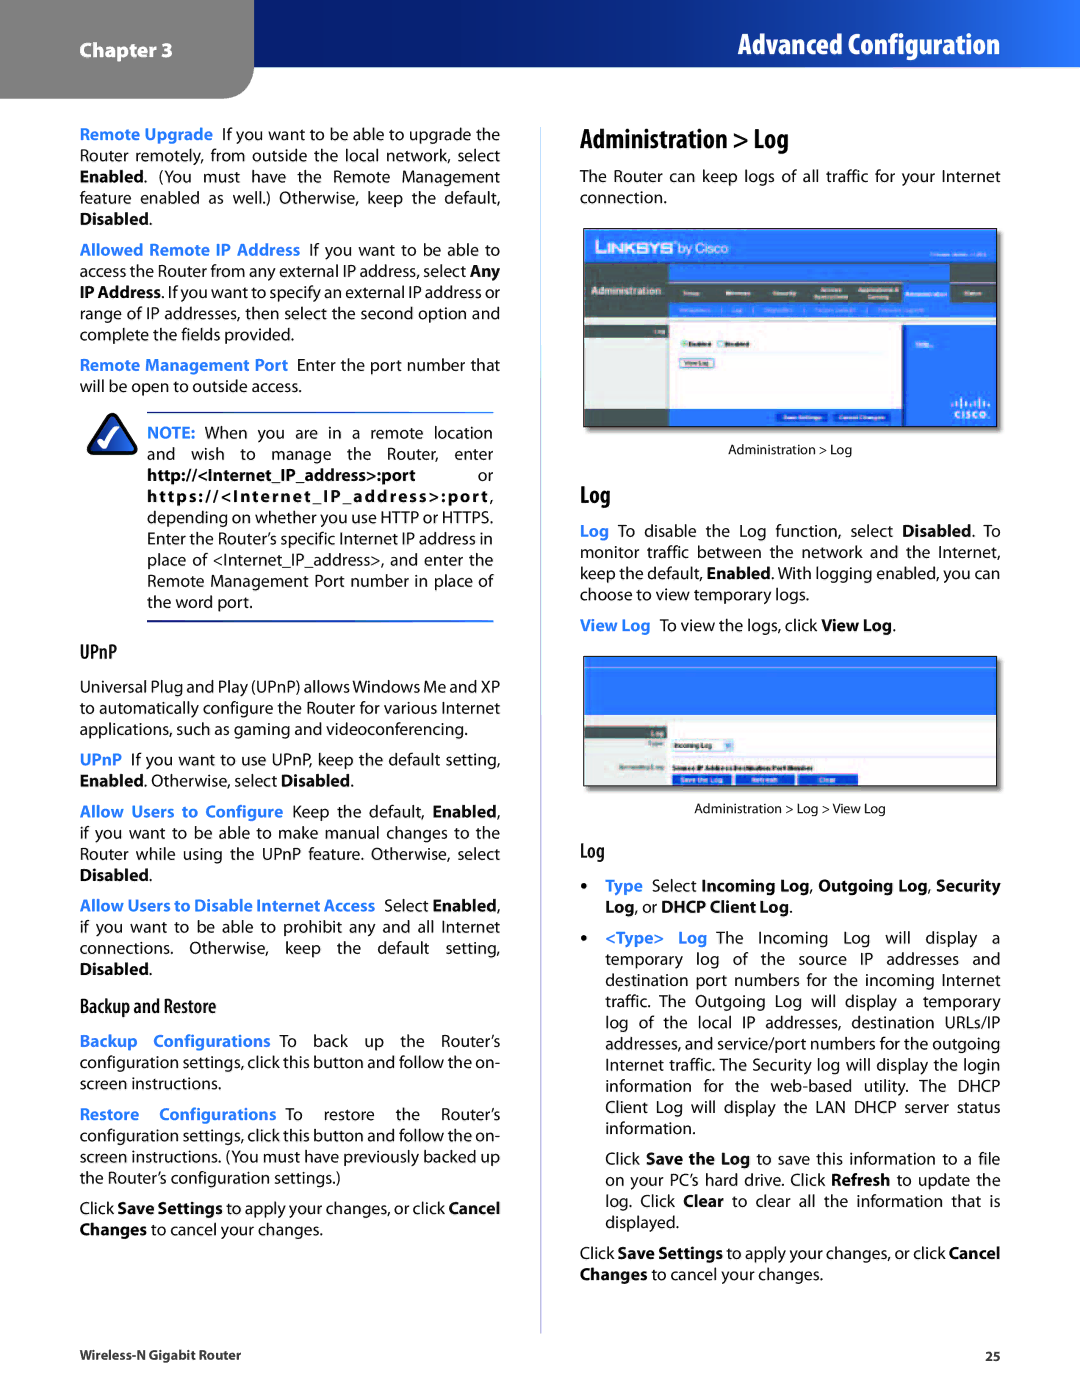
Administration > Log
The Router can keep logs of all traffic for your Internet connection.
Administration > Log
Log
Log To disable the Log function, select Disabled. To monitor traffic between the network and the Internet, keep the default, Enabled. With logging enabled, you can choose to view temporary logs.
View Log To view the logs, click View Log.
Administration > Log > View Log
Log
•• Type Select Incoming Log, Outgoing Log, Security
Log, or DHCP Client Log.
•• <Type> Log The Incoming Log will display a temporary log of the source IP addresses and destination port numbers for the incoming Internet traffic. The Outgoing Log will display a temporary log of the local IP addresses, destination URLs/IP addresses, and service/port numbers for the outgoing Internet traffic. The Security log will display the login information for the
Click Save the Log to save this information to a file on your PC’s hard drive. Click Refresh to update the log. Click Clear to clear all the information that is displayed.
Click Save Settings to apply your changes, or click Cancel Changes to cancel your changes.
25 |