CWS100A specifications
The Clear2O CWS100A is an innovative water filtration system designed for individuals and families seeking pure, clean drinking water without the hassle of complex installations or the need for bulky equipment. This countertop water filter system incorporates advanced filtration technologies that significantly improve the taste and quality of tap water while removing harmful contaminants.One of the standout features of the CWS100A is its multi-stage filtration process. Utilizing a combination of activated carbon and ceramic filters, this system effectively reduces chlorine, sediment, heavy metals, and other impurities often found in municipal water supplies. The ceramic filter provides an additional layer of defense against microorganisms, ensuring that your drinking water is not just clean but also safe.
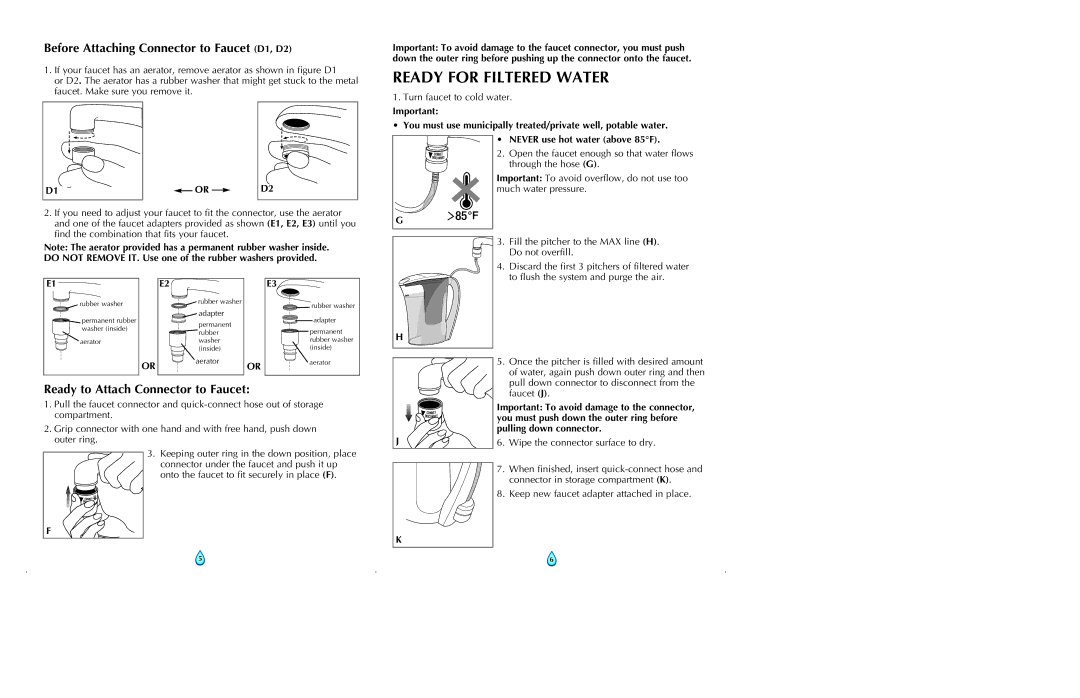
The CWS100A is designed for user convenience. Its compact size makes it an ideal solution for kitchens of all sizes, requiring no installation or permanent plumbing modifications. Users simply fill the pitcher with tap water, and within minutes, they can enjoy freshly filtered water. The filter itself has a long lifespan and can purify up to a substantial number of gallons of water before needing replacement, making it not only an effective but also an economical choice.
One of the key characteristics of the Clear2O CWS100A is its ease of use. The filter features an integrated indicator that alerts users when it’s time to replace the filter. This ensures that the system operates at peak performance, giving you peace of mind that your water is always being filtered efficiently.
The design of the CWS100A also reflects a commitment to sustainability. By choosing a water filtration system like the CWS100A, users can reduce their reliance on single-use plastic bottles, ultimately contributing to a healthier planet. The filtration system is constructed from durable materials, ensuring longevity and consistent performance over time.
In summary, the Clear2O CWS100A combines advanced filtration technology, user-friendly design, and sustainable practices to deliver a superior water purification solution. It is perfect for those looking for an effective and straightforward way to enhance their drinking water quality, making it a valuable addition to any household. With its ability to remove impurities and improve taste, the CWS100A stands out as a reliable choice for clean, refreshing water.

