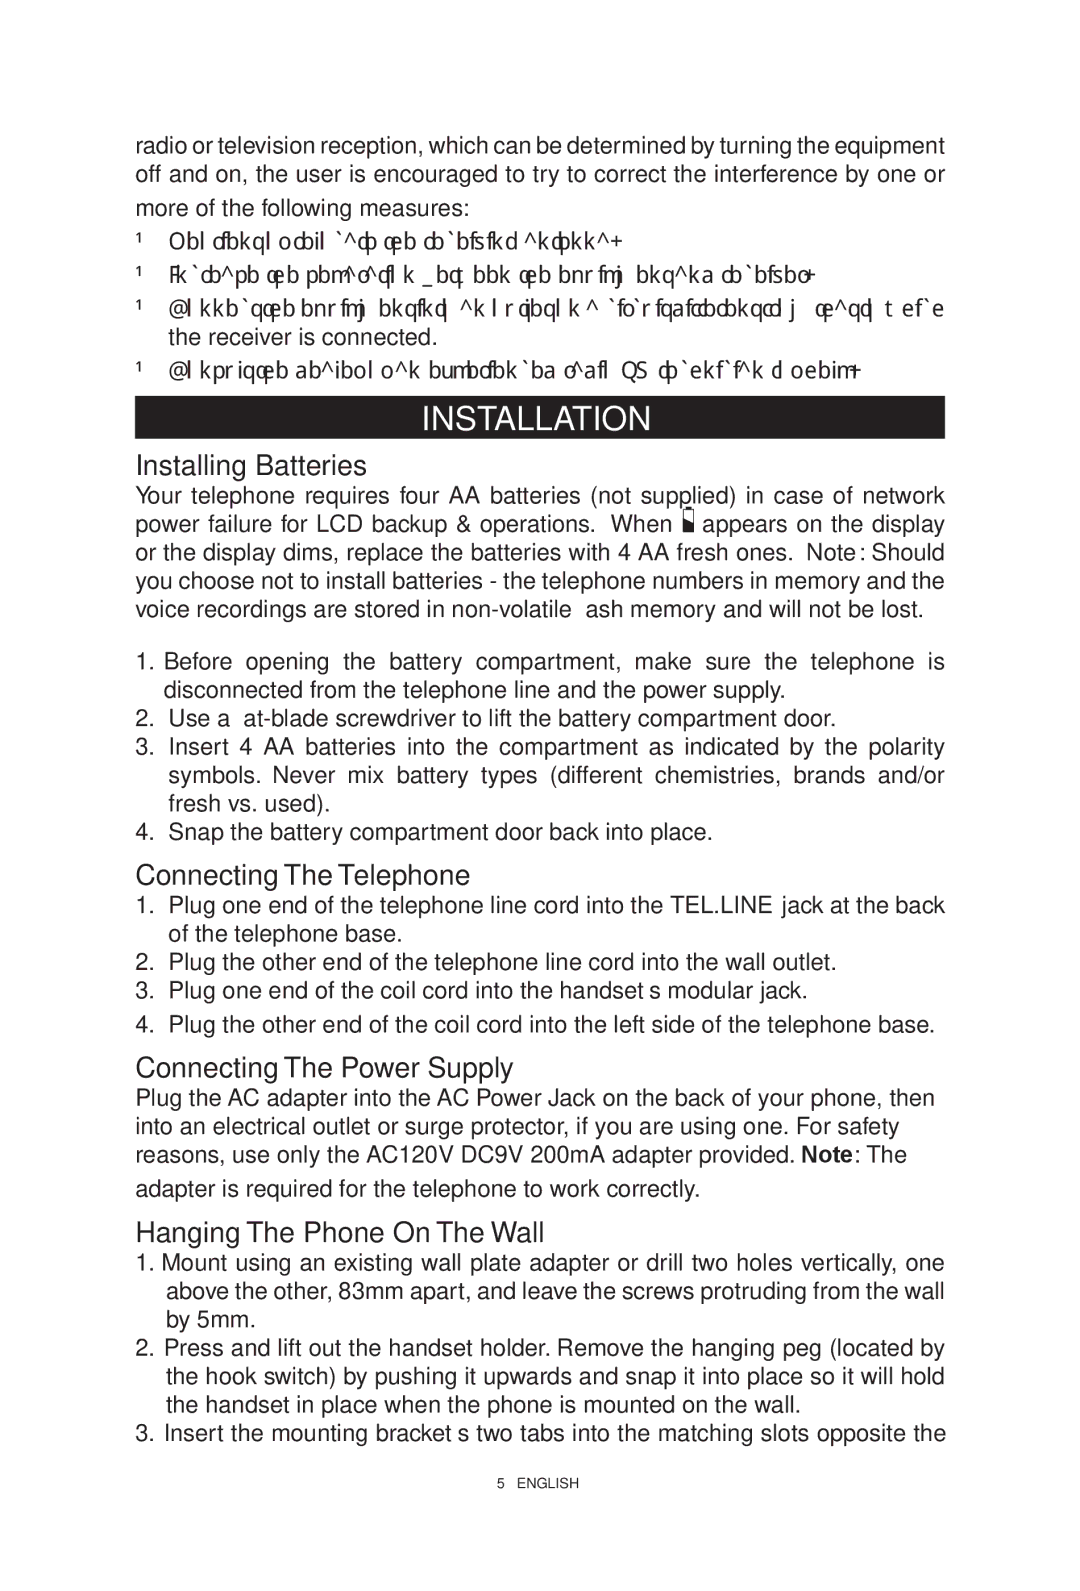
radio or television reception, which can be determined by turning the equipment off and on, the user is encouraged to try to correct the interference by one or

more of the following measures:

Reorient or relocate the receiving antenna.

Increase the separation between the equipment and receiver.

Connect the equipment into an outlet on a circuit different from that to which the receiver is connected.

Consult the dealer or an experienced radio TV technician for help.

INSTALLATION

Installing Batteries

Your telephone requires four AA batteries (not supplied) in case of network power failure for LCD backup & operations. When appears on the display or the display dims, replace the batteries with 4 AA fresh ones. Note: Should you choose not to install batteries - the telephone numbers in memory and the voice recordings are stored in non-volatile flash memory and will not be lost.

1.Before opening the battery compartment, make sure the telephone is disconnected from the telephone line and the power supply.

2.Use a flat-blade screwdriver to lift the battery compartment door.

3.Insert 4 AA batteries into the compartment as indicated by the polarity symbols. Never mix battery types (different chemistries, brands and/or fresh vs. used).

4.Snap the battery compartment door back into place.

Connecting The Telephone

1.Plug one end of the telephone line cord into the TEL.LINE jack at the back of the telephone base.

2.Plug the other end of the telephone line cord into the wall outlet.

3.Plug one end of the coil cord into the handset’s modular jack.

4.Plug the other end of the coil cord into the left side of the telephone base.

Connecting The Power Supply

Plug the AC adapter into the AC Power Jack on the back of your phone, then into an electrical outlet or surge protector, if you are using one. For safety reasons, use only the AC120v DC9v 200mA adapter provided. Note: The

adapter is required for the telephone to work correctly.

Hanging The Phone On The Wall

1.Mount using an existing wall plate adapter or drill two holes vertically, one above the other, 83mm apart, and leave the screws protruding from the wall by 5mm.

2.Press and lift out the handset holder. Remove the hanging peg (located by the hook switch) by pushing it upwards and snap it into place so it will hold the handset in place when the phone is mounted on the wall.

3.Insert the mounting bracket’s two tabs into the matching slots opposite the

5 – ENGLISH

Page 5
Image 5
ClearSounds TALK500 manual Installation, Installing Batteries, Connecting The Telephone, Connecting The Power Supply

TALK500 specifications

The ClearSounds TALK500 is a state-of-the-art amplification phone designed specifically for individuals with hearing impairments. With innovative features and cutting-edge technology, the TALK500 ensures that conversations are clear, loud, and easy to understand, making communication more convenient and enjoyable for its users.

One of the standout features of the TALK500 is its impressive amplification capability. It provides up to 50 decibels of amplification, allowing users to hear every word without straining. This level of amplification not only enhances the volume but also focuses on clarity, reducing background noise and making conversations much more manageable in noisy environments.

The device also incorporates tone control technology, enabling users to customize the sound to their specific hearing needs. By adjusting the treble and bass, users can tailor the audio output to enhance speech clarity or to better suit their personal listening preferences. This feature is especially helpful for individuals who may have specific frequencies that they find harder to hear.

The TALK500 comes equipped with an extra-large backlit display, making it visually accessible for individuals with low vision. The large, easy-to-read screen presents caller ID information and other important data, ensuring that users can identify incoming calls without the need for glasses. Additionally, the phone is designed with tactile buttons that are not only large but also well spaced, providing an intuitive dialing experience.

Another key characteristic of the TALK500 is its speakerphone capability. This allows users to engage in hands-free conversations, making it easier to multitask or communicate with multiple people at once. The speakerphone quality is optimized for clarity, ensuring that both parties can be heard without difficulty.

For those who rely on visual cues, the TALK500 includes bright visual ringer lights that flash when there is an incoming call. This feature serves as an additional alert mechanism, making sure that users do not miss important calls. Moreover, users can connect the phone to a headset, providing flexibility and comfort for long conversations.

In conclusion, the ClearSounds TALK500 is an excellent choice for anyone looking for a reliable amplification phone. Its powerful amplification, tone control, large display, and hands-free options make it an indispensable tool for enhancing communication for individuals with hearing challenges. With the TALK500, staying connected has never been easier.