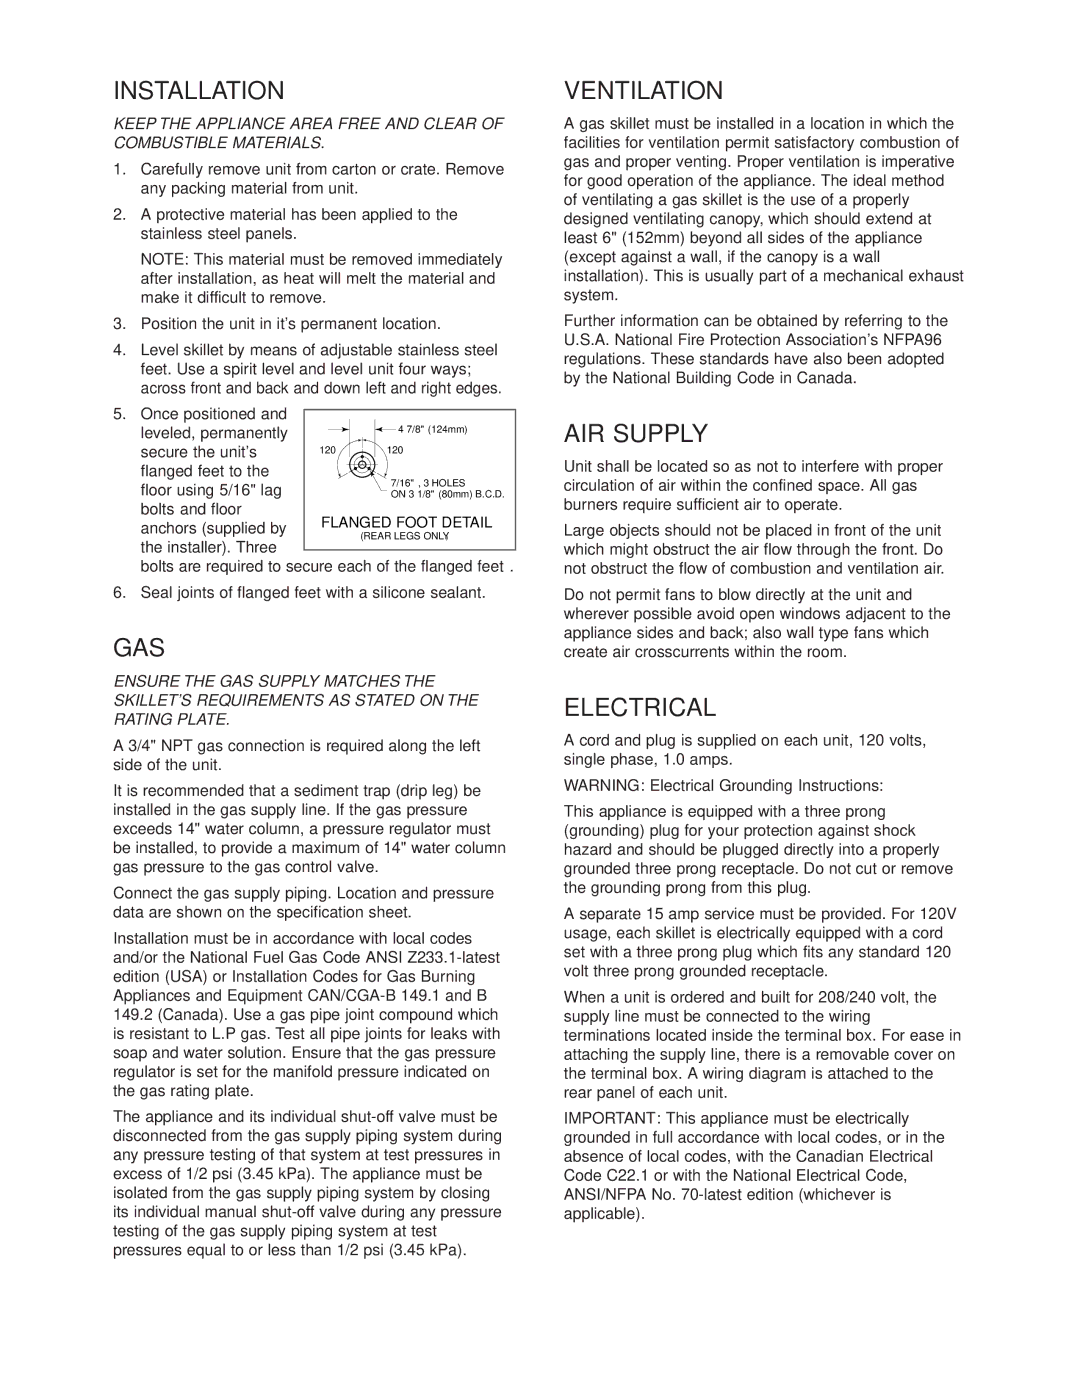
Cleveland Range SGL-40-TR, SGL-30-TR, SGM-30-TR Installation, Air Supply, Electrical, Ventilation

Models: SGM-40-TR SGM-30-TR SGL-40-TR SGL-30-TR

1 22
Download 22 pages 58.68 Kb
Page 5
Image 5
INSTALLATION

INSTALLATION

KEEP THE APPLIANCE AREA FREE AND CLEAR OF COMBUSTIBLE MATERIALS.

1.Carefully remove unit from carton or crate. Remove any packing material from unit.

2.A protective material has been applied to the stainless steel panels.

NOTE: This material must be removed immediately after installation, as heat will melt the material and make it difficult to remove.

3.Position the unit in it's permanent location.

4.Level skillet by means of adjustable stainless steel feet. Use a spirit level and level unit four ways; across front and back and down left and right edges.

5.Once positioned and

leveled, permanently


4 7/8" (124mm)


secure the unit's

120


120


flanged feet to the


7/16"Ø, 3 HOLES


floor using 5/16" lag


ON 3 1/8" (80mm) B.C.D.

bolts and floor

FLANGED FOOT DETAIL

anchors (supplied by


(REAR LEGS ONLY)

the installer). Three


bolts are required to secure each of the flanged feet.

6.Seal joints of flanged feet with a silicone sealant.

GAS

ENSURE THE GAS SUPPLY MATCHES THE SKILLET'S REQUIREMENTS AS STATED ON THE RATING PLATE.

A 3/4" NPT gas connection is required along the left side of the unit.

It is recommended that a sediment trap (drip leg) be installed in the gas supply line. If the gas pressure exceeds 14" water column, a pressure regulator must be installed, to provide a maximum of 14" water column gas pressure to the gas control valve.

Connect the gas supply piping. Location and pressure data are shown on the specification sheet.

Installation must be in accordance with local codes and/or the National Fuel Gas Code ANSI Z233.1-latest edition (USA) or Installation Codes for Gas Burning Appliances and Equipment CAN/CGA-B 149.1 and B

149.2(Canada). Use a gas pipe joint compound which is resistant to L.P gas. Test all pipe joints for leaks with soap and water solution. Ensure that the gas pressure regulator is set for the manifold pressure indicated on the gas rating plate.

The appliance and its individual shut-off valve must be disconnected from the gas supply piping system during any pressure testing of that system at test pressures in excess of 1/2 psi (3.45 kPa). The appliance must be isolated from the gas supply piping system by closing its individual manual shut-off valve during any pressure testing of the gas supply piping system at test pressures equal to or less than 1/2 psi (3.45 kPa).

VENTILATION

A gas skillet must be installed in a location in which the facilities for ventilation permit satisfactory combustion of gas and proper venting. Proper ventilation is imperative for good operation of the appliance. The ideal method of ventilating a gas skillet is the use of a properly designed ventilating canopy, which should extend at least 6" (152mm) beyond all sides of the appliance (except against a wall, if the canopy is a wall installation). This is usually part of a mechanical exhaust system.

Further information can be obtained by referring to the U.S.A. National Fire Protection Association's NFPA96 regulations. These standards have also been adopted by the National Building Code in Canada.

AIR SUPPLY

Unit shall be located so as not to interfere with proper circulation of air within the confined space. All gas burners require sufficient air to operate.

Large objects should not be placed in front of the unit which might obstruct the air flow through the front. Do not obstruct the flow of combustion and ventilation air.

Do not permit fans to blow directly at the unit and wherever possible avoid open windows adjacent to the appliance sides and back; also wall type fans which create air crosscurrents within the room.

ELECTRICAL

A cord and plug is supplied on each unit, 120 volts, single phase, 1.0 amps.

WARNING: Electrical Grounding Instructions:

This appliance is equipped with a three prong (grounding) plug for your protection against shock hazard and should be plugged directly into a properly grounded three prong receptacle. Do not cut or remove the grounding prong from this plug.

A separate 15 amp service must be provided. For 120V usage, each skillet is electrically equipped with a cord set with a three prong plug which fits any standard 120 volt three prong grounded receptacle.

When a unit is ordered and built for 208/240 volt, the supply line must be connected to the wiring terminations located inside the terminal box. For ease in attaching the supply line, there is a removable cover on the terminal box. A wiring diagram is attached to the rear panel of each unit.

IMPORTANT: This appliance must be electrically grounded in full accordance with local codes, or in the absence of local codes, with the Canadian Electrical Code C22.1 or with the National Electrical Code, ANSI/NFPA No. 70-latest edition (whichever is applicable).

Page 5
Image 5
Cleveland Range SGL-40-TR, SGL-30-TR, SGM-30-TR, SGM-40-TR manual Installation, Air Supply, Electrical, Ventilation