
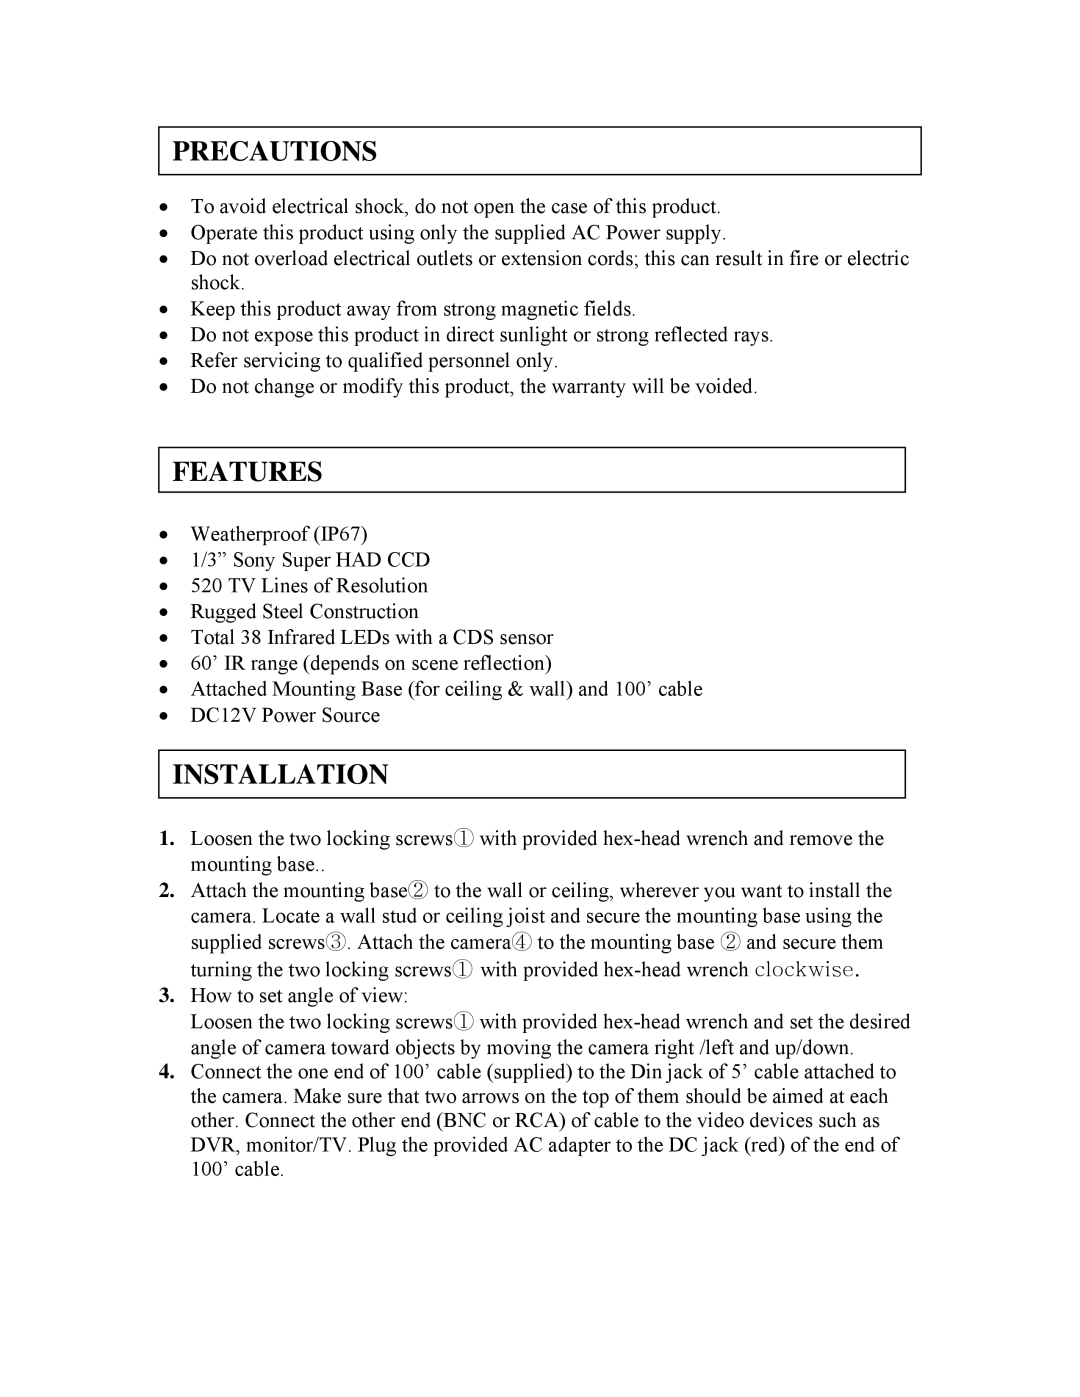
HDC100 specifications
Clover Electronics has made a significant impact in the security industry with the launch of its HDC100 model, a cutting-edge high-definition surveillance camera designed for a variety of applications. This versatile camera offers a blend of advanced features, ensuring top-notch performance for both residential and commercial security needs.One of the standout features of the HDC100 is its impressive video resolution. The camera supports high-definition 1080p recording, providing crystal-clear imagery that allows users to identify faces and license plates with ease. The enhanced clarity makes it an ideal choice for environments requiring meticulous monitoring, like retail stores, parking lots, and home security.
The HDC100 utilizes advanced motion detection technology, designed to minimize false alarms while ensuring accurate alerts. This feature uses sophisticated algorithms to differentiate between human movement and other potential triggers, such as animals or environmental changes. Users can tailor the sensitivity settings for motion detection, optimizing the camera's responsiveness to their specific needs.
Another essential characteristic of the HDC100 is its night vision capability. Equipped with infrared LEDs, the camera can capture high-quality images even in complete darkness. This ensures continuous surveillance round the clock, enhancing security in low-light conditions. The camera can automatically switch between day and night modes, providing seamless operation regardless of the time.
Clover Electronics has also integrated a user-friendly interface for the HDC100, allowing for easy setup and management. The camera supports remote viewing via mobile apps and web browsers, enabling users to monitor their premises from anywhere in real-time. This level of accessibility enhances peace of mind, as users can keep an eye on their property when they are away.
In terms of build and design, the HDC100 features a robust and weather-resistant casing, making it suitable for both indoor and outdoor use. This durability ensures reliable performance in various environmental conditions, giving users confidence in the camera's longevity.
Additionally, the HDC100 is designed with multi-camera support in mind, allowing users to seamlessly integrate it into an existing security system. It supports various connectivity options, facilitating easy installation and scalability as security needs evolve.
In summary, Clover Electronics' HDC100 is a comprehensive surveillance solution, merging high-definition video quality, advanced motion detection, night vision, user-friendly management, and durable design. With its robust feature set, the HDC100 stands out as a reliable choice for individuals and businesses seeking to bolster their security infrastructure.