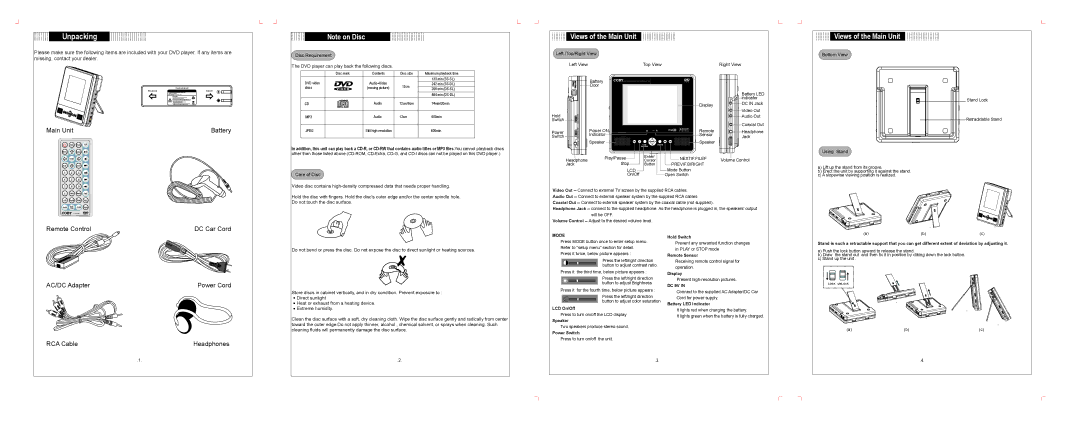
Unpacking
Note on Disc
Views of the Main Unit
Views of the Main Unit
Please make sure the following items are included with your DVD player. If any items are missing, contact your dealer.
Main Unit | Battery |
| N/P |
Disc Requirement
The DVD player can play back the following discs.
Disc mark | Contents | Disc size | Maximum playback time |
DVD video | Audio+Video |
| 133 min |
12cm | 242 min | ||
discs | (moving picture) | 266 min | |
|
|
| 484 min |
CD | Audio | 12cm/8cm | 74min/20min |
MP3 | Audio | 12cm | 600min |
JPEG | Still high resolution |
| 600min |
In addition, this unit can play back a
Left /Top/Right View |
|
| |
| Left View | Top View |
|
| Battery |
|
|
| Door |
| Up |
|
|
| Display |
Hold |
|
|
|
Switch |
|
|
|
Power | Power ON |
| Remote |
Indicator |
| Sensor | |
Switch |
| ||
Speaker |
| Speaker | |
| ENTER | ||
Right View
Battery LED
![]()
![]()
![]()
![]()
![]()
![]()
![]() indicator
indicator
![]() DC IN Jack
DC IN Jack
![]()
![]()
![]() Video Out
Video Out ![]()
![]() Audio Out
Audio Out
![]()
![]() Coaxial Out
Coaxial Out
![]()
![]() Headphone
Headphone
Jack
Bottom View
Stand Lock
Retracktable Stand
Using Stand
Mute |
|
ClearStep |
|
| |
Remote Control | DC Car Cord |
Care of Disc
Video disc contains
Hold the disc with fingers. Hold the disc's outer edge and/or the center spindle hole. Do not touch the disc surface.
Headphone | Play/Pause | Enter/ | NEXT/F.F/LEF | Volume Control |
Cursor | ||||
Jack | Stop | Button | PREV/F.B/RIGHT |
|
| LCD |
| Mode Button |
|
| On/Off |
| Open Switch |
|
Video Out
Headphone Jack
Volume Control
a)Lift up the stand from its groove.
b)Erect the unit by supporting it against the stand.
c)A slopewise viewing position is realized.
AC/DC Adapter | Power Cord |
RCA Cable | Headphones |
Do not bend or press the disc. Do not expose the disc to direct sunlight or heating sources.
Store discs in cabinet vertically, and in dry condition. Prevent exposure to :
![]() Direct sunlight
Direct sunlight
![]() Heat or exhaust from a heating device.
Heat or exhaust from a heating device.
![]() Extreme humidity.
Extreme humidity.
Clean the disc surface with a soft, dry cleaning cloth. Wipe the disc surface gently and radically from center toward the outer edge.Do not apply thinner, alcohol , chemical solvent, or sprays when cleaning. Such cleaning fluids will permanently damage the disc surface.
MODE
Press MODE button once to enter setup menu. Refer to "setup menu" section for detail.
Press it twice, below picture appears :
Press the left/right direction
![]() button to adjust contrast ratio. Press it the third time, below picture appears :
button to adjust contrast ratio. Press it the third time, below picture appears :
Press the left/right direction
![]()
![]()
![]()
![]() button to adjust Brightness Press it for the fourth time, below picture appears :
button to adjust Brightness Press it for the fourth time, below picture appears :
Press the left/right direction button to adjust color saturation
LCD On/Off
Press to turn on/off the LCD display
Speaker
Two speakers produce stereo sound.
Power Switch
Press to turn on/off the unit.
Hold Switch
Prevent any unwanted function changes in PLAY or STOP mode
Remote Sensor
Receiving remote control signal for operation.
Display
Present
DC 9V IN
Connect to the supplied AC Adapter/DC Car Cord for power supply.
Battery LED Indicator
It lights red when charging the battery.
It lights green when the battery is fully charged.
Stand is such a retractable support that you can get different extent of deviation by adjusting it.
a)Push the lock button upward to release the stand.
b)Draw the stand out and then fix it in position by cliking down the lock button.
c)Stand up the unit .
LOCK UNLOCK
(a) | (b) | (c) |
.1.
.2.
.3.
.4.