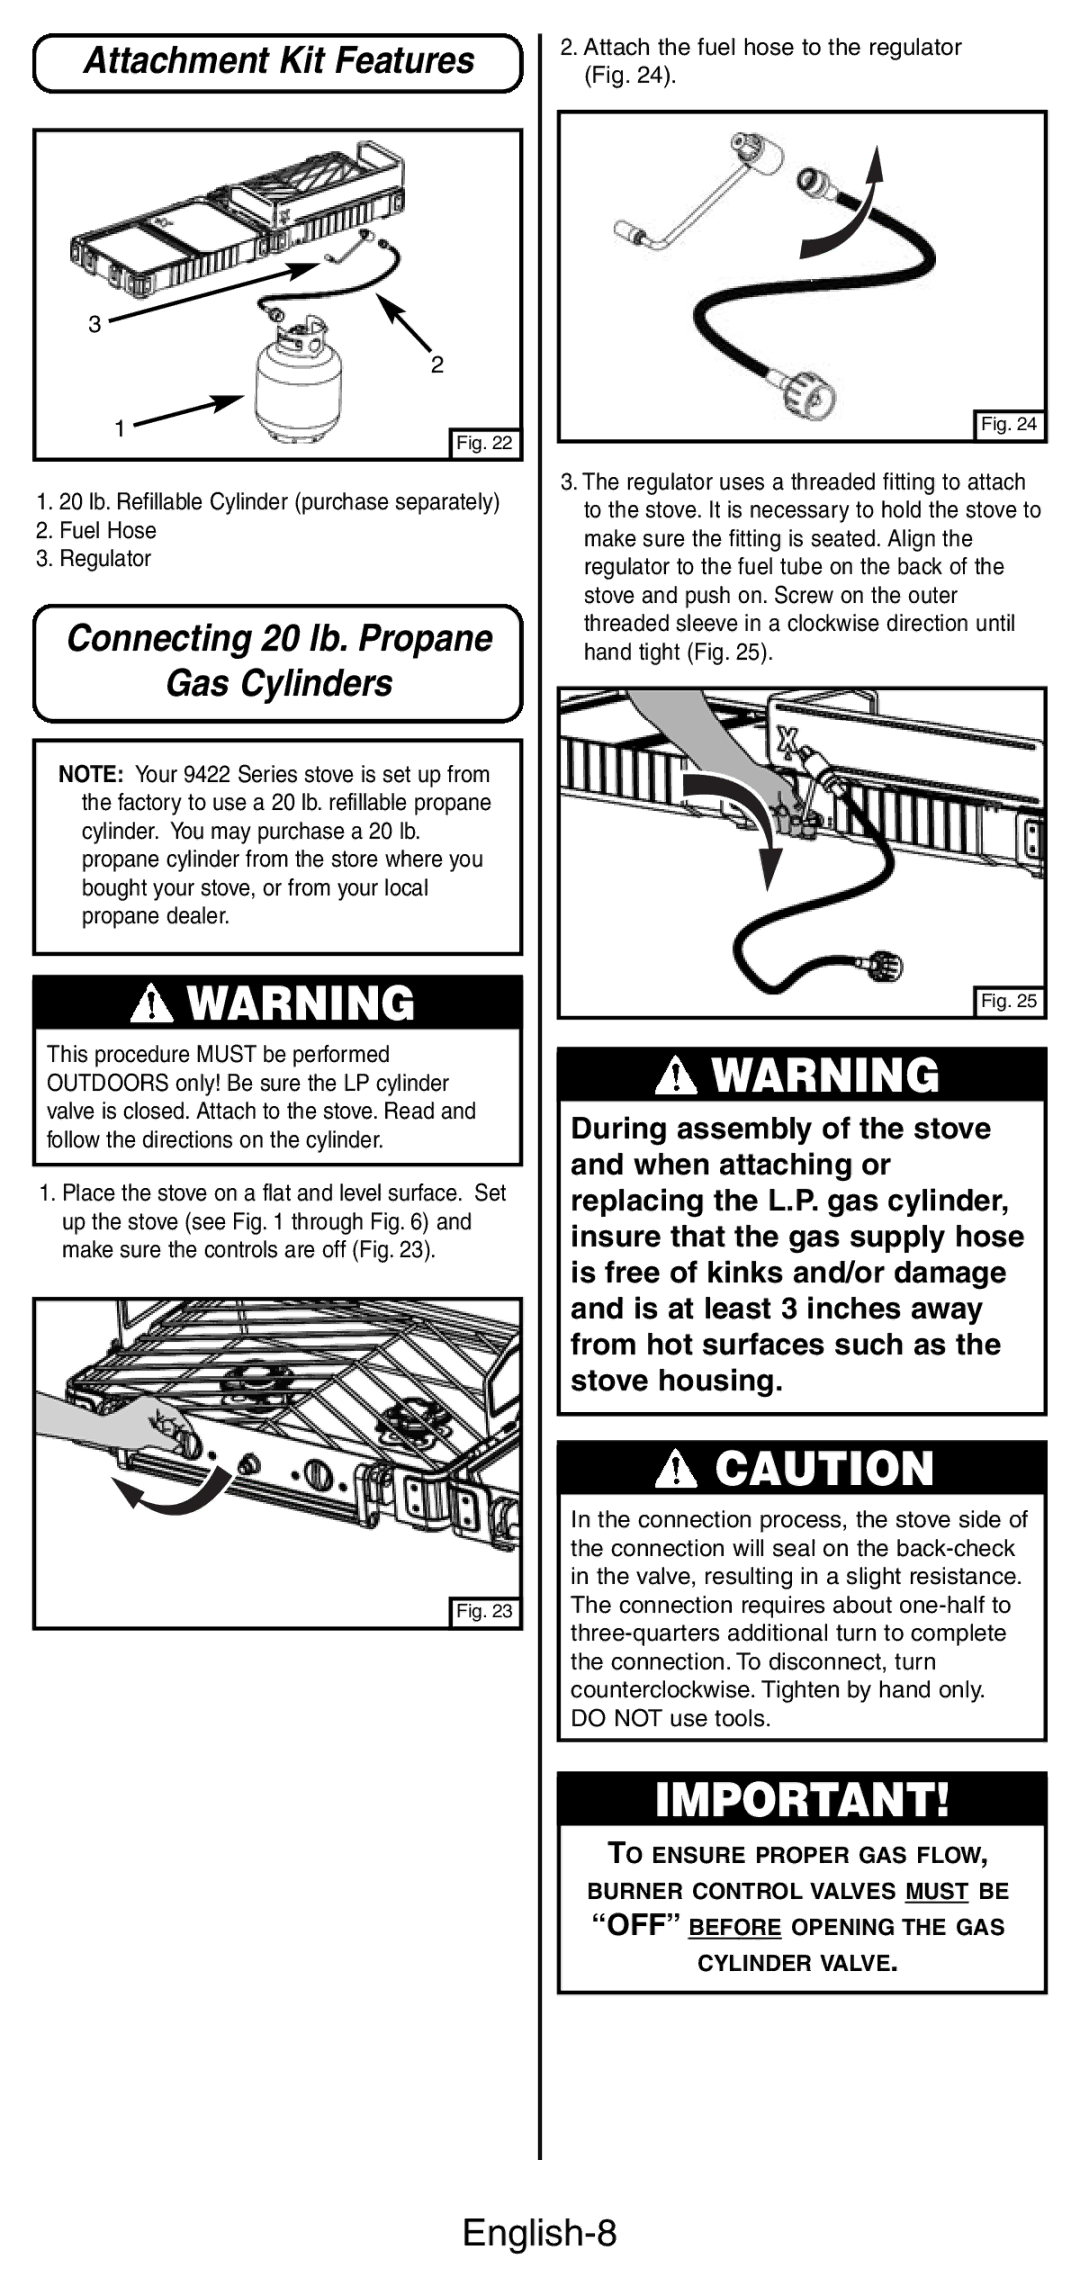
Attachment Kit Features
3
2
1
Fig. 22
1.20 lb. Refillable Cylinder (purchase separately)
2.Fuel Hose
3.Regulator
Connecting 20 lb. Propane
Gas Cylinders
NOTE: Your 9422 Series stove is set up from the factory to use a 20 lb. refillable propane cylinder. You may purchase a 20 lb. propane cylinder from the store where you bought your stove, or from your local propane dealer.
![]() WARNING
WARNING
This procedure MUST be performed OUTDOORS only! Be sure the LP cylinder valve is closed. Attach to the stove. Read and follow the directions on the cylinder.
1.Place the stove on a flat and level surface. Set up the stove (see Fig. 1 through Fig. 6) and make sure the controls are off (Fig. 23).
Fig. 23
2.Attach the fuel hose to the regulator (Fig. 24).
Fig. 24
3.The regulator uses a threaded fitting to attach to the stove. It is necessary to hold the stove to make sure the fitting is seated. Align the regulator to the fuel tube on the back of the stove and push on. Screw on the outer threaded sleeve in a clockwise direction until hand tight (Fig. 25).
Fig. 25
![]() WARNING
WARNING
During assembly of the stove and when attaching or replacing the L.P. gas cylinder, insure that the gas supply hose is free of kinks and/or damage and is at least 3 inches away from hot surfaces such as the stove housing.
![]() CAUTION
CAUTION
In the connection process, the stove side of the connection will seal on the
IMPORTANT!
TO ENSURE PROPER GAS FLOW,
BURNER CONTROL VALVES MUST BE “OFF” BEFORE OPENING THE GAS CYLINDER VALVE.
