.place en grille la remettez puis brosse | ||
petite la avec grille la et lames les Nettoyez | ||
.grille la sur | doucement tirez et toyage) | |
et part de dégagement de boutons les sur | ||
appuyez couper, à poils de beaucoup avez | ||
vous si ou terminé, avez vous que fois Une | ||
.peau la sur circulaire mouvement un dans | ||
tondeuse la déplacez et douceur en peau | ||
la Tendez .complètement poils | ||
les rasez voulez vous où là age, | ||
la | Pressez .marche en pareil | |
RASOIR DU UTILISATION | ||
| .position en bien l’enclenchant | |
1 .Ill | même, de procédant | |
en tête autre une Posez | ||
| ||
| .1) .(ill encliquez | |
| et tête la le de celle | |
| avec grille la de flèche | |
| la alignant en barbe | |
| la pour tête la Posez | |
.vous vers dos le tondeuse, la Tenez | ||
COUPE DE TÊTE LA CHANGER | ||
D’ABORD TOUT | ||
| .désiré que | |
poils de plus couper de ainsi éviterez Vous | ||
.tondre de avant mouillée) (pas humide être | ||
devrait barbe la résultats, meilleurs de Pour | ||
.barbe/moustache votre tailler pour semaine | |||
chaque découpe de lame la utilisez faire, | |||
ce Pour .l’apparence mainteniez en vous que | |||
essentiel est il taillée, été a moustache votre | |||
que ou barbe votre que fois Une .opinion | |||
son | |||
mieux, le convient vous qui moustache de ou | |||
barbe de type du certain pas n’êtes vous Si | |||
| .poils des L’épaisseur .3 | ||
|
| .moustache | |
| la de ou barbe | ||
| la | de naturelle | |
| croissance | La .2 | |
|
| .visage | |
| du | dimension | |
| la et forme La .1 | ||
|
| : visage votre | |
| à | mieux le | vient |
considérer à facteurs principaux trois a y Il | |||
BARBES/MOUSTACHES DE TYPES | |||
| .poils des tonte la pour | ||
confortable plus | la position | la dans | clique |
| |||
| tête la de bas le Poussez .2 | ||
| .l’illustration) (voir tête la | ||
| inclinez et tête la de d’autre | ||
| et part de dégagement de | ||
| boutons les sur Appuyez .1 | ||
| : positions plusieurs | ||
sur tête la pivoter faire | peut | ||
on couper, à difficiles endroits | |||
les | atteindre | mieux | Pour |
| PIVOTANTE TÊTE | ||
.normale puissance la à retourner pour Turbo bouton le Relâchez .4
.fonction la utiliser voulez vous que tant enfoncé Turbo bouton le Tenez .3
.tondeuse la de côté le sur situé rond Turbo bouton le sur Appuyez .2
.marche en tondeuse la Mettez .1 : l’utiliser Pour
.épais très cheveux de tonte la pour pratique est fonction La .engagée est elle quand % 15 de puissance sa accroît qui turbo fonction une possède tondeuse La
TURBO FONCTION
.ménagères ordures les avec PAS JETEZ LES NE .collecte de centre un à piles les Apportez .piles les sortir faites et capuchon le Enlevez
![]()
![]()
![]()
![]()
![]() .MÉNAGÈRES ORDURES LES AVEC PAS
.MÉNAGÈRES ORDURES LES AVEC PAS ![]()
![]()
![]() JETEZ LA NE .CORRECTEMENT JETÉE
JETEZ LA NE .CORRECTEMENT JETÉE ![]()
![]()
![]()
![]() OU RECYCLÉE RAMASSÉE, ÊTRE DOIT PILE
OU RECYCLÉE RAMASSÉE, ÊTRE DOIT PILE
.d’arrêt) position en l’interrupteur mettre de pas (n’oubliez chargera se elle et tondeuse la dans directement fil le Branchez .chargeur socle le emporter à pas n’avez vous voyage, en tondeuse la charger Pour .10
.normal est cela d’usage; cours en chaud devenir peut chargeur socle Le .9
| |
ce jusqu’à fonctionner tondeuse la laissez |
|
pile, la de durée la prolonger et charge |
|
de capacité pleine la maintenir Pour | .8 |
.heures quelques pendant charger |
|
pile la laissez et courant de prise une |
|
dans socle le Branchez .chargeur socle |
|
le sur |
|
semble tondeuse la d’usage, cours en Si, | .7 |
.(OFF) d’arrêt position |
|
en l’interrupteur réglez l’utilisation, Après | .6 |
.(ON) marche de position |
|
en l’interrupteur poussez l’utiliser, Pour | .5 |
.pile la à dommage sans |
|
temps, tout en courant de prise la dans |
|
branchée laissée être peut tondeuse La | .4 |
.Hz 60 V, 120 prise une dans | .3 |
.service en pas n’est qu’elle et deuse |
|
| |
charge de témoin le si toujours Vérifiez | .2 |
.pas chargera se ne elle et l’endommager |
|
peut marche en tondeuse la charger de |
|
Tenter .(OFF) d’arrêt position en rupteur |
|
| |
Placez .heures 16 pendant |
|
.courant de prise une dans |
|
et chargeur socle le sur |
|
première la tondeuse la d’utiliser Avant | .1 |
acheté |
|
avez vous modèle quel Vérifiez |
|
RECHARGEABLE TONDEUSE |
|
D’UTILISATION |
|
DIRECTIVES |
|
MÉNAGER | |||
L’USAGE À RÉSERVÉ | |||
.OFF sur l’interrupteur régler de et contact, | |||
bon un d’assurer afin chargeur support le | |||
sur tondeuse la placer bien de | |||
.lumières les éteignez vous quand courant | |||
le coupe qui interrupteur un par mandée | |||
|
|
| .appareil |
autre un branchant | y | en | tension sous |
est courant de prise | la | que | |
:
.garantie) la de texte le dans adresse et (procédure Conair de
.nettoyage de brosse la avec
.(ON) allumée est qu’elle vous-Assurez .1
:suivantes vérifications les effectuez pas, fonctionne ne l’appareil Si
PROBLÈMES DES DÉPISTAGE DIRECTIVES CES CONSERVEZ
.ménager l’usage à réservé est L’appareil .11
.l’oxygène de administre ou aérosols des utilise l’on où là ni l’extérieur à pas l’utilisez Ne .10
.usage chaque avant huilées et alignées bien sont lames les que
.marche en est qu’il alors surface une sur pas déposez le Ne .8
.ouvertures les dans objet aucun n’insérez ni N’échappez .7
.l’appareil de autour pas l’enroulez ne et fil le tordez ne ni tirez Ne .6
.chauffées surfaces des loin fil le Gardez .5
.réparé et inspecté sera il où Conair
.rallonge une avec pas l’utilisez Ne .fabricant le par recommandés accessoires les que N’utilisez .livret ce dans indiqué prévu l’usage pour que l’utilisez Ne .3
.infirmités certaines de souffrant personnes de ou d’enfants près ou sur par, utilisé être pas doit ne L’appareil .2
.veillance
:blessure de ou électrique choc de d’incendie, brûlure, de risque le réduire de Afin
–AVERTISSEMENT
L’EAU DANS TOMBÉ APPAREIL UN SAISIR PAS N’ALLEZ
.immédiatement
.liquide un ou l’eau dans pas l’échappez ne et pas placez le Ne .4
.douche une ou bain un prenant en pas l’utilisez Ne .3
.baignoire une ou évier un dans tiré être ou tomber peut il où là pas rangez le ne et pas placez le Ne .2
.nettoyage le avant et charge) la dant
:électrique choc par blessure de ou mort de sique lr réduire de Afin .éteint est s’il même tension sous est appareil Un
L’UTILISATION AVANT DIRECTIVES LES TOUTES LIRE
:suivantes les dont élémentaires, précautions de prise la demande d’enfants, présence en surtout électriques, d’appareils L’utilisation
IMPORTANTES
CONSIGNES
IMPORTANT SAFETY
INSTRUCTIONS
When using electrical appliances, especially when children are present, basic safety pre- cautions should always be taken, including the following:
READ ALL INSTRUCTIONS
BEFORE USING
KEEP AWAY FROM WATER
To reduce the risk of death or injury by electric shock:
1.Always unplug appliance from electrical outlet immediately after using (except when charging unit) and before cleaning.
2.Do not place or store appliance where it can fall or be pulled into a tub or sink.
3.Do not use appliance while bathing or in the shower.
4.Do not place appliance in, or drop into water or other liquid.
5.If appliance has fallen into water, do not reach for it. Unplug immediately.
DO NOT REACH
INTO THE WATER
WARNING– To reduce the risk of burns, electric shock, fire, or injury to per- sons:
1.Never leave a plugged-in appliance unattended.
2.This appliance should not be used by, on, or near children or individuals with certain disabilities.
3.Use appliance only for its intended use as described in this manual. Only use attach- ments recommended by the manufacturer. Do not use an extension cord to operate the appliance.
4.Never operate the appliance if it has a dam- aged cord or plug, is not working properly, has been dropped or damaged, or dropped into water. Return the appli- ance to a Conair service centre for exami- nation and repair.
5.Keep the appliance cord away from heated surfaces.
6.Do not pull, twist or wrap the cord around the appliance.
7.Never drop or insert any object into any opening of the appliance.
8.Do not place the appliance on any surface while it is operating.
9.Do not use the appliance with a damaged or broken comb or with teeth missing from the blades, as injury may result. Before each use, make certain the blades are aligned properly and oiled.
10.Do not use the appliance outdoors or operate where aerosol (spray) products are being used or oxygen is being admin- istered.
11.This product is for household use only.
SAVE THESE
INSTRUCTIONS
TROUBLESHOOTING
There are several things to look for if your trimmer fails to operate:
1.Be sure the trimmer is turned ON.
2.Check the blades to see if they are clogged with hair clippings; if so, use the cleaning brush to remove hair.
3.If the trimmer still fails to operate, take or send it to a Conair Service Centre (see warranty procedure and addresses).
If your rechargeable trimmer does not seem to be taking a charge, take the following troubleshooting steps before returning it for repair:
1.Be sure the electrical outlet is working, by plugging in another appliance to test it.
2.Make sure the electrical plug is not connected to a switch which turns power off when lights are turned off.
3.Be sure you have inserted the trimmer properly into the charging stand, that all connections are secure, and that the trimmer switch is in the “OFF” position.
FOR HOUSEHOLD
USE ONLY
OPERATING
INSTRUCTIONS
FOR YOUR RECHARGEABLE
TRIMMER
Check to be sure which model
you have purchased.
1.Before using your trimmer for the first time, insert the trimmer in the charging base and then plug into wall outlet and charge it for 16 hours. Always place the trimmer in the stand with the ON/OFF switch in the OFF position. Attempting to charge the unit in the ON position can cause damage to the unit and it will not charge.
2.Always check to see if the charging light is on when the cord is connected to the trim- mer and the unit is not in use.
3.Plug unit into any 120V, 60Hz wall outlet.
4.The trimmer can remain plugged into the power source at all times without damage to the battery.
5.To use your trimmer, push ON/OFF switch upwards to “ON” position.
6.After you finish using your trimmer, push down on the ON/OFF switch to turn the trimmer off.
7.If, while trimmer is in use, the charge seems to be running down, simply put ON/OFF switch in OFF position. Then, insert the trimmer in the charging base and plug into wall outlet. Allow battery to recharge for several hours.
8.To maintain the full charging capacity and extend the life of the battery, it must be periodically run down during normal use until it stops, then recharge.
9.The charge base may become warm while charging – this is normal.
10.To charge the unit when traveling, you do not need to take the stand with you. Just plug the cord directly into the unit and the unit will begin charging. (Remember switch must be in the “OFF” position,
BATTERY REMOVAL
CONTAINS NICKEL CADMIUM
BATTERY. MUST BE COLLECTED,
RECYCLED OR DISPOSED OF
PROPERLY. DO NOT DISPOSE OF
IN THE MUNICIPAL WASTE.
Remove the battery cap and push the batteries out. Bring the batteries to the nearest collection centre for proper disposal. DO NOT throw the battery into the normal municipal waste system.
TURBO FEATURE
This product is equipped with a turbo boost button. When activated, this will proved 15% more cutting power. This is especially useful for cutting through thicker hair.
To activate the turbo feature:
1.Turbo the power switch to the “ON” position
2.Press the Turbo button, it is the round button located on the side of the trimmer
3.Continue to press the Turbo button for as long as you need the extra power
4.Release the Turbo button to return to normal power
PIVOTING HEAD
To make it easier to trim hard to reach areas, the trimmer has a multi position pivoting head.
To pivot the head:
1.Press the release but- tons on the side of the
trimmer and rotate the pivoting head. (see image)
2.Press bottom of the trimmer head until it clicks
into the position that is most comfortable for trimming your face.
TYPES OF BEARDS/MUSTACHES GROWING A BEARD OR MUSTACHE
There are three key factors that determine which beard or
mustache style is most suitable for your face:
1.The shape and dimensions of your face.
2.The natural growth of your beard/ mustache.
3.The thickness of your beard/mustache.
If you are unsure of the type of beard or mus- tache that most suits your face, speak with a professional hair stylist and ask for an opin- ion on what style would be best. Once your beard or mustache has been styled, it is essential that you maintain its appearance. To do this, use your shaper to trim your beard/mustache weekly.
For the best trimming results, your beard should be slightly damp (not wet) before using the trimmer. This will prevent the trimmer from removing more hair than desired.
GETTING STARTED
TO SWITCH TRIMMER HEADS
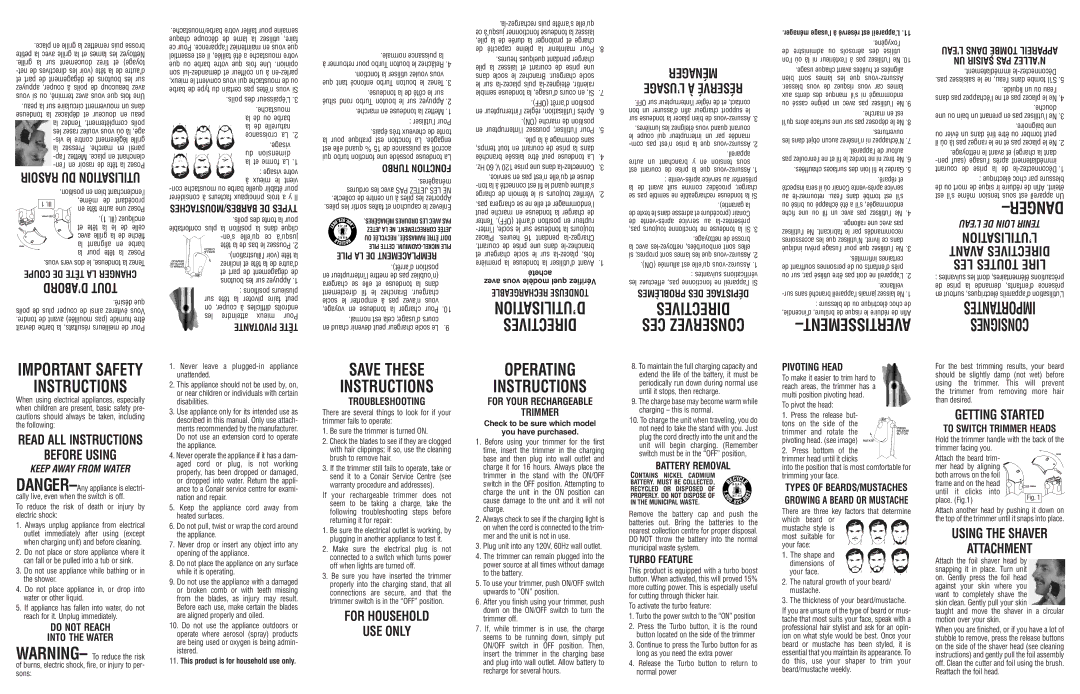
Hold the trimmer handle with the back of the trimmer facing you.
Attach the beard trim- mer head by aligning both arrows on the foil frame and on the head
until it clicks | into |
place. (Fig.1) | Fig. 1 |
Attach another head by pushing it down on the top of the trimmer until it snaps into place.
USING THE SHAVER
ATTACHMENT
Attach the foil shaver head by snapping it in place. Turn unit on. Gently press the foil head against your skin where you want to completely shave the skin clean. Gently pull your skin
taught and move the shaver in a circular motion over your skin.
When you are finished, or if you have a lot of stubble to remove, press the release buttons on the side of the shaver head (see cleaning instructions) and gently pull the foil assembly off. Clean the cutter and foil using the brush. Reattach the foil head.