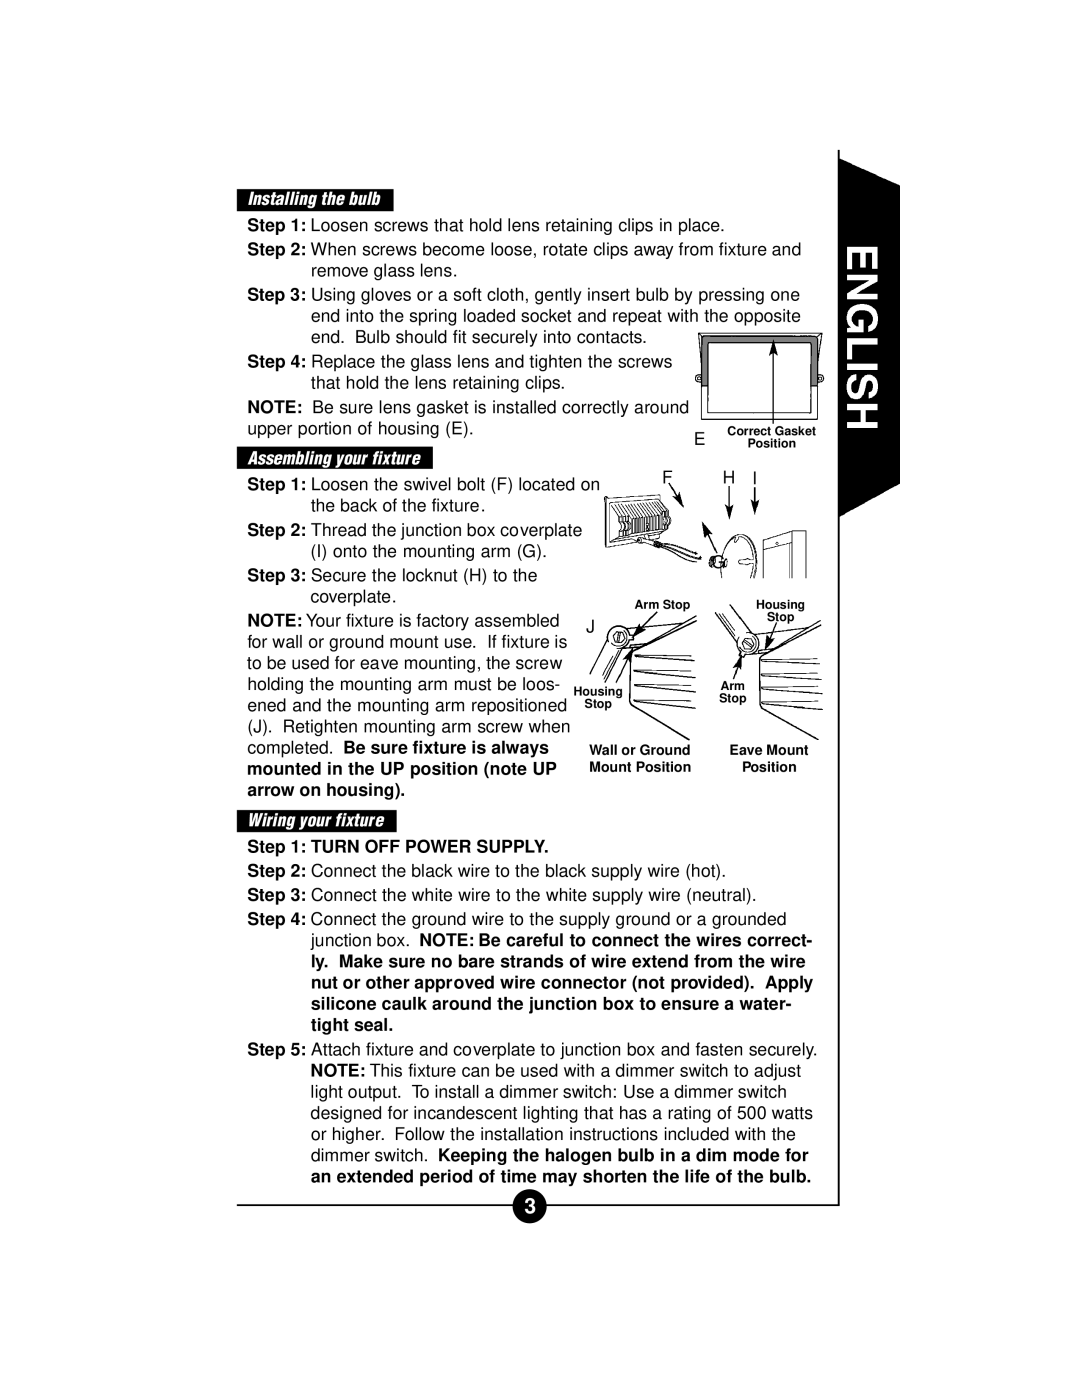
GP500WL, CWQ500, CGP500WL WQ500 specifications
Cooper Lighting has long been a leader in innovative lighting solutions, and their latest range, including the CGP500WL, WQ500, CWQ500, and GP500WL, showcases the brand's commitment to quality and performance. These models are designed for varied applications and provide effective illumination in both indoor and outdoor settings.The CGP500WL model features a highly versatile design, suitable for a wide range of environments, such as warehouses, industrial spaces, and commercial buildings. This model provides high lumen output while maintaining energy efficiency, resulting in significant cost savings over time. The CGP500WL is equipped with advanced LED technology, which ensures long-lasting performance and reduces the frequency of maintenance and replacements.
Similarly, the WQ500 is crafted for commercial use, with an emphasis on delivering superior light quality for lower power consumption. Its wide beam distribution ensures even illumination across larger areas, making it ideal for retail spaces or large halls. The WQ500 encourages sustainable practices by minimizing energy usage while maximizing visibility and worker productivity.
The CWQ500 model incorporates advanced smart technology, enabling users to control light levels remotely via mobile applications or integrated building management systems. This model enhances energy efficiency by utilizing motion sensors and dimming capabilities, allowing for adaptable lighting that responds to occupancy and natural light levels. The CWQ500 is particularly suitable for office environments, where energy consumption needs to be optimized throughout the day.
Finally, the GP500WL boasts a robust construction, perfectly suited for outdoor use. This model is designed to withstand harsh weather conditions, making it an excellent choice for parking lots, outdoor walkways, and stadiums. With its IP65 rating, the GP500WL is dust-tight and protected against water ingress, ensuring reliable performance despite environmental challenges.
In summary, Cooper Lighting's CGP500WL, WQ500, CWQ500, and GP500WL models exemplify innovation in lighting technology. Their key features include energy-efficient LED technology, smart lighting controls, and durable design, making them versatile solutions for both commercial and industrial applications. With these advanced options, businesses can enhance visibility, reduce energy costs, and promote sustainability in their operations.

