CLEANING THE ICE BIN
1.Prepare a mild detergent soap solution in 100)F potable water.
2.Using a nylon (not wire) bristle brush, clean the cold plate and the interior of the ice bin with the soap solu- tion.
3.Rinse the cold plate and interior bin surfaces with clean potable water.
4.Using a mechanical spray bottle, prepare a sanitizing solution according to the manufacturer’s directions and spray the entire interior bin surfaces. Allow to air dry.
CONNECTING PRODUCT TO THE DISPENSER
Note: All inlet connections are clearly marked with a label adjacent to the inlet connections.
Note: Always leak check all connections.
Note: A plumbing diagram when supplied with the unit, can be found in the dispensing tower.
PREPARING FOR OPERATION
On Units Without Electrically Operated Valves, Skip Steps 1 & 2 Below
1.Plug transformer into electrical outlet. The 24V supply must be connected in the dispensing tower.
2.Turn the
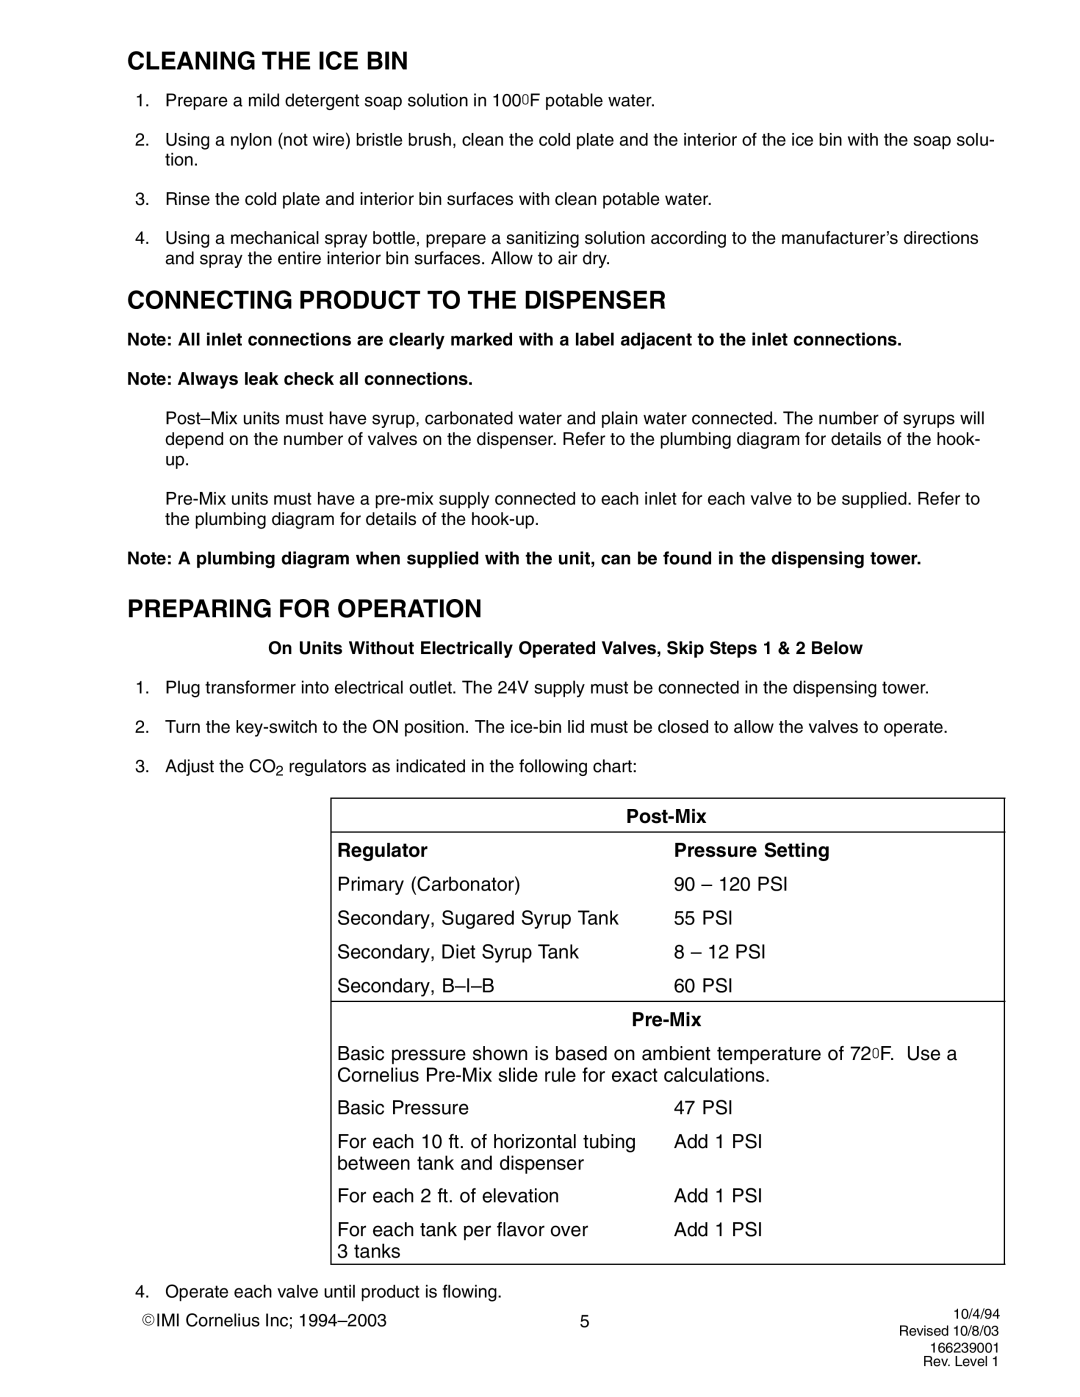
3.Adjust the CO2 regulators as indicated in the following chart:
|
| |||
|
|
|
| |
| Regulator |
| Pressure Setting | |
| Primary (Carbonator) |
| 90 – 120 PSI | |
| Secondary, Sugared Syrup Tank | 55 PSI | ||
| Secondary, Diet Syrup Tank |
| 8 – 12 PSI | |
| Secondary, |
| 60 PSI | |
|
|
| ||
|
| |||
| Basic pressure shown is based on ambient temperature of 72)F. Use a | |||
| Cornelius | |||
| Basic Pressure |
| 47 PSI | |
| For each 10 ft. of horizontal tubing | Add 1 PSI | ||
| between tank and dispenser |
| ||
| For each 2 ft. of elevation |
| Add 1 PSI | |
| For each tank per flavor over | Add 1 PSI | ||
| 3 tanks |
|
| |
4. Operate each valve until product is flowing. |
|
| ||
EIMI Cornelius Inc; | 5 | 10/4/94 | ||
Revised 10/8/03 | ||||
|
|
| ||
166239001 Rev. Level 1
