WALL MOUNT INSTRUCTIONS
1. Mounting wedge should already be installed onto the base. If not, install mounting wedge onto base.
2. Connect the adapter and the line cord. See Steps 2 & 3 under “Installation” for specific instructions.
3. Push out the handset hook and reattach in opposite direction for the wall mount posi tion, plug the short end of the coiled cord into the handset, and then plug the other end of the cord into he base.
4. Place the handset on the base.
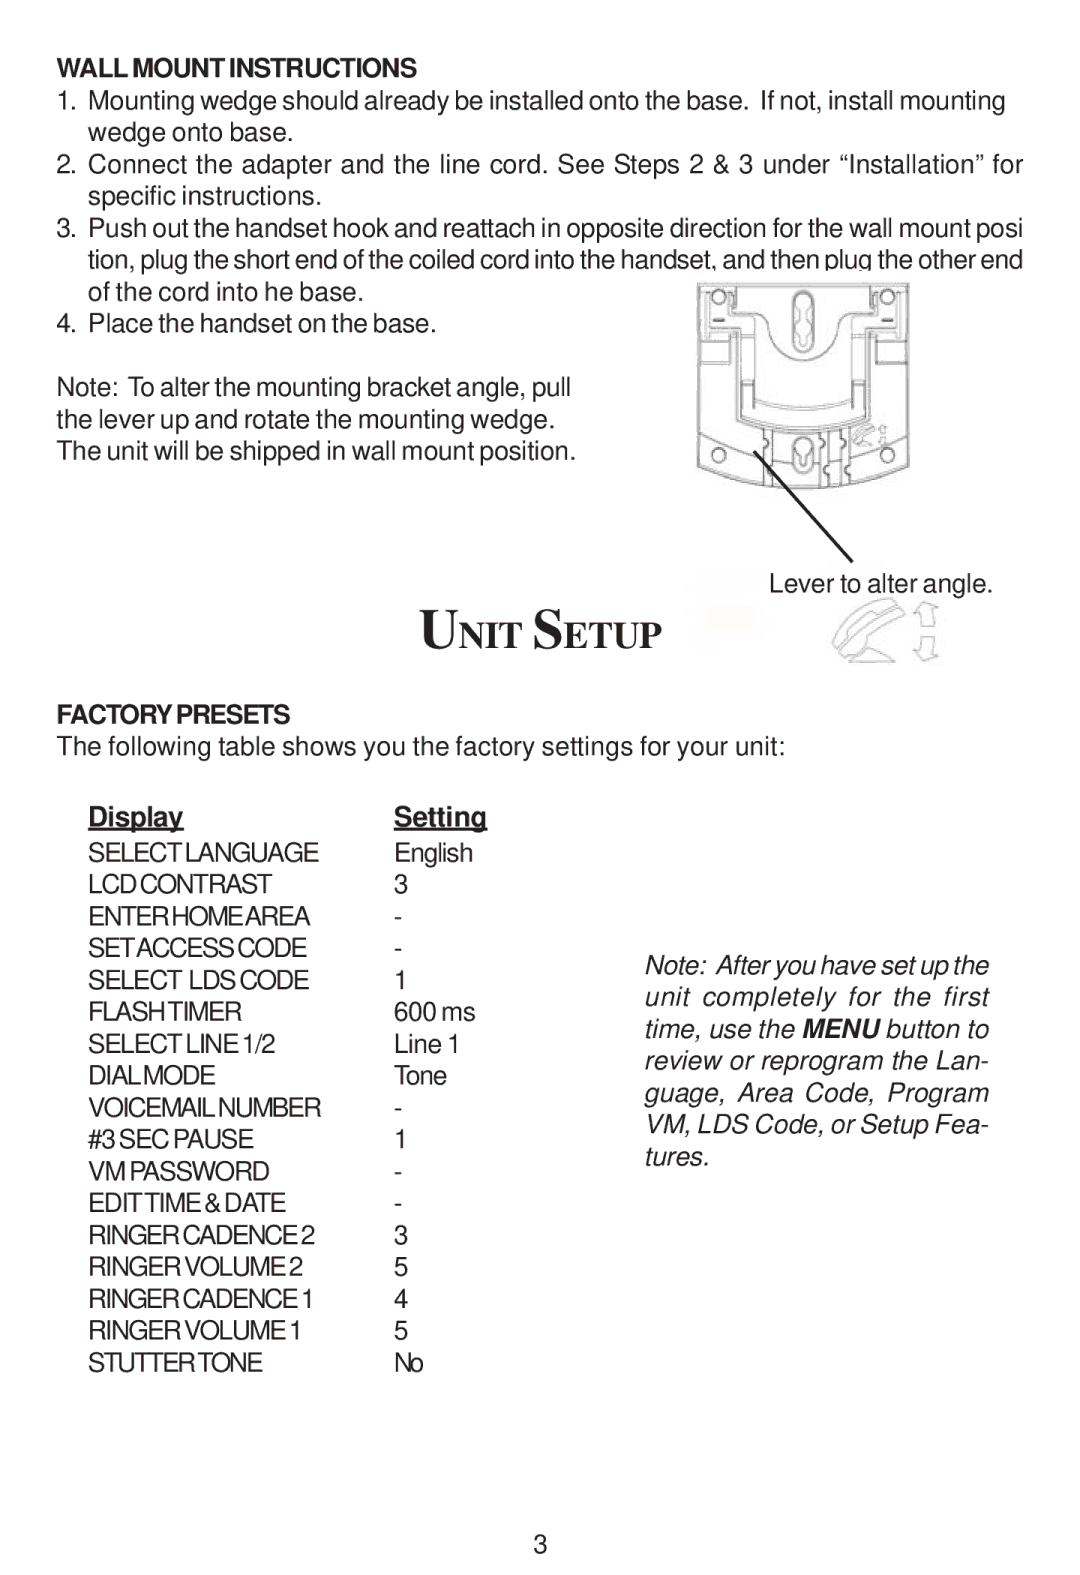
Note: To alter the mounting bracket angle, pull the lever up and rotate the mounting wedge. The unit will be shipped in wall mount position.
Lever to alter angle.
UNIT SETUP
FACTORYPRESETS
The following table shows you the factory settings for your unit:
Display | Setting |
SELECTLANGUAGE | English |
LCDCONTRAST | 3 |
ENTERHOMEAREA | - |
SETACCESS CODE | - |
SELECT LDSCODE | 1 |
FLASHTIMER | 600 ms |
SELECTLINE1/2 | Line 1 |
DIALMODE | Tone |
VOICEMAILNUMBER | - |
#3SECPAUSE | 1 |
VMPASSWORD | - |
EDITTIME&DATE | - |
RINGERCADENCE2 | 3 |
RINGERVOLUME2 | 5 |
RINGERCADENCE1 | 4 |
RINGERVOLUME1 | 5 |
STUTTERTONE | No |
Note: After you have set up the unit completely for the first time, use the MENU button to review or reprogram the Lan- guage, Area Code, Program VM, LDS Code, or Setup Fea- tures.
3
