Using The All-Position Leveling Base
To use the
1.Without turning the Laser Level on, place it on the
2.Once the level is on the base, turn the level "ON" being careful not to point the laser line in the direction of anyone's eyes including your own..
3o Place the level/base assembly on the wall and position the line across the surface(s) and at the approximate height you want to draw a level line,
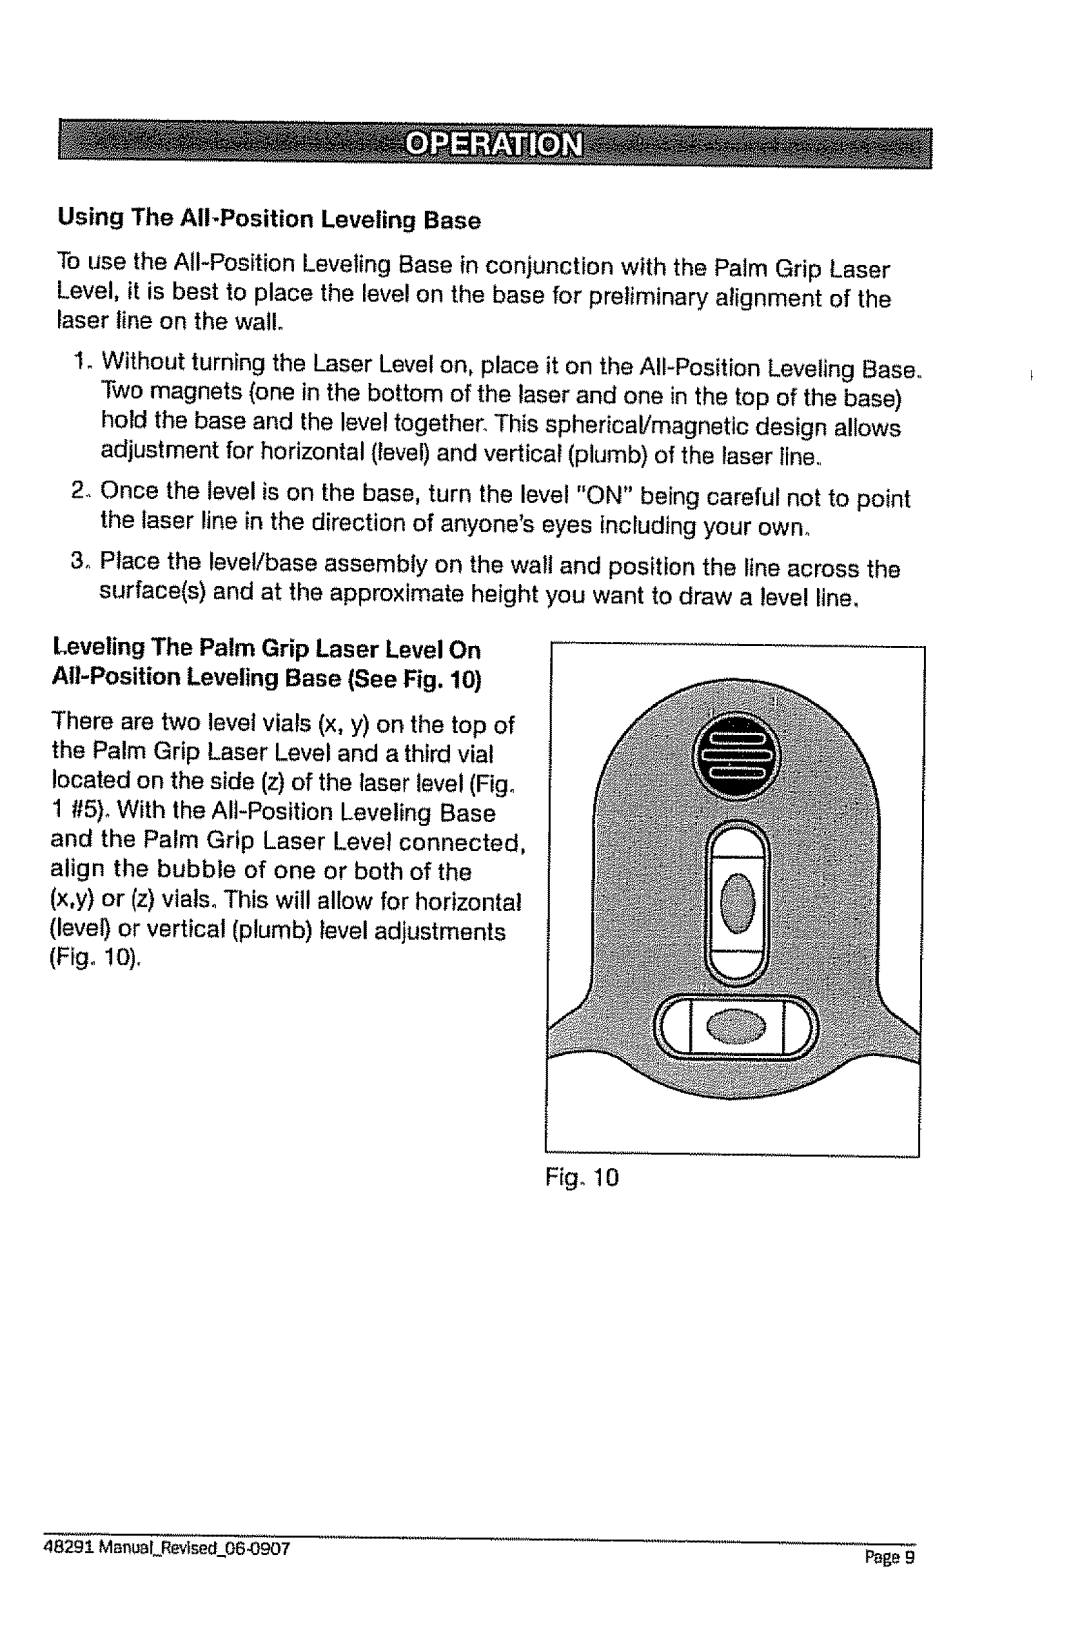
Leveling The Palm Grip Laser Level On
All-Position Leveling Base (See Fig. 10)
There are two level vials (x, y) on the top of the Palm Grip Laser Level and a third vial located on the side (z) of the laser level (Fig° 1 #5)° With the AIFPosition Leveling Base and the Palm Grip Laser Level connected, align the bubble of one or both of the (x,y) or (z) vials° This will allow for horizontal (level) or vertical (plumb) level adjustments (Fig. !0),
Fig. 10
48291 Manual_Rev'ise_06,.0907 | Page 9 |