Contents
User’s Guide
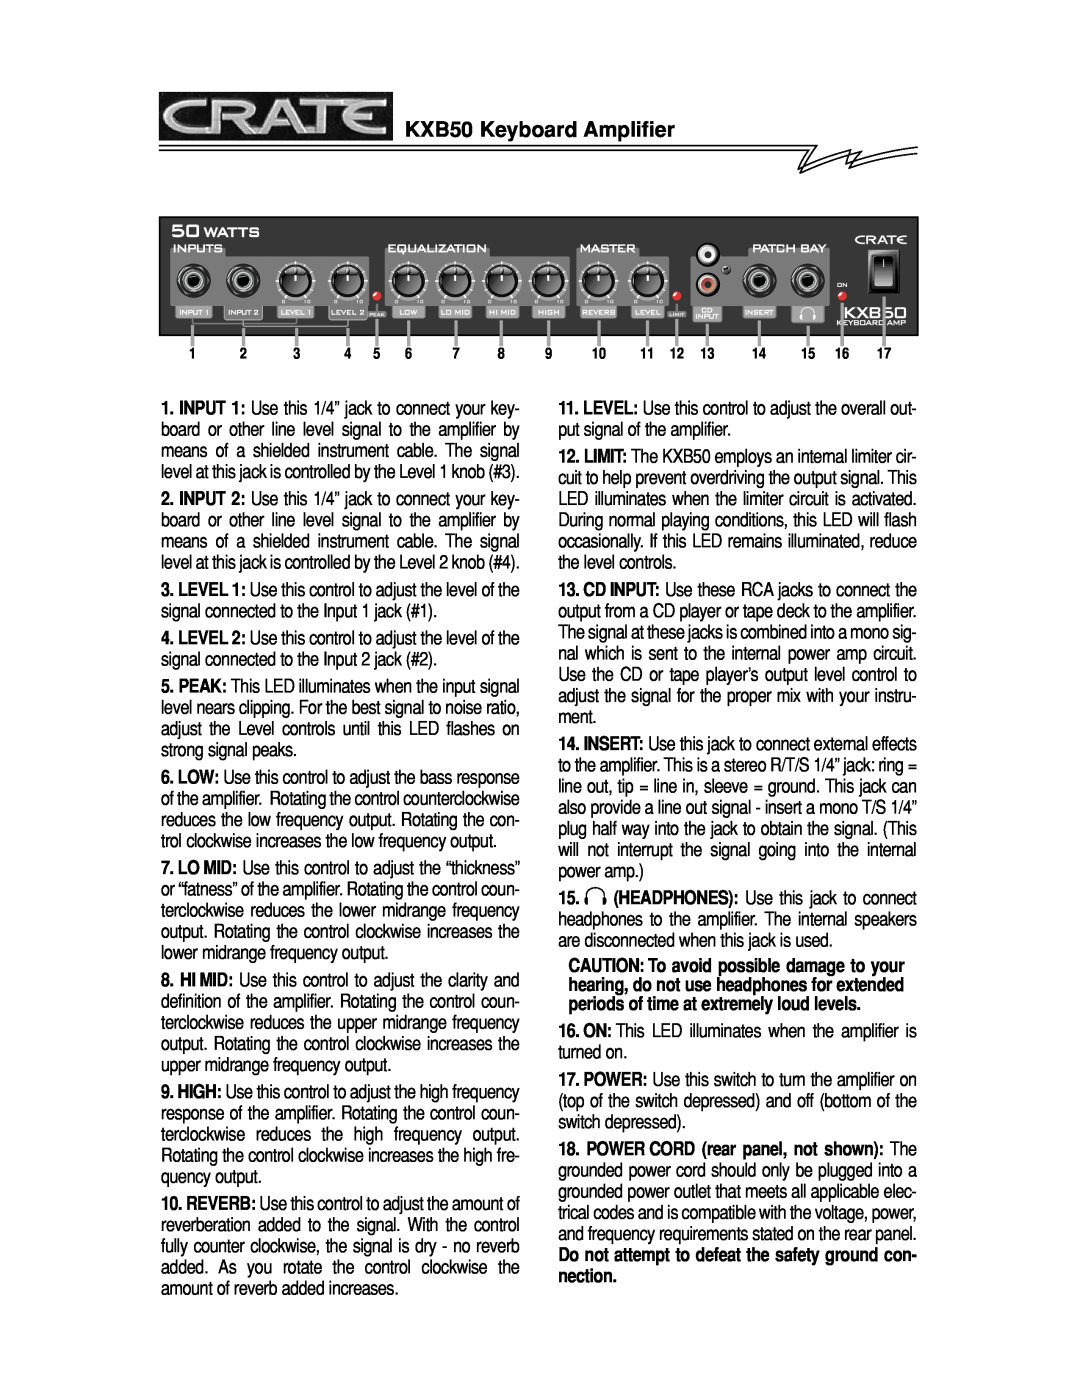
KXB50 Keyboard Amplifier
Congratulations
KXB50 Keyboard Amplifier
System Block Diagram
IMPORTANT SAFETY INSTRUCTIONS
KXB50 Keyboard Amplifier
CAUTION To avoid possible damage to your hearing, do not use headphones for extended periods of time at extremely loud levels
Manufacturer’s Name
KXB50 TECHNICAL SPECIFICATIONS
Declaration of Conformity
KXB50 Keyboard Amplifier