Repeat steps 2-3 to store up to 20 tracks.
Unwind FM Antenna (24) and allow it to hang straight down.
Press OPEN (23) to open the CD DOOR.
Remove the plastic bag covering the radio.
Pull the packing materials off the unit.
1
2
3
4 Remove the cardboard shipping card from the CD Player.
Getting Started
Unpacking

RADIO Operation

CD Player

5

6 Remove plastic bag covering the AC Power Cord

(26).

Note: Save all packing materials.

Set Up

1 Untie the AC Power Cord (26) at the back of the unit.

2 Remove Plug safety cover on the prongs of the plug.

3 Plug the AC cord into an appropriate outlet.

AC

Polarized Plug

4 This product is equipped with a polarized alternating current line plug (a plug having one blade wider than the other). This plug will fit into the power outlet only one way. This is a safety feature. If you are unable to insert the plug fully into the outlet, try reversing the plug. If the plug should still fail to fit, contact your electrician to replace your obsolete outlet. Do not defeat the purpose of the polarized plug.

5 Install 9V battery in the Battery Compartment (25) if you wish to use the battery backup. See page 10 for instructions on installing the battery.

6

AM/FM Tuning

1 Press the POWER BUTTON (5) to turn the unit on.

2 Turn the FUNCTION SWITCH (8) to the Radio position.

3 Turn the AM/FM SWITCH (7) to the desired tuning band.

4 Rotate the TUNING KNOB (6) to tune in the desired station. When tuning in FM stations, the FM STEREO INDICATOR (3) will appear the brightest when the station has reached its strongest frequency.

5 Rotate the VOLUME KNOB (9) to set the desired volume level.

Hints For Better Reception

FM – Make sure the FM WIRE ANTENNA (24) is fully extended in a straight line.

AM – This radio is equipped with an internal AM antenna. Try rotating the unit slightly to one side or the other to improve AM reception.

Playing a CD

1 Press the POWER BUTTON (5) to turn the unit on.

2 Turn the FUNCTION SWITCH (8) to the CD position.

3 Press the CD DOOR OPEN BUTTON (23) to open the CD DOOR.

4 Load the desired CD into the player with the labeled side of the CD facing up and close the

CD DOOR.

5 The LED DISPLAY (2) will flash ( - - ) for a second and then display the total number of tracks on the CD.

Note: The display will read “no” if there is no disc in the unit or the disc cannot be read.

6 Press the PLAY/PAUSE BUTTON (21) to begin playing the CD.

7 To skip to a different track, press the FORWARD SKIP (16) or BACKWARD SKIP (17) button until you reach the desired track number. Pressing the FORWARD SKIP (16) button will advance forward from track to track. Pressing the BACKWARD SKIP (17) will skip backwards from track to track.

8 To fast forward through part of a particular track, press and hold the FORWARD SKIP (16) button. Playback will resume at the point that you release the button. To reverse playback, press and hold the BACKWARD SKIP (17) button.

9 To pause during playback, press the PLAY/PAUSE BUTTON (21). To resume play, press the button again.

10To Stop playback, press the STOP BUTTON

(20).

Play Mode

1 There are four modes in which you can listen to your CD :

Normal, Repeat 1, Repeat all, and Random.

2 To change between these options, press the CD MODE (18) button. The play mode will change in the following sequence.

Repeat Repeat all Random Normal

3 In Normal mode, the CD will play from track 1 or the first selected track till the end of the CD and stop.

4 When in Repeat 1, the repeat light will flash and only the selected song will be repeated. You can select the song to repeat before you press play or during playback.

5 When in Repeat all, the repeat light will stay on continuously. In this mode, once the CD is finished, it will start over from the beginning.

6 When in Random mode, the random light will stay on continuously. When Random mode, the CD player will randomly play tracks in no particular order.

7 Pushing STOP (20) will clear the Random and Repeat functions and the unit will return to Normal Mode.

Programmed Play

You can program up to 20 tracks that will play in the order that you program them.

1 In CD Mode with a CD inserted and play stopped, press the PROGRAM BUTTON (15)

2 Select a track you would like to program in memory by using the Forward or Backward skip buttons.

3 Once you have selected a track, press the PROGRAM BUTTON (15) again. That track is now stored.

4

5 When all desired tracks are programmed, press the PLAY/PAUSE BUTTON (21) to begin playback of the selected tracks. The tracks will play in the order in which they were programmed.

6 To clear programming, press the stop button. Programmed tracks will also be cleared if the

CD Door is opened or the power is disconnected.

7

Page 7
Image 7
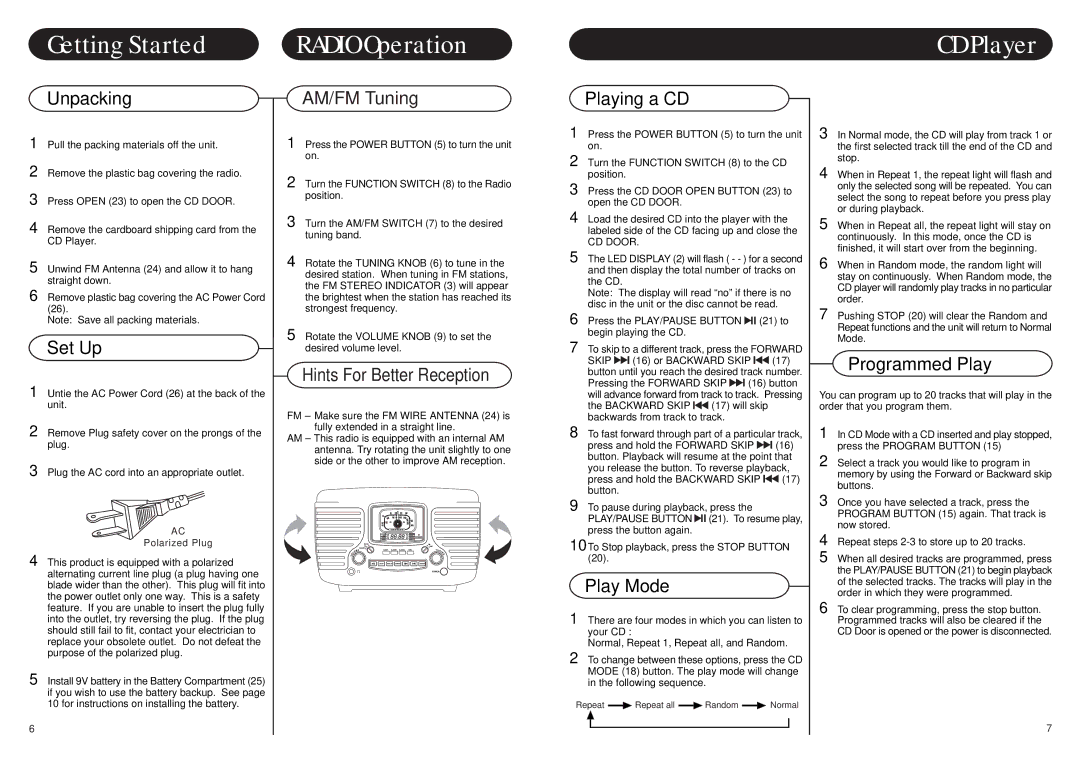
Crosley Radio CR612 instruction manual Radio Operation CD Player

CR612 specifications

The Crosley Radio CR612 is a sophisticated and stylish turntable that appeals to both audiophiles and casual listeners alike. Its vintage design, coupled with modern technology, makes it a noteworthy addition to any music lover's collection. With a focus on functionality and aesthetics, the CR612 combines traditional charm with contemporary capabilities.

One of the standout features of the CR612 is its belt-driven turntable mechanism, which reduces vibration and enhances sound quality. This design not only improves the fidelity of your vinyl records but also provides a smoother playback experience. The turntable accommodates both 33 1/3 RPM and 45 RPM records, making it versatile for collectors who enjoy various types of vinyl.

The CR612 is equipped with a built-in stereo speaker system that delivers clear and crisp sound. For those who prefer a more personalized audio experience, the turntable includes a headphone jack and RCA outputs. This allows users to connect their turntable to external speakers or a home audio system, producing an even richer audio experience.

In terms of connectivity, the Crosley CR612 is designed for the modern user. It features Bluetooth capabilities, allowing users to stream music wirelessly from their smartphones or tablets. This integration of wireless technology alongside traditional vinyl playback caters to a wide range of listening preferences. Whether users enjoy spinning classic records or streaming the latest hits, the CR612 can accommodate both.

The turntable also includes adjustable pitch control, giving users the ability to fine-tune their listening experience. Furthermore, the CR612 is built with user-friendly controls, making it accessible for those who may be new to vinyl or turntable operation. The device boasts an easy-to-read LED indicator and a sleek front-loading design that enhances its retro aesthetic.

Overall, the Crosley Radio CR612 is a perfect blend of classic style and modern functionality. Its high-quality components, impressive sound output, and intuitive design make it an excellent choice for anyone looking to explore or expand their vinyl collection. Whether you are an experienced collector or just starting, the CR612 invites you to enjoy music in its most authentic form, bridging the gap between yesterday's nostalgia and today's convenience. In conclusion, the Crosley CR612 stands out as a remarkable turntable that embodies the best of both worlds, making it a worthy investment for any music enthusiast.