
18HP specifications
The Cub Cadet 18HP is a robust and versatile garden tractor designed to meet the demanding needs of homeowners and landscaping professionals alike. This machine packs a powerful engine, advanced features, and user-friendly technologies that make lawn care and garden maintenance an efficient and enjoyable experience.At the heart of the Cub Cadet 18HP is a high-performance 18 horsepower Kohler engine. This engine is engineered for reliability and effectiveness in a variety of mowing and hauling tasks. With a smooth and powerful operation, it efficiently tackles tough grass and uneven terrain, ensuring a pristine cut every time. The engine's two-cylinder design contributes to reduced vibrations and improved fuel efficiency, making it not only powerful but also economical to operate.
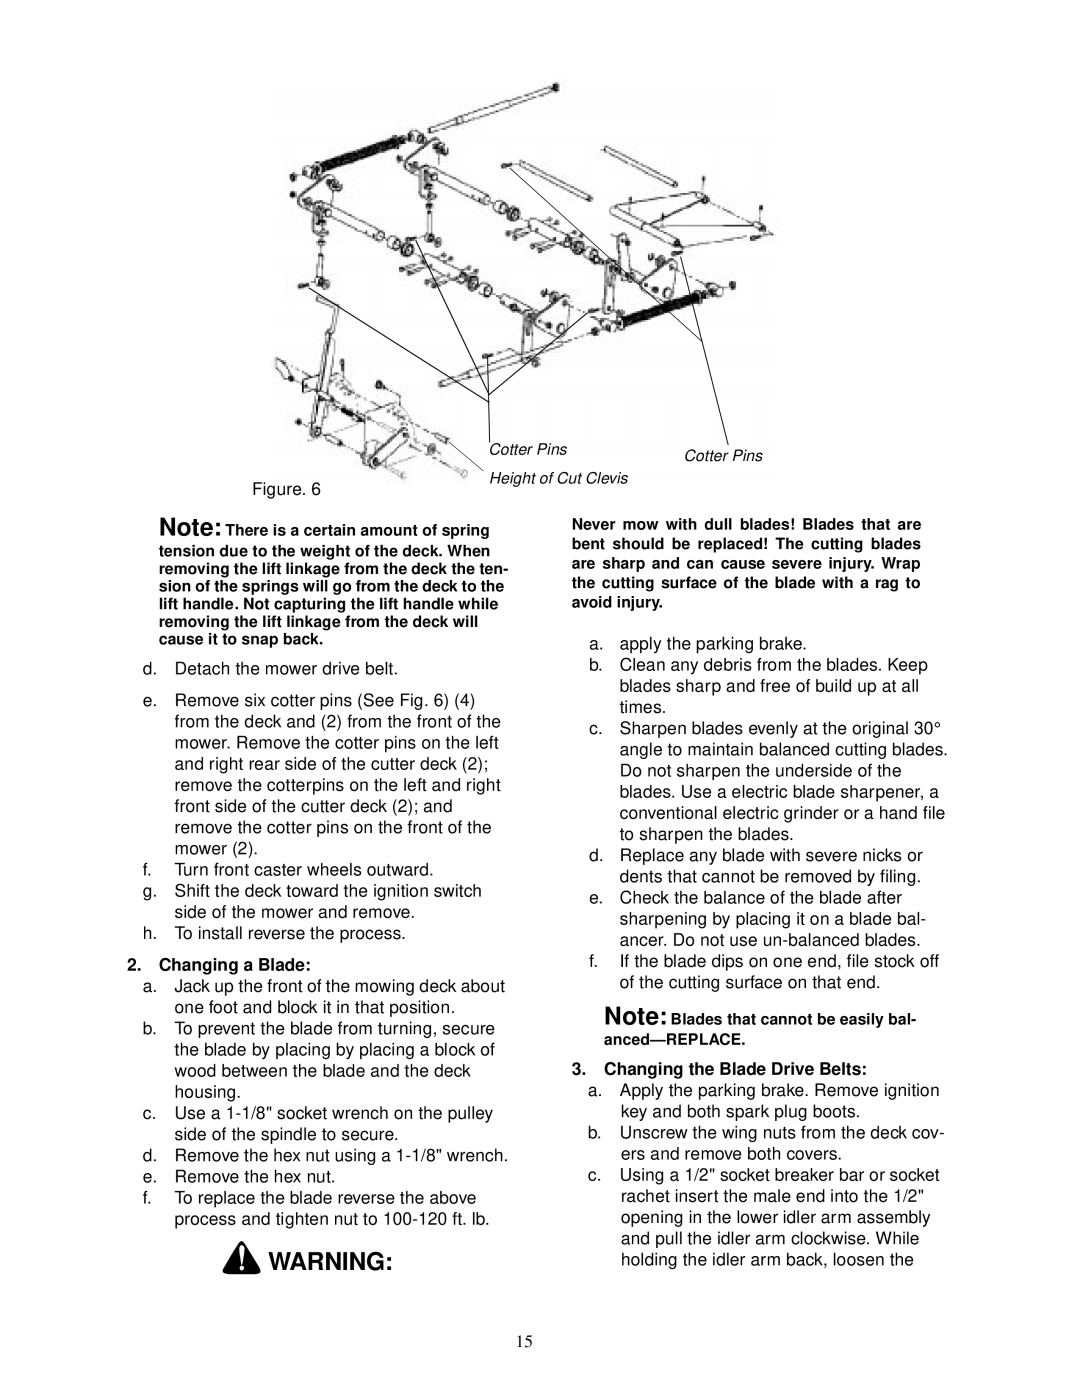
One of the standout features of the Cub Cadet 18HP is its innovative Cub Cadet signature cutting deck. The tractor is equipped with a 42-inch or 50-inch cutting deck, meticulously designed for superior grass cutting and discharge. This cutting system features twin blades that deliver an exceptional cut quality while reducing clumping and providing optimal air flow. The adjustable cutting height allows users to customize the grass length to their preference, ensuring a well-manicured lawn.
Incorporating advancements in technology, the Cub Cadet 18HP is equipped with a hydrostatic transmission. This feature provides smooth and effortless speed control, allowing homeowners to easily navigate around their properties without the need for constant gear shifting. Whether tackling inclines or navigating tight spaces, the hydrostatic transmission ensures maximum control and maneuverability.
Comfort is also a priority with the Cub Cadet 18HP. The tractor boasts a spacious, ergonomically designed seat that offers excellent support during extended use. Additionally, the easy-to-reach controls and cup holder enhance the overall user experience. Built-in headlights provide visibility for early morning or late evening mowing sessions, ensuring that users can work with ease at any time of day.
For those looking to expand the functionality of their tractor, the Cub Cadet 18HP supports a variety of attachments. From baggers to snow blades and tillers, this versatility allows users to tackle different tasks throughout the seasons, making it a true all-in-one gardening solution.
In summary, the Cub Cadet 18HP stands out in its category for its powerful engine, innovative cutting deck, hydrostatic transmission, and user-centric design. This garden tractor promises durability and efficiency, making it an indispensable tool for anyone serious about lawn care. Whether you are a weekend warrior or a landscaping professional, the Cub Cadet 18HP is built to handle the job with ease and reliability.