
3184 specifications
The Cub Cadet 3184 is a robust lawn mower that stands out for its performance, versatility, and ease of use. Engineered for homeowners with larger lawns, it offers a blend of power and efficiency, making lawn care less of a chore.At the heart of the Cub Cadet 3184 is its reliable Kohler engine, known for its durability and strong performance. With a displacement of 18 horsepower and a design that minimizes fuel consumption, the engine provides sufficient power to handle even the toughest mowing tasks. It also features a hydrostatic transmission, allowing for smooth acceleration and deceleration without the need for manual gear changes. This makes it highly user-friendly, enabling operators of all skill levels to maneuver seamlessly across their yards.
One of the standout features of the Cub Cadet 3184 is its 48-inch cutting deck. This deck is designed to deliver a clean, even cut, reducing the need for multiple passes and saving valuable time. The deck height can be easily adjusted to achieve the preferred grass length, accommodating various grass types and conditions. Furthermore, the cutting blades are engineered for precision and longevity, ensuring that your lawn maintains a professional appearance.
Another notable technology present in the 3184 is its tight turning radius, which allows for greater maneuverability around obstacles such as trees and flower beds. This feature significantly enhances the mowing experience, making it easier to achieve a well-manicured lawn without missing those tricky spots.
Comfort is also a priority in the design of the Cub Cadet 3184. The model is equipped with a high-back seat and ergonomic controls, reducing operator fatigue during extended mowing sessions. The easy-access controls and intuitive layout mean that adjustments can be made quickly and efficiently, enhancing the overall ease of use.
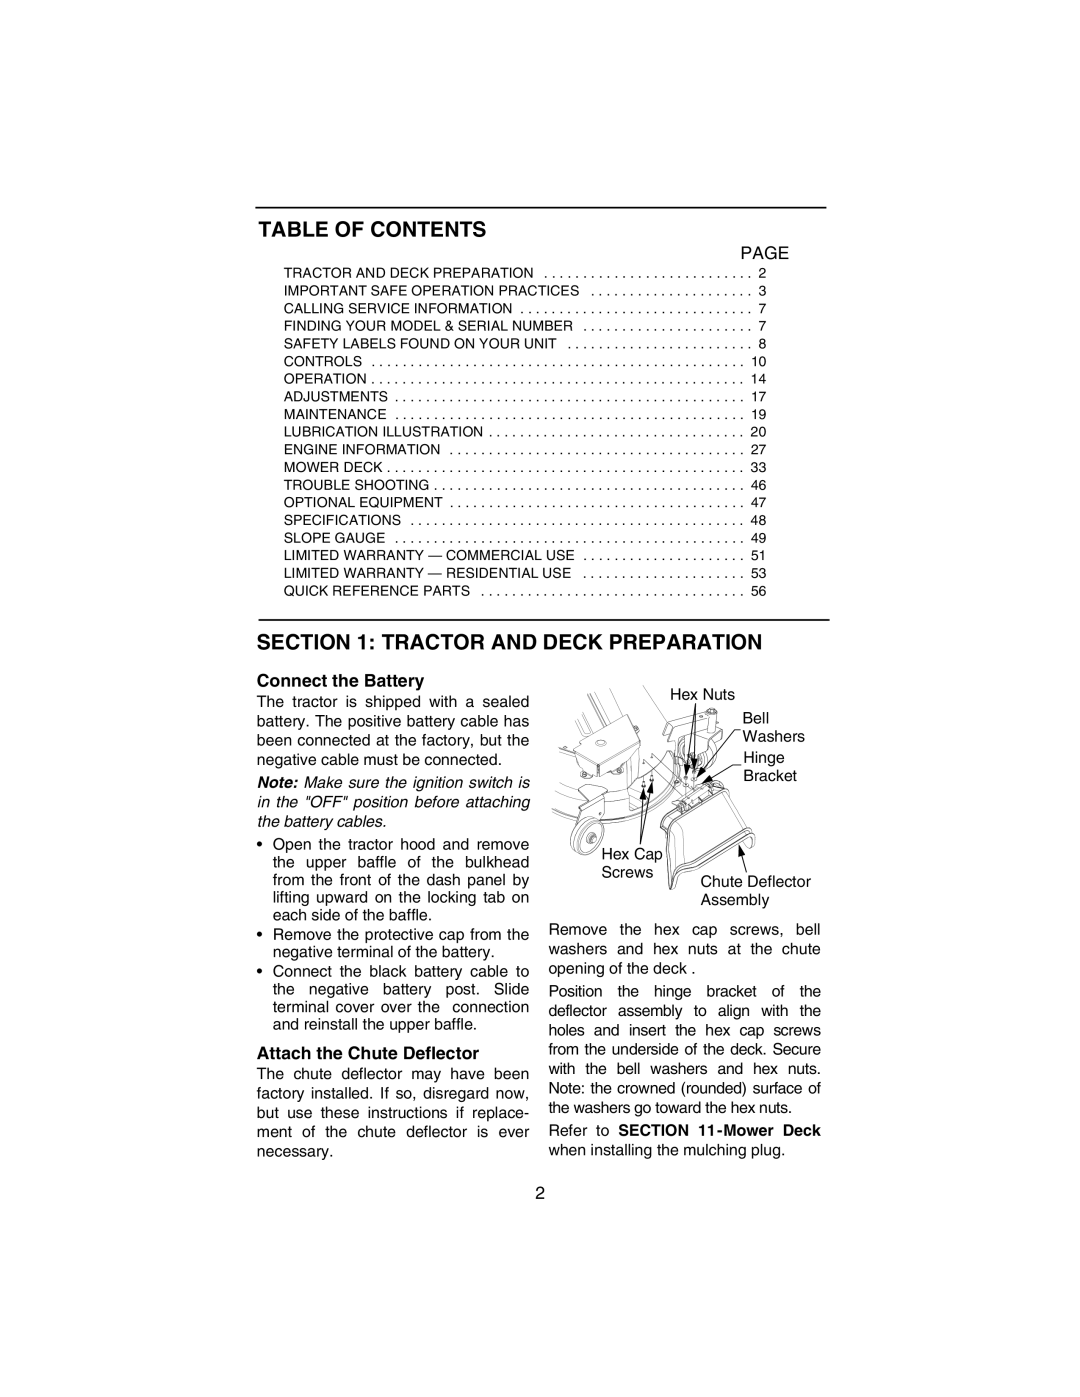
In addition to mowing, the Cub Cadet 3184 can be equipped with a variety of attachments for different tasks throughout the year. Whether you're looking to mulch, bag, or side-discharge clippings, this mower adapts to your needs. It can also handle attachments for snow removal, making it a valuable asset during winter months.
In summary, the Cub Cadet 3184 is an impressive lawn mower that combines power, versatility, and user-friendly technology. With its strong engine, efficient cutting deck, and comfort-focused design, it is an excellent choice for homeowners seeking to maintain beautiful lawns with minimal effort. Whether tackling sprawling yard areas or managing tight spaces, the Cub Cadet 3184 delivers exceptional results.