Cybex Computer Products manual Suunto X3HR SELF-TEST Procedure

Models: Suunto X3HR

1 40
Download 40 pages 62.01 Kb
Page 35
Image 35

4. SUUNTO X3HR SELF-TEST PROCEDURE

This chapter describes the Suunto X3HR self-test procedure used for maintenance and testing purposes. The test does not benefit the regular user in any way so you do not need to perform it. The test is only described here because it is possible to activate it by accident and therefore it is necessary to know how to get back to the normal display.

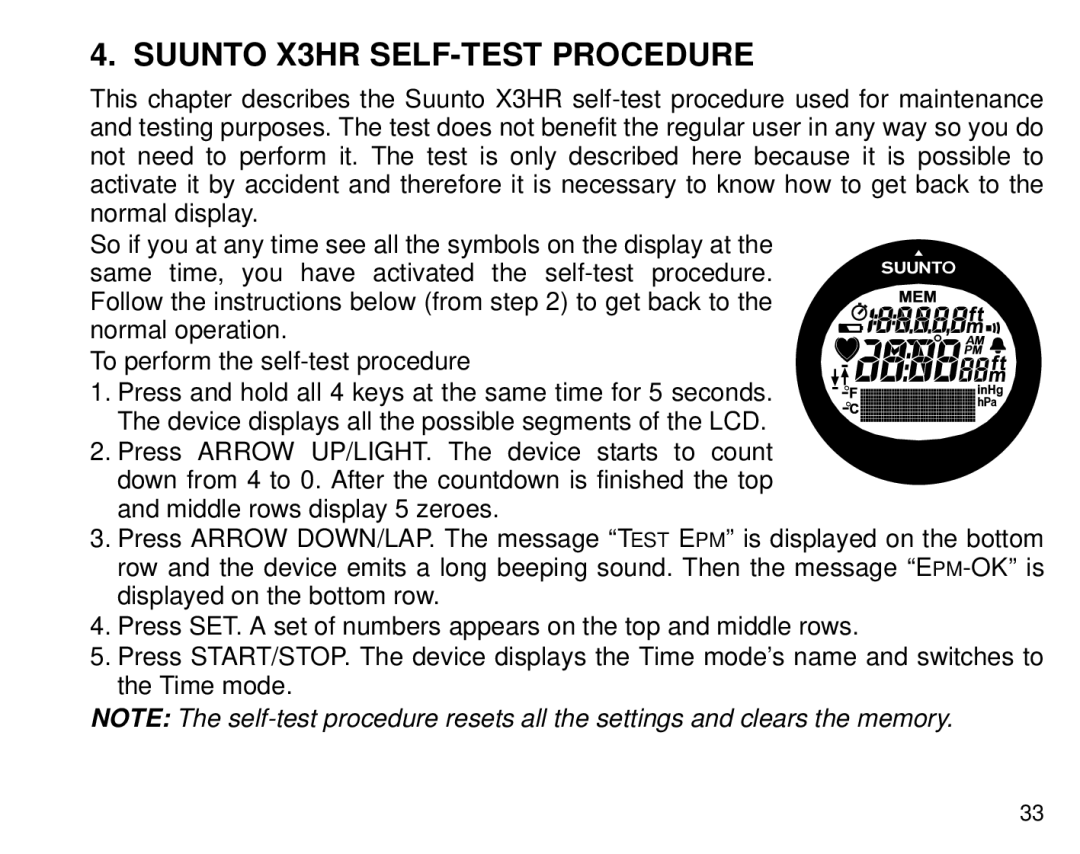
So if you at any time see all the symbols on the display at the

same time, you have activated the self-test procedure. Follow the instructions below (from step 2) to get back to the normal operation. To perform the self-test procedure 1. Press and hold all 4 keys at the same time for 5 seconds.

The device displays all the possible segments of the LCD.

2.Press ARROW UP/LIGHT. The device starts to count down from 4 to 0. After the countdown is finished the top and middle rows display 5 zeroes.

3.Press ARROW DOWN/LAP. The message “TEST EPM” is displayed on the bottom row and the device emits a long beeping sound. Then the message “EPM-OK” is displayed on the bottom row.

4.Press SET. A set of numbers appears on the top and middle rows.

5.Press START/STOP. The device displays the Time mode’s name and switches to the Time mode.

NOTE: The self-test procedure resets all the settings and clears the memory.

33

Page 35
Image 35
Cybex Computer Products manual Suunto X3HR SELF-TEST Procedure